5.1.3. AFNI GUI: Image window

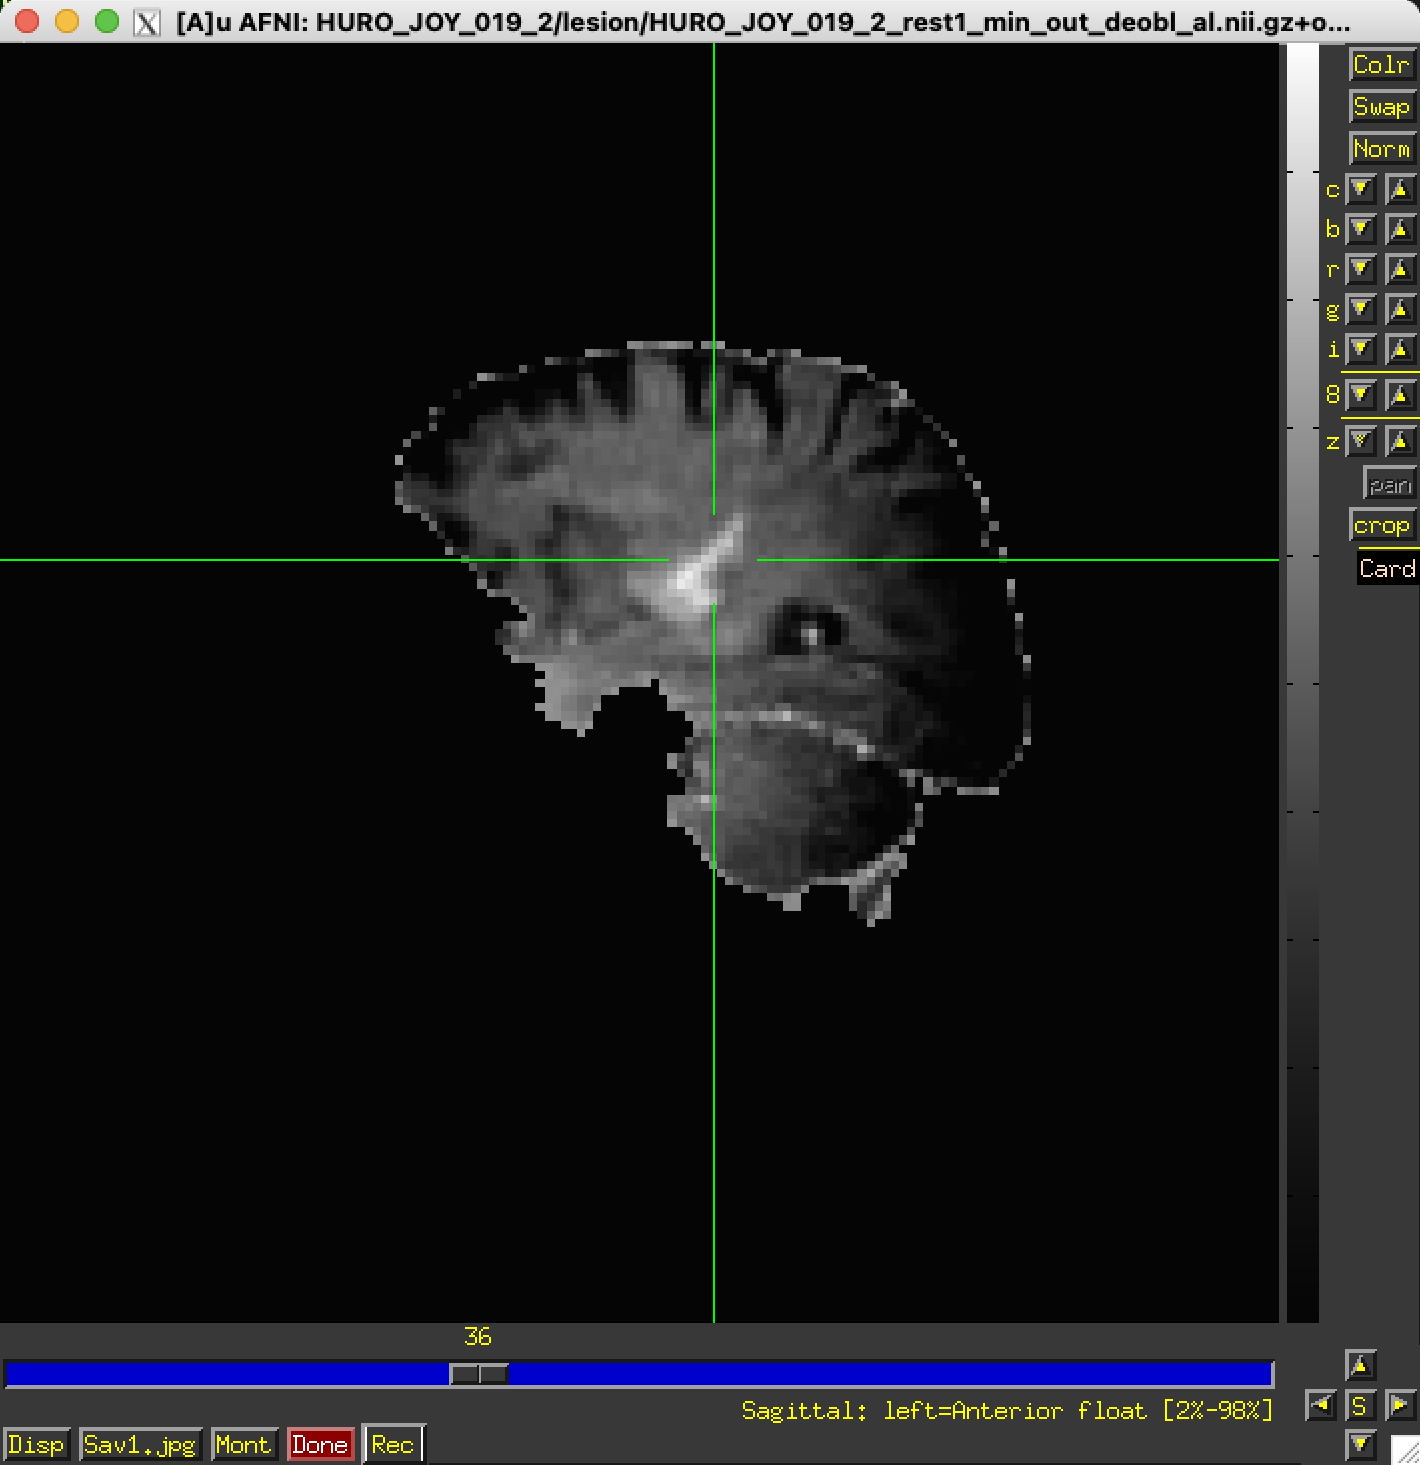
AFNI GUI: Image Window

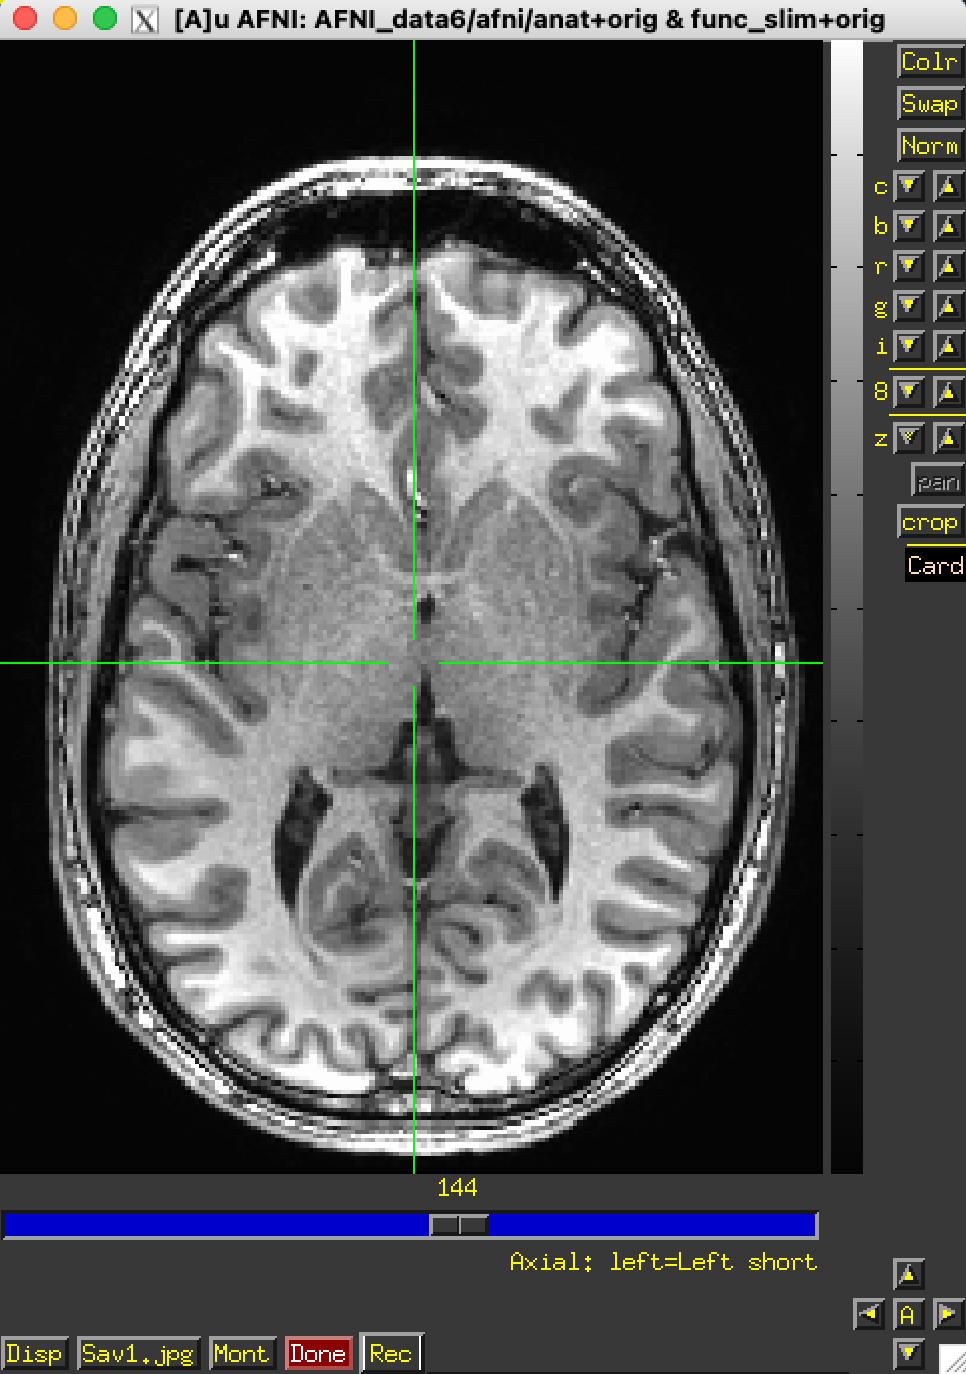
../../_images/image_window.png

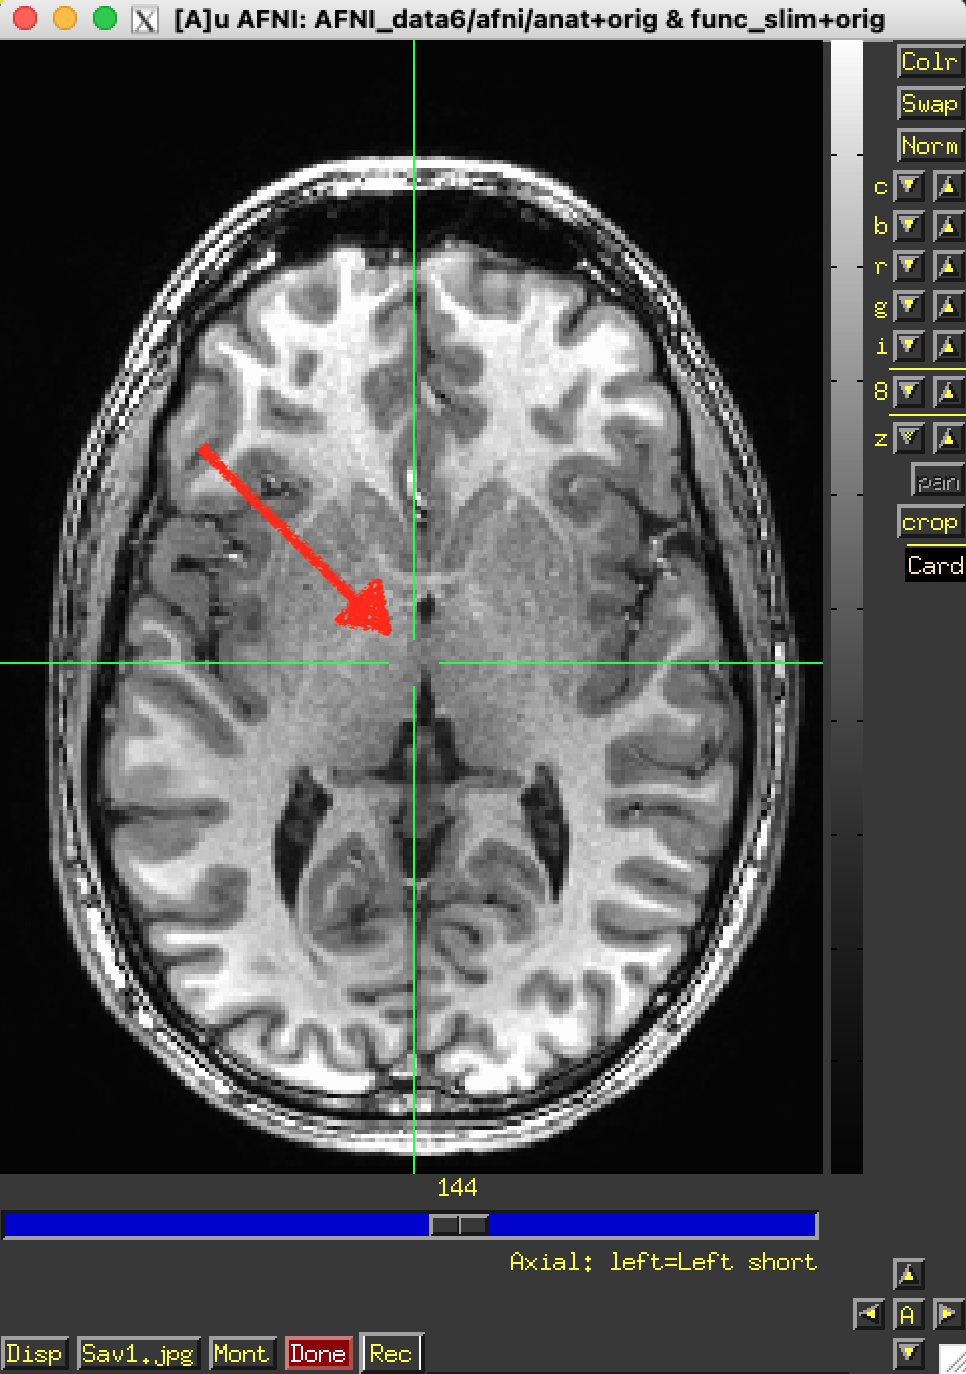
Load a dataset and open an image viewer.

Image Window

Basics

  • Click and release mouse button 1 (left button) to move the crosshairs to the location of the cursor.

  • Click down Button 1 (left button) in the image window and hold it down, then drag around while holding. This changes contrast and brightness.

    • You must move cursor a small distance while doing click-and-hold before the contrast/brightness change starts.

  • Scroll-wheel in the image window moves through slices.

  • Keyboard ALT ( on macOS) while using the scroll-wheel in the image window will change the functional overlay threshold slider in the main AFNI GUI window.

    • This action affects all image viewers in the current AFNI controller.

  • Shift+button 2 will allow you to drag crop a region.

    • (The middle button on a 3 button mouse, or click down on the scroll-wheel, or shift+option on macOS.)

  • Keyboard shortcuts are listed here.

  • Clusterize shortcuts (these have a cool animation effect):

    • j = Jump to the nearest cluster’s peak (or center of mass)

    • f = Flash current cluster if the crosshairs are inside one.

    • n or N = Jump to the next or previous cluster’s peak or center of mass.

../../_images/image_window.png

Crosshairs

  • Crosshairs in image window show current focus location (xyz in AFNI controller)

  • Also show the cut planes for the other image viewers (in this case the sagittal and coronal viewers)

  • Can control crosshair color and gap size from main AFNI controller. (see here).

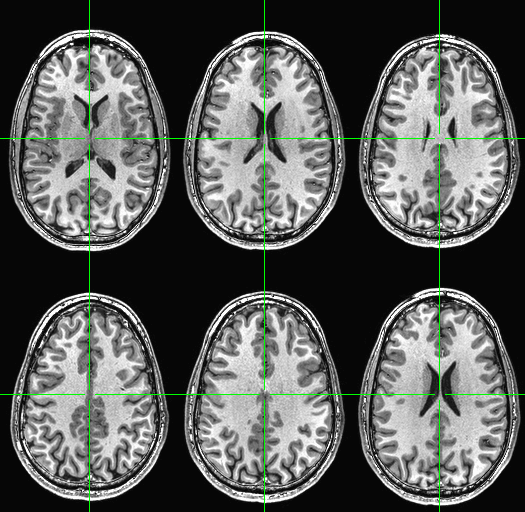
  • When using image montage, other viewers show multiple crosshairs. (see here).

../../_images/image_window_xhairs.png

Hidden Image Popup Menu

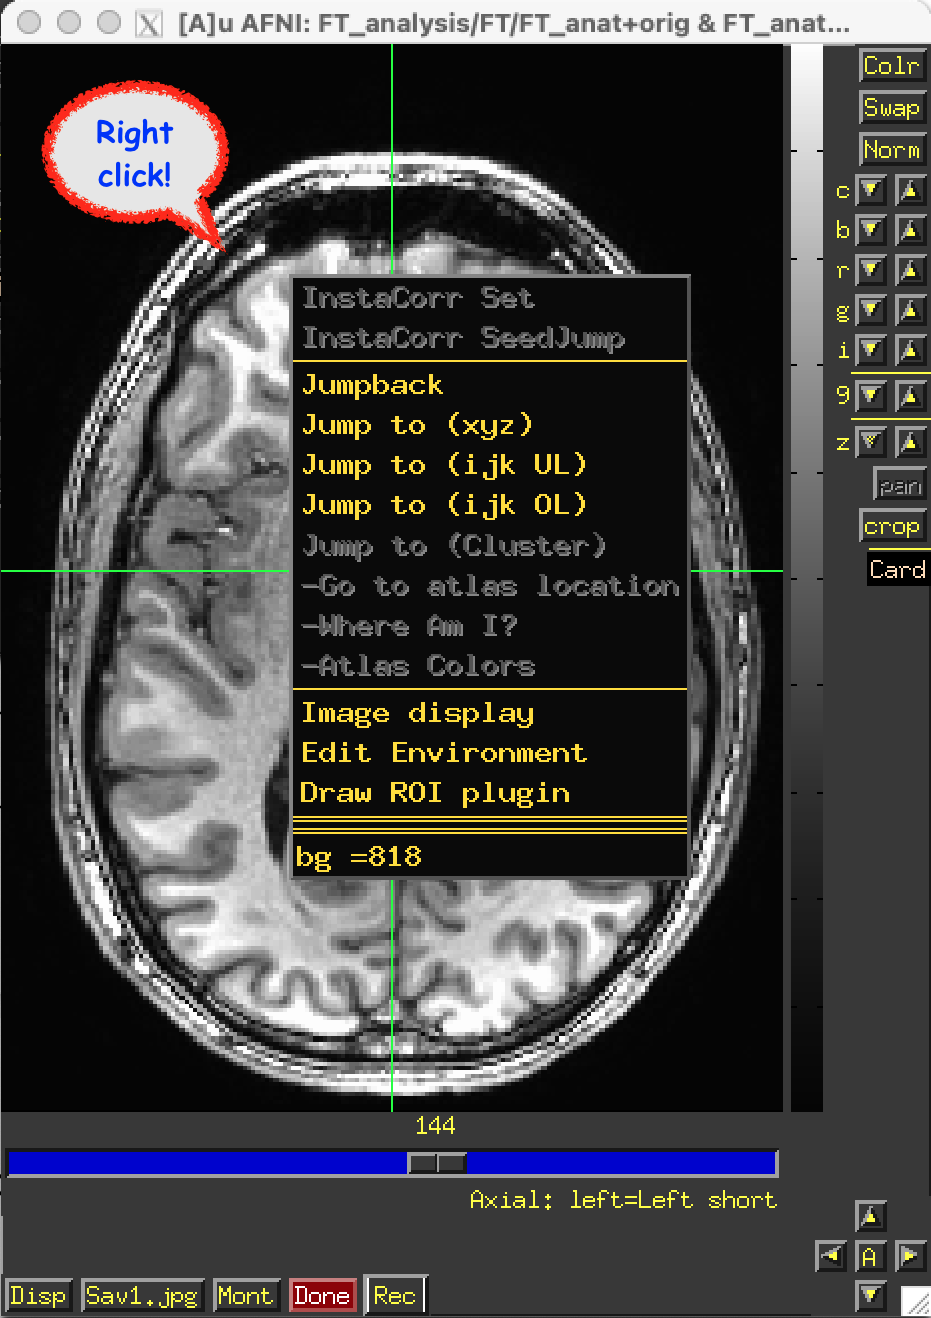
  • Hidden image popup menu using Button 3 or right-click over the actual image.

  • May need its own page to show some examples.

  • InstaCorr Set

  • InstaCorr SeedJump

  • Jumpback lets you jump the focus position back to its last place. Useful for when you click in the wrong place and get lost.

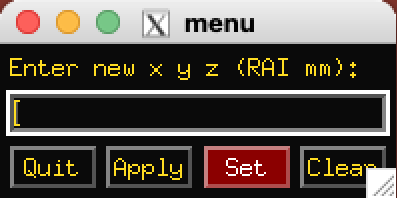
  • Jump to (xyz) lets you enter xyz-coordinates (in mm), and then the focus position will jump there. (3 numbers , or space separated)

    • External programs 3dclust and others can generate xyz coordinates of interest.

    • Once you have +tlrc dataset, can jump to regions from Talairach atlas.

    ../../_images/image_window_HiddenImage_popup_jump_xyz.png
  • Jump to (ijk UL) lets you jump to a particular voxel index location in the underlay coordinate system. (Dialog box is similar to Jump to (xyz))

  • Jump to (ijk OL) lets you jump to a particular voxel index location in the overlay coordinate system. (Dialog box is similar to Jump to (xyz))

  • Jump to (Cluster)

  • -Go to atlas location

  • -Where Am I?

  • -Atlas Colors

  • Image display lets you turn control widgets on and off to unclutter screen a little; useful if you want to make a screenshot. But use the Sav1 button instead of a screenshot. (see here)

    ../../_images/image_window_HiddenImage_popup_Image_Display.png
  • Edit Environment

  • Draw ROI plugin

  • bg =x (x is some number)

../../_images/image_window_HiddenImage_popup.png

Slider

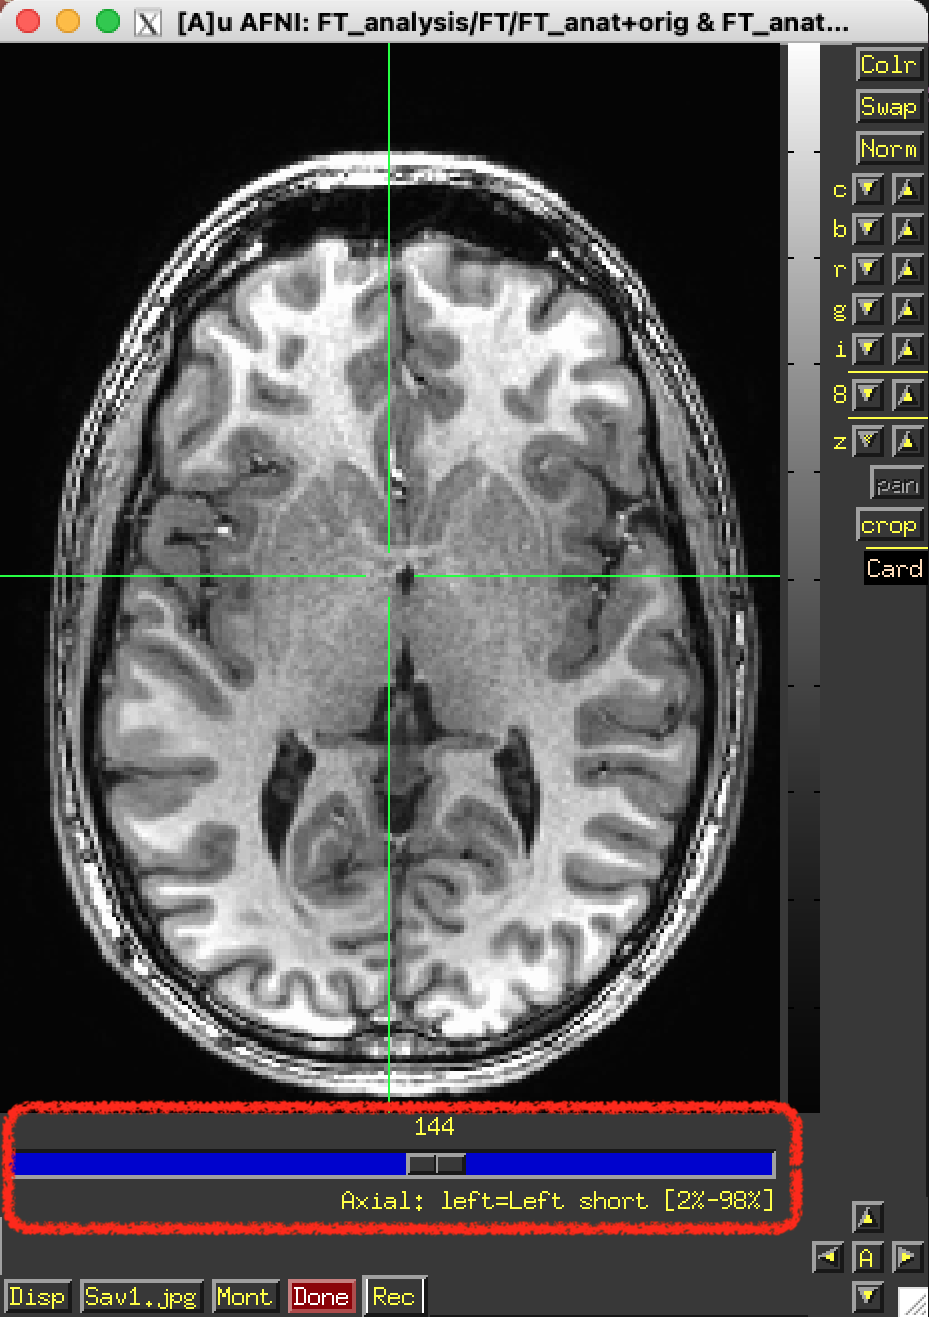
  • The slider below image lets you move between slices.

  • The number above the slider indicates the current displayed slice. (in this case 144)

  • Left click and drag to move past many slices.

  • Left click ahead or behind to move 1 image at a time.

  • Hold button click down to scroll continuously through slices.

  • Middle click (option+left click on macOS if you set it up in XQuartz) in ‘trough’ to jump quickly to a given location.

  • Mouse scroll-wheel action when cursor is over image also changes slices.

  • ctrl+click will jump to the start of end of the slices, depending on which side of slider you click.

../../_images/image_window_slider.png

Vertical Intensity Bar

  • Vertical intensity bar to right of image shows mapping from numbers stored in image to colors shown on screen.

  • Bottom of intensity bar corresponds to smallest numbers displayed.

  • Top corresponds to largest numbers displayed (popup hint shows numerical range)

  • Smallest-to-largest display range is selected from the Disp control panel. (see here), or from the right click hidden popup menu (see below).

  • Scroll-wheel in the intensity bar changes contrast.

  • ALT ( on macOS) plus scroll-wheel in intensity bar changes brightness.

  • All image viewers from all AFNI controllers use the same intensity bar.

    • When you change intensity scale in one viewer, all others viewers change.

    • Unless AFNI is started with the -uniq command line option, in which case each AFNI controller’s viewers have independent intensity bars. But all image viewers from same controller always share same intensity bar.

../../_images/image_window_IntensityBar.png

Colr, Swap, Norm, .etc

  • Colr changes gray scale to color spectrum, and back (fun & useless).

  • Swap swaps top of intensity bar with bottom. (handy to see things like the bounding box or abnormalities depending on the type of data). This is similar to the Invert? button (see below).

  • Norm returns the intensity bar to normal (after you mess it up).

  • c controls contrast. b controls brightness.

    • Useful combination c ↑ 2-3 times, b ↓ 2-3 times.

  • r rotates the intensity bar (also fun & useless).

  • g changes the gamma factor (nonlinearity) for the intensity bar.

  • i changes the size of the image in the window.

  • 9 changes the opacity of the color overlay. (This control only present for X11 TrueColor displays does this matter anymore?)

  • z zooms out and in.

  • pan lets you pan around when zoomed in. (greyed out if not zoomed)

  • crop lets you crop the image viewing area.

  • Card or Obliq (not a button) tells you if the dataset axes

    are parallel to LR-AP-IS or not parallel.

  • At bottom right, the arrow pad controls the crosshairs.

    • Arrows move 1 pixel in that direction for the current window.

    • Central button closes and opens crosshair gap (for fine control of the crosshairs location)

    • For more crosshairs controls see here.

../../_images/image_window_RightButtons.png

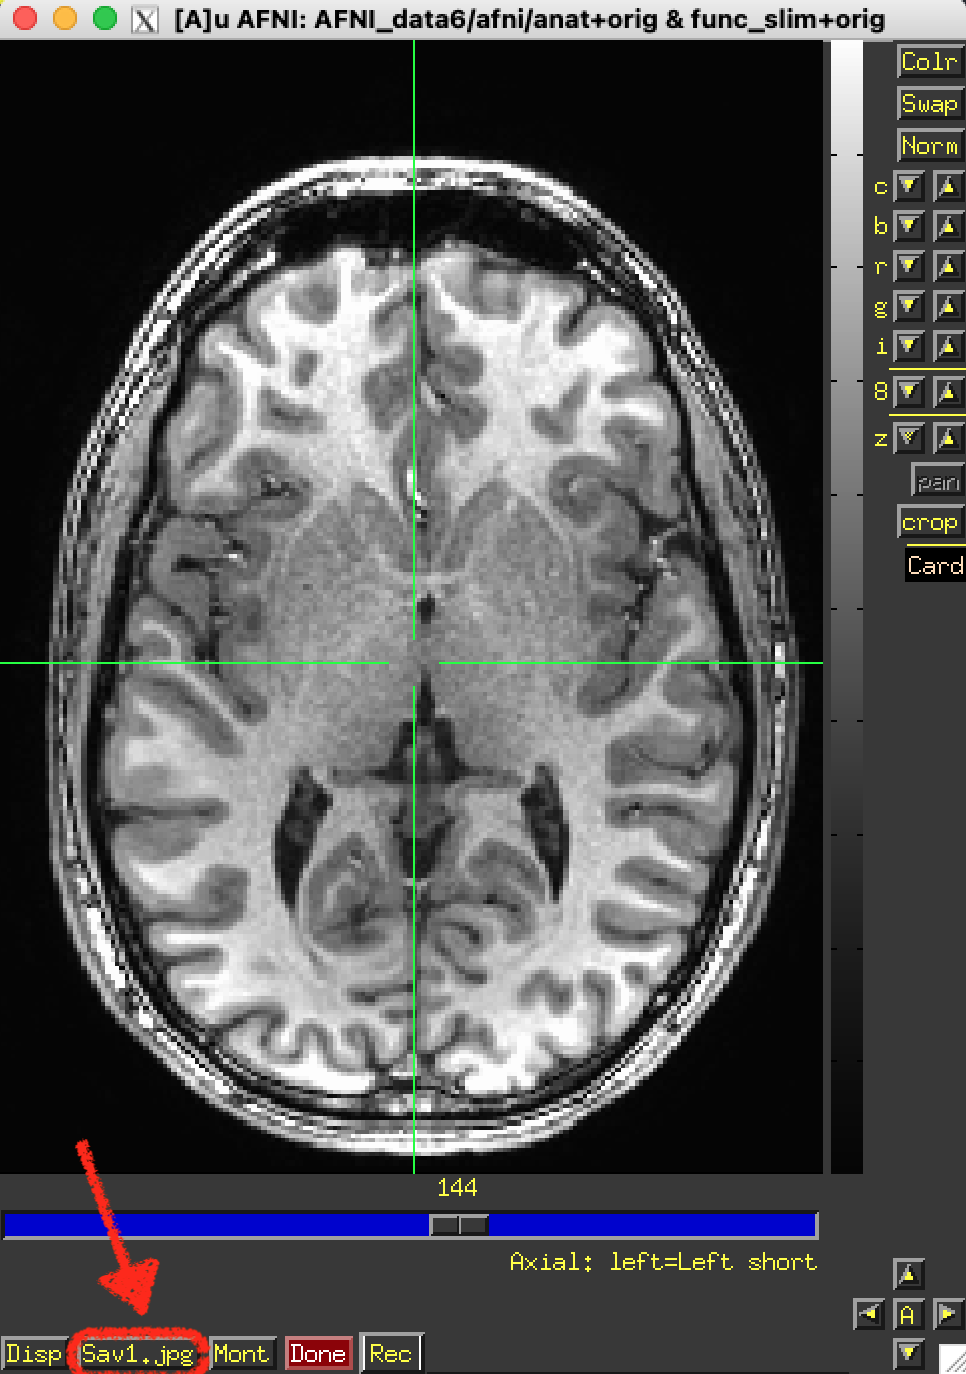
Sav1.jpg

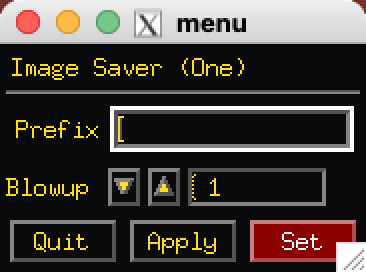
  • Sav1.jpg lets you save images from viewer to disk files.

  • Image files are saved in your current working directory.

  • The saved image is on the matrix of the dataset. It is NOT a screen capture; that is, the image saved will not depend on the size of the image viewer window or the resolution of the screen.

  • The crosshairs will be captured with the image unless you turn it off. (see here on how to do that)

  • The Prefix is the name of the image file you want to save without the extension. afni will append the extension of your chosen format.

  • If you use the same prefix more than once, afni will overwrite the image saved to disk without warning.

  • Blowup causes an explosion in your computer, destroying all work!

  • just checking to see if anyone reads this…

  • Actually Blowup artificially increases the size/resolution of the output image by a factor of your choosing from 1 to 8. This is useful for outputting pretty images for all of the papers you are going to publish (while also citing AFNI) See here on how to cite AFNI.

    ../../_images/image_window_Save1_dialog.png
  • The .jpg will change with your choice of output format. (for example it might be Sav1.bmp for a bitmap image)

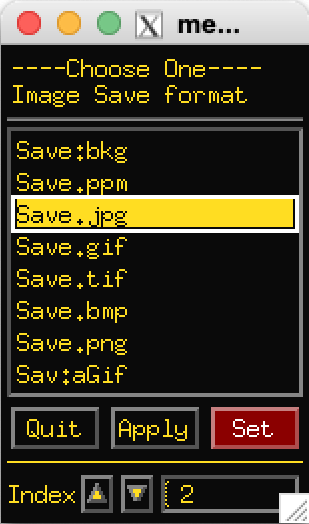
  • To change the format, right click the Sav1.jpg button to get this popup:

    ../../_images/image_window_Save1_format.png
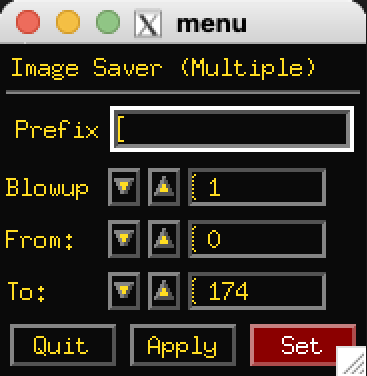
  • Selecting Sav:aGif will save an animated .gif file scrolling through the slices of the image.

  • Selecting this will change the saving dialog box adding a From: and To: indicating the slices that you want.

    ../../_images/image_window_Save1_aGif.png
  • Warning: Images are saved as sent to the viewer, not as displayed.

    • Means that aspect ratio of saved image may be wrong. (non-square pixels)

    • This can be fixed with Define DatamodeWarp Anat on Demand (see here).

    • Or by setting AFNI_IMAGE_SAVESQUARE to YES (see here).

../../_images/image_window_Save1.png

Montage

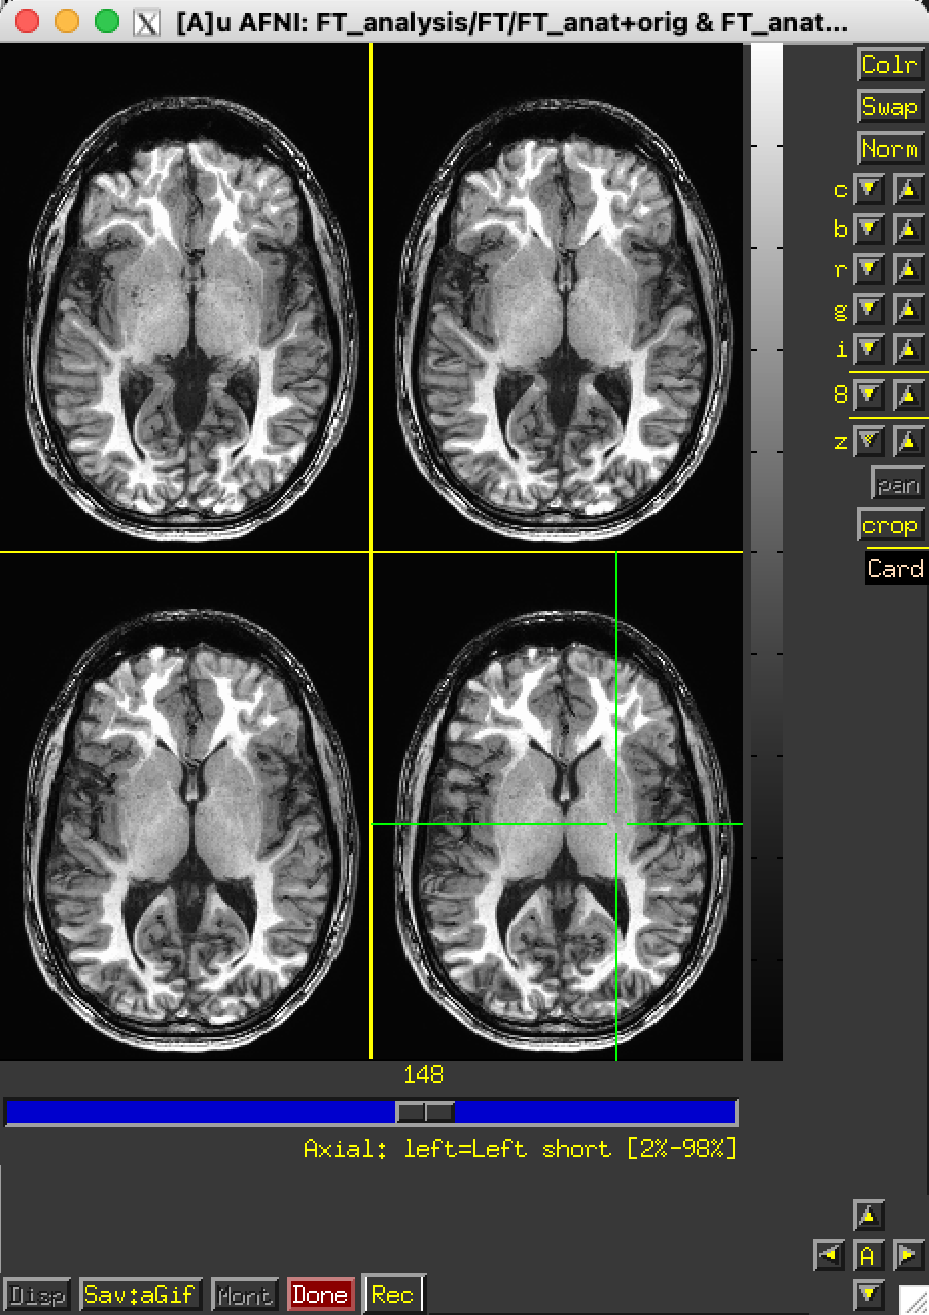
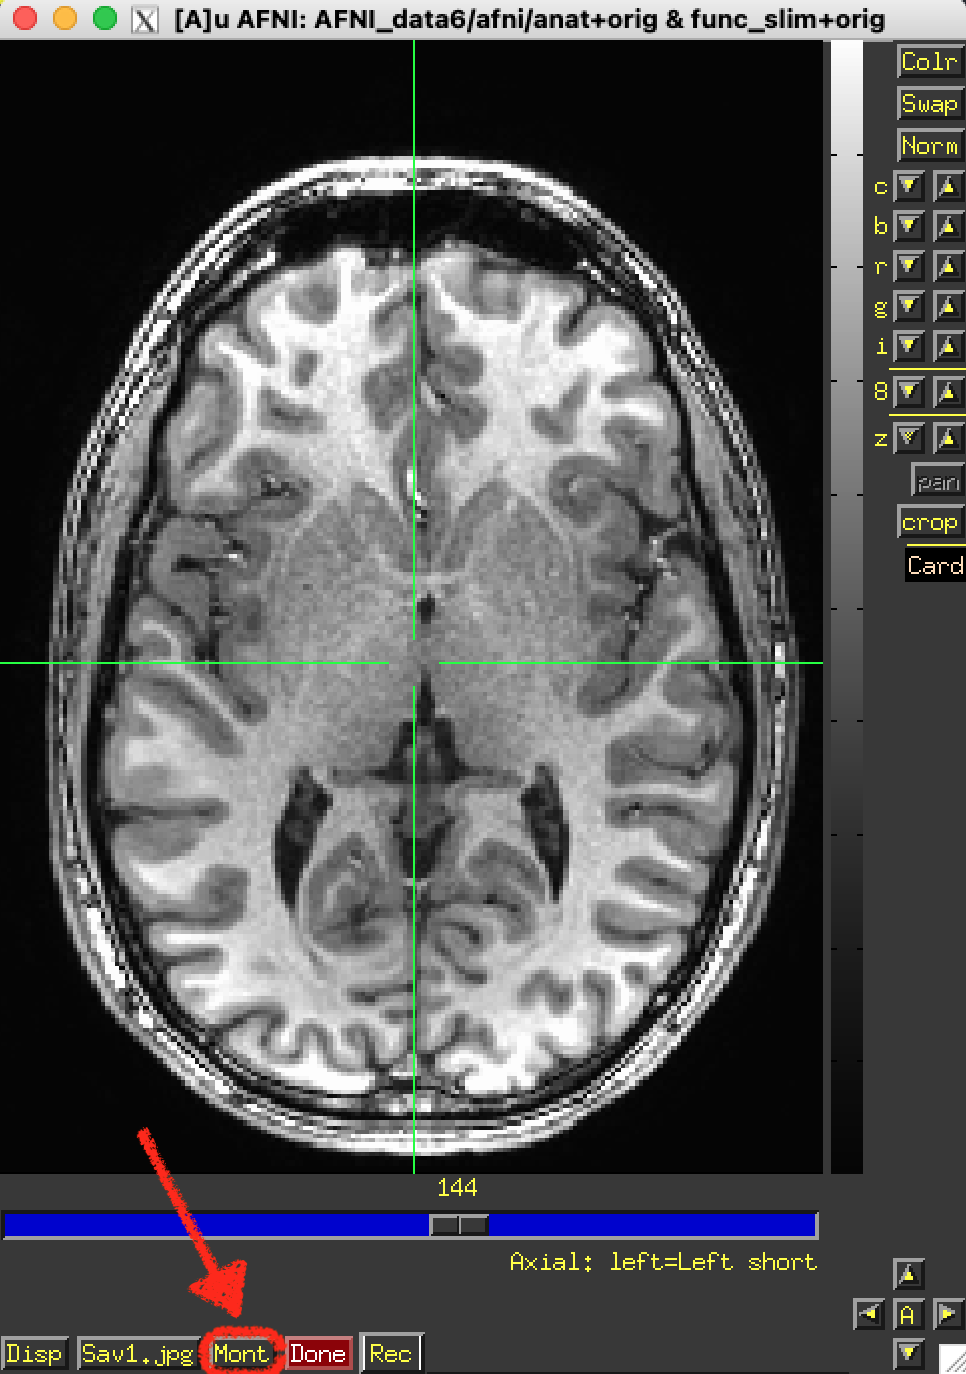
  • Mont lets you display a rectangular layout of images (i.e., montage).

    ../../_images/image_window_mont_dialog.png
  • Across and Down determine number of sub-images shown.

  • Spacing determines how far apart the selected slices are

    • Every nth slice, for n = 1, 2, …

    • Multiple crosshairs in other image viewers will show montage slices.

  • Border lets you put some blank pixels between sub-images.

  • Color lets you choose the color of the border pixels.

  • At bottom row, the action buttons cause something to happen:

    • Quit closes the Montage control window.

    • 1x1 changes Across and Down back to 1.

    • Draw actually causes the montage to be drawn.

    • SetDraw then Quit

  • In this example, we have selected a 2 by 2 montage showing every other slice with a 1 pixel yellow border.

    ../../_images/image_window_mont_axl.png ../../_images/image_window_mont_sag.png
../../_images/image_window_mont.png

Rec

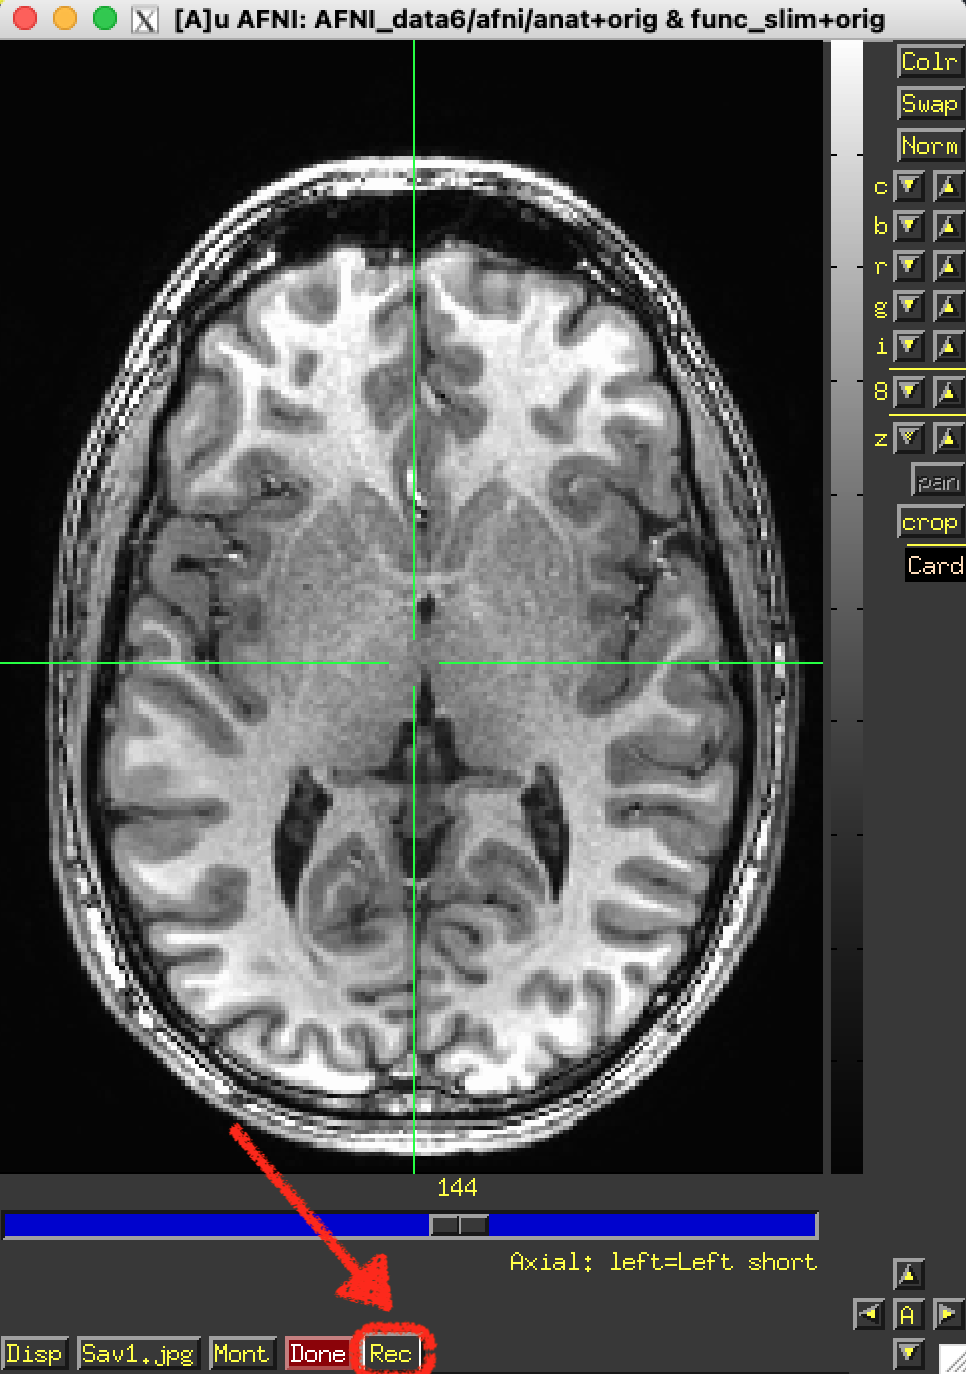
  • Rec lets you record images for later saving.

  • So you can build a sequence of images using any set of AFNI controls. You can change color maps, functional thresholds, datasets, … then save them to disk for animation, etc.

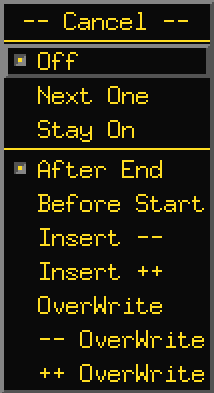
  • The Rec button button pops down a menu that sets the record mode.

    ../../_images/image_window_Rec_dialog.png
  • The top section controls WHEN images will be recorded into the sequence.

    • Off ⇒ recording is off…

    • Next One ⇒ the next image displayed is recorded, then back to Off.

    • Stay On ⇒ record each image when displayed.

  • The bottom options control WHERE new images are to be stored into the sequence.

    • After End = at the tail of the sequence.

    • Before Start = at head of sequence.

    • Insert -- = insert before current sequence position.

    • Insert ++ = insert after current sequence position.

    • OverWrite = replace current sequence position.

    • -- OverWrite = replace image before current position.

    • ++ OverWrite = replace image after current position.

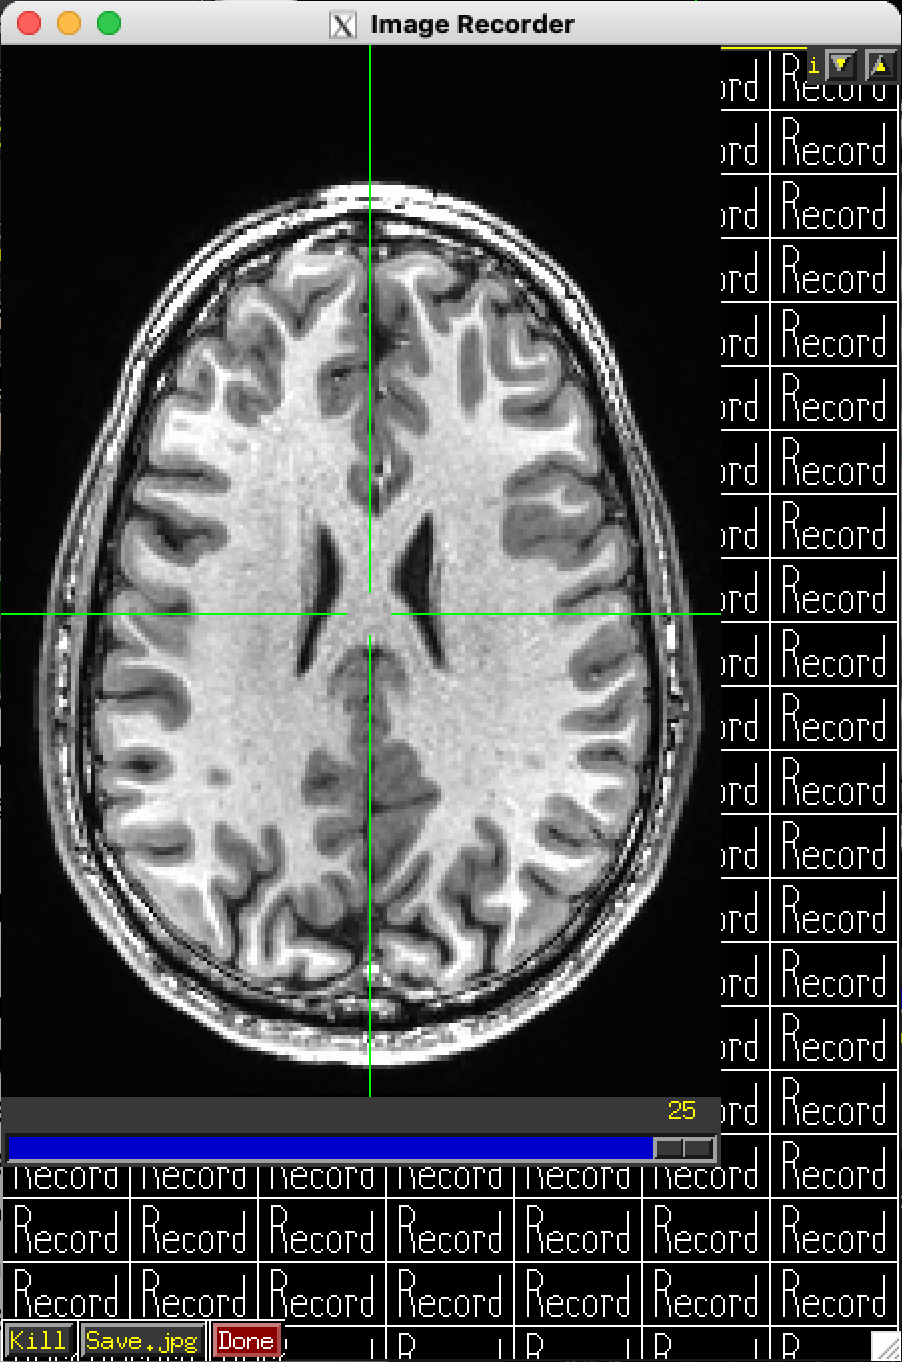
  • Recorded images go into a special new image viewer.

    ../../_images/image_window_Rec_save_viewer.png
  • The slider moves between recorded images.

  • Kill deletes 1 image from recorded sequence.

  • Save will save record images. (files with the same prefix will be overwritten without warning.

  • Right click on Save to change the output image format.

    • Your choice of formats is not saved after you close this special viewer. So remember to change this each time you start.

    • aGif is a good choice. If you leave it on .jpg you will get a single jpeg file for each item in the sequence.

    • You may want to set Xhairs to Off on the AFNI control panel before recording images.

  • Done closes the recorded image viewer.

    • Remember to click Done before you start doing anything else as this will keep recording forever!

  • Here is a simple example output:

    ../../_images/image_window_Rec_example.gif
  • If Unix programs whirlgif and/or gifsicle are installed on your system, AFNI can write GIF animations directly (e.g., for fun Web pages).

  • If program mpeg_encode is installed, AFNI can write MPEG-1 animations.

  • Source code for these free programs is included with AFNI source code.
../../_images/image_window_Rec.png

Disp Options

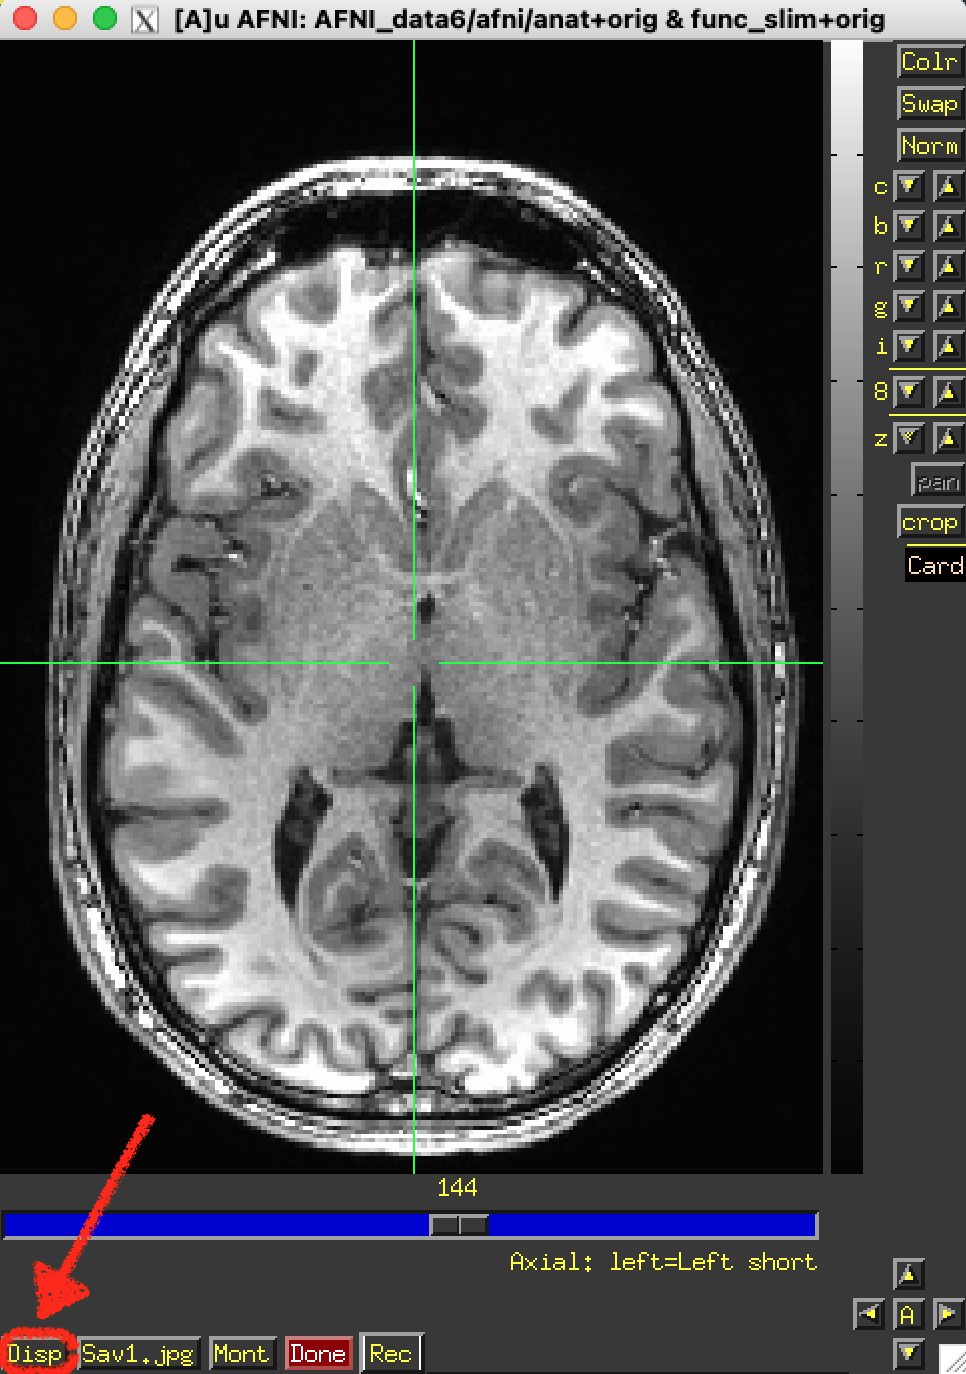
Disp controls the way images are displayed and saved. It pops up its own control window and most controls change image immediately.

../../_images/image_window_Disp.png ../../_images/image_window_Disp_menu.png

Orientation

  • Orientation controls at top allow you to flip image around in certain directions (clockwise and counter clockwise) and number of degrees.

    No Rotation

    CCW 90

    Rot 180

    CW 90

    ../../_images/image_window_Disp_menu_no_rot.png ../../_images/image_window_Disp_menu_ccw_90.png ../../_images/image_window_Disp_menu_rot_180.png ../../_images/image_window_Disp_menu_cw_90.png
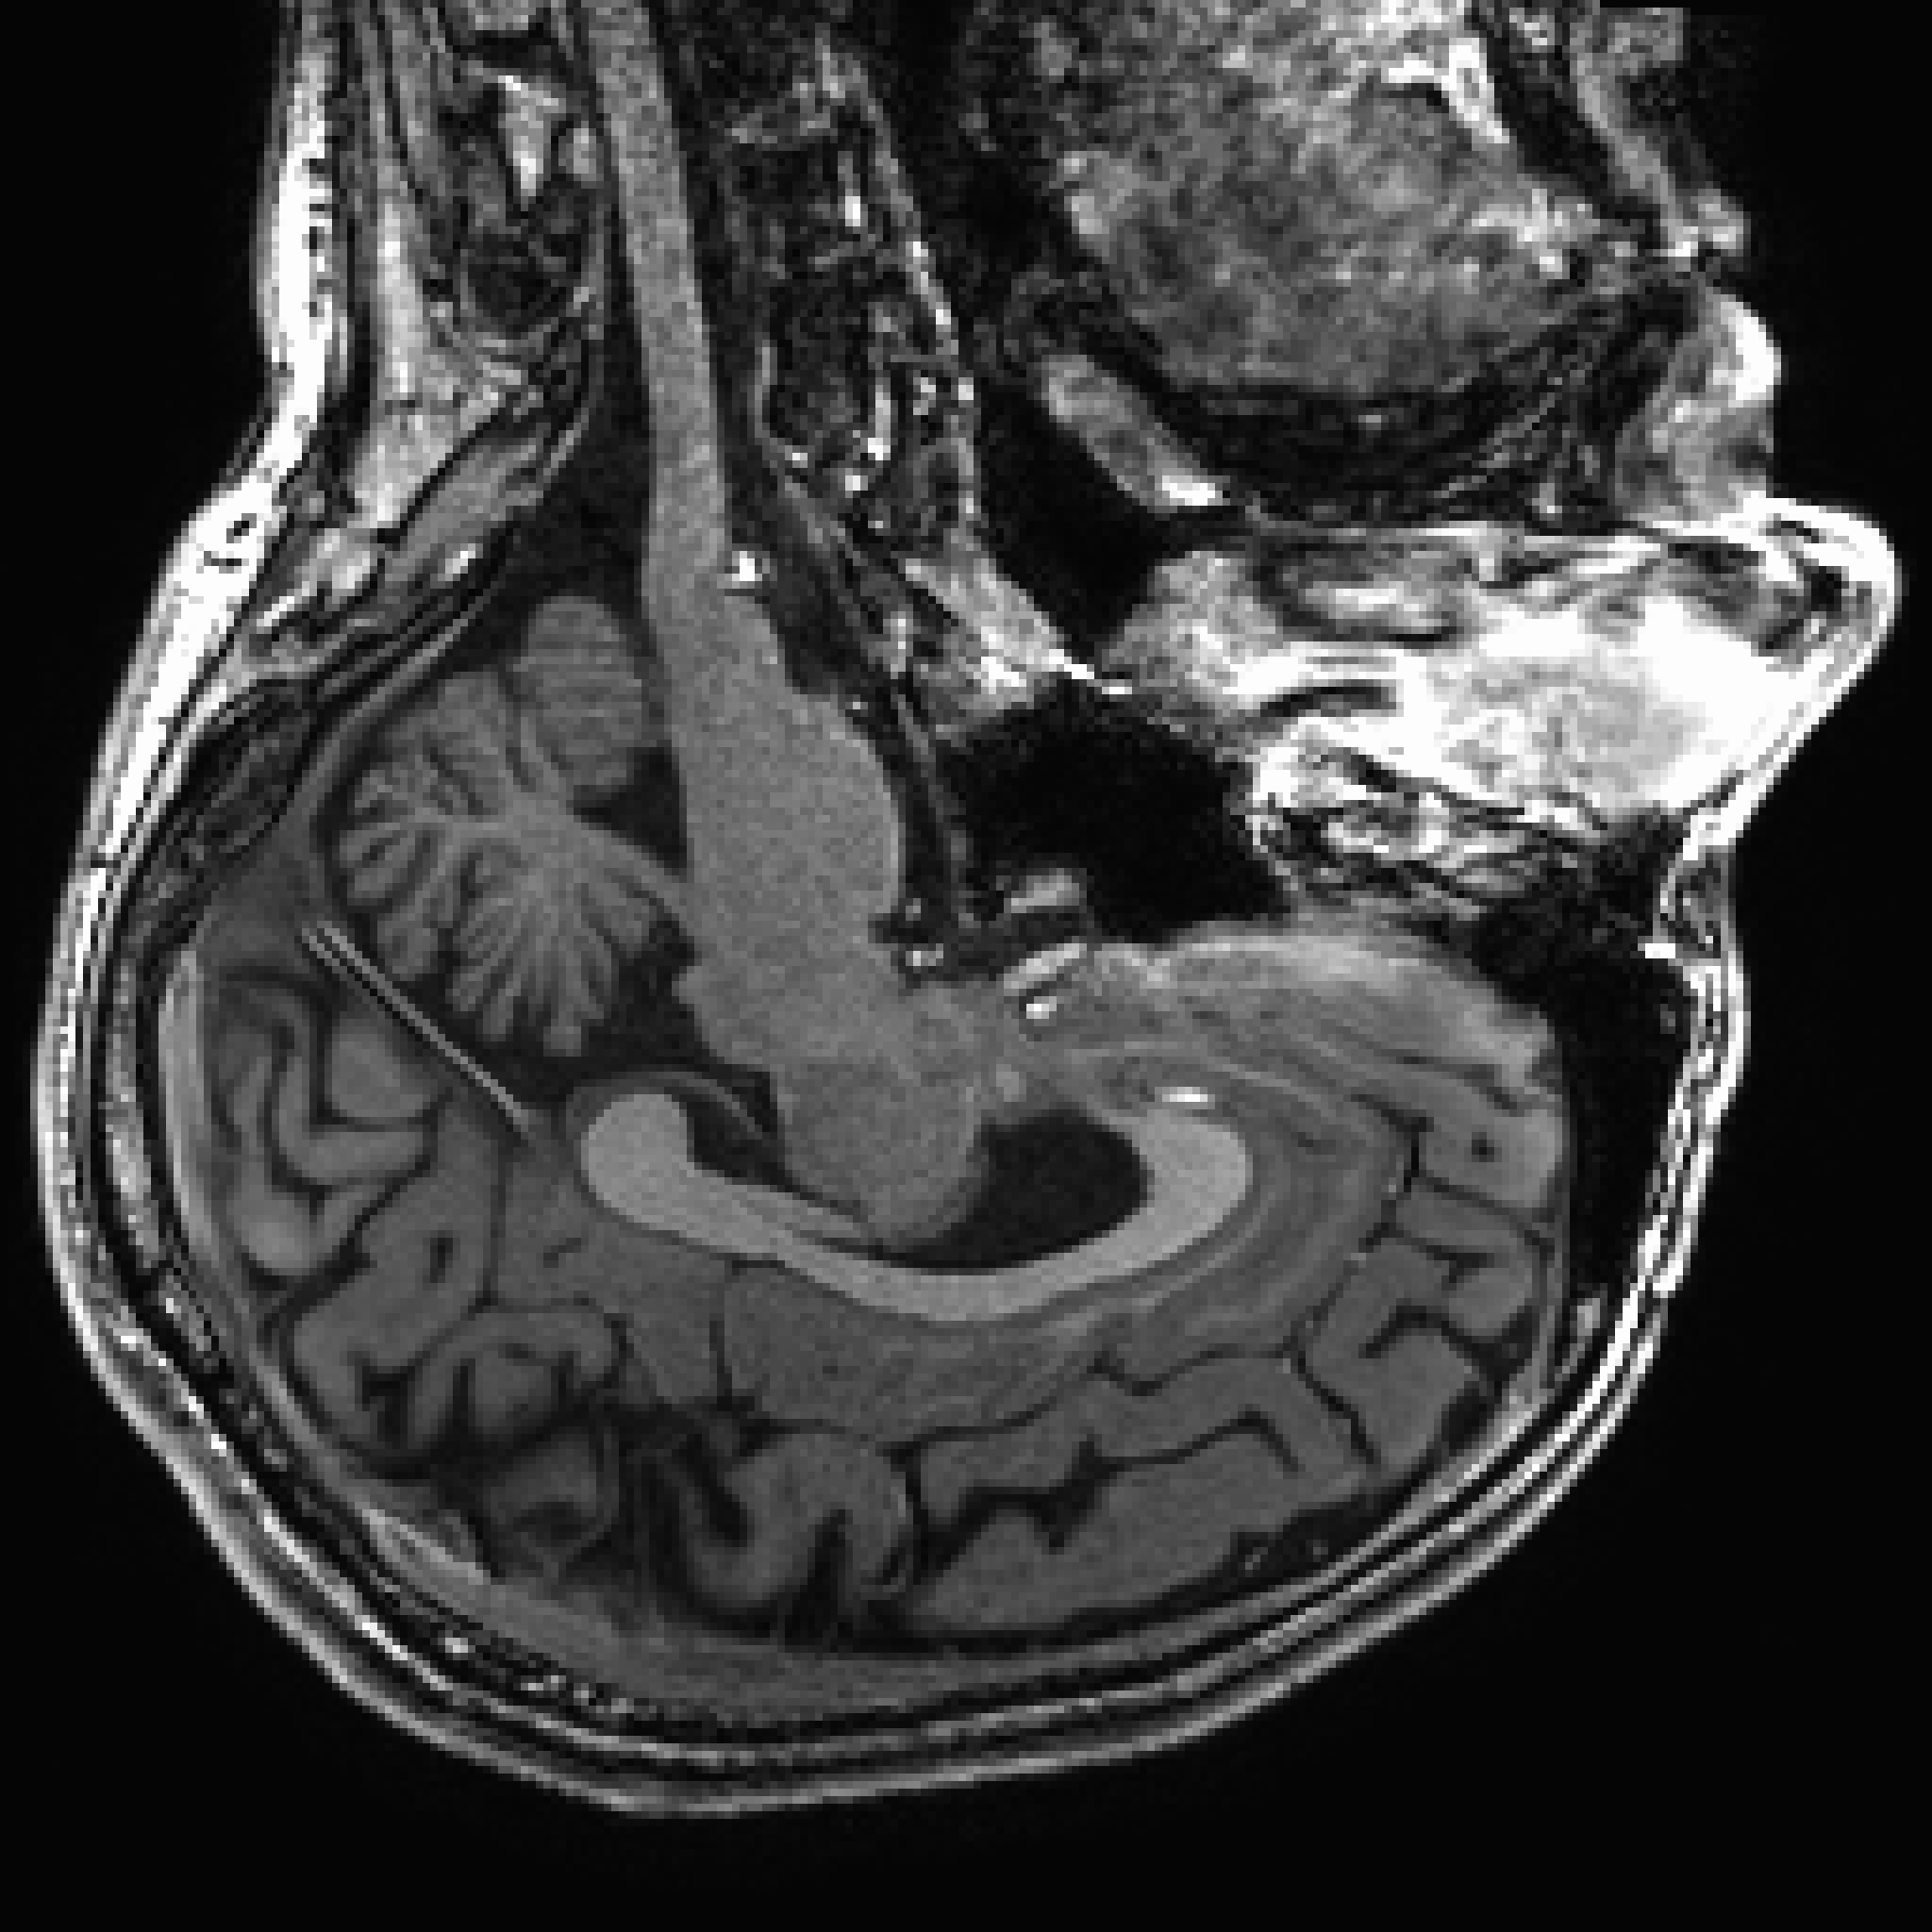
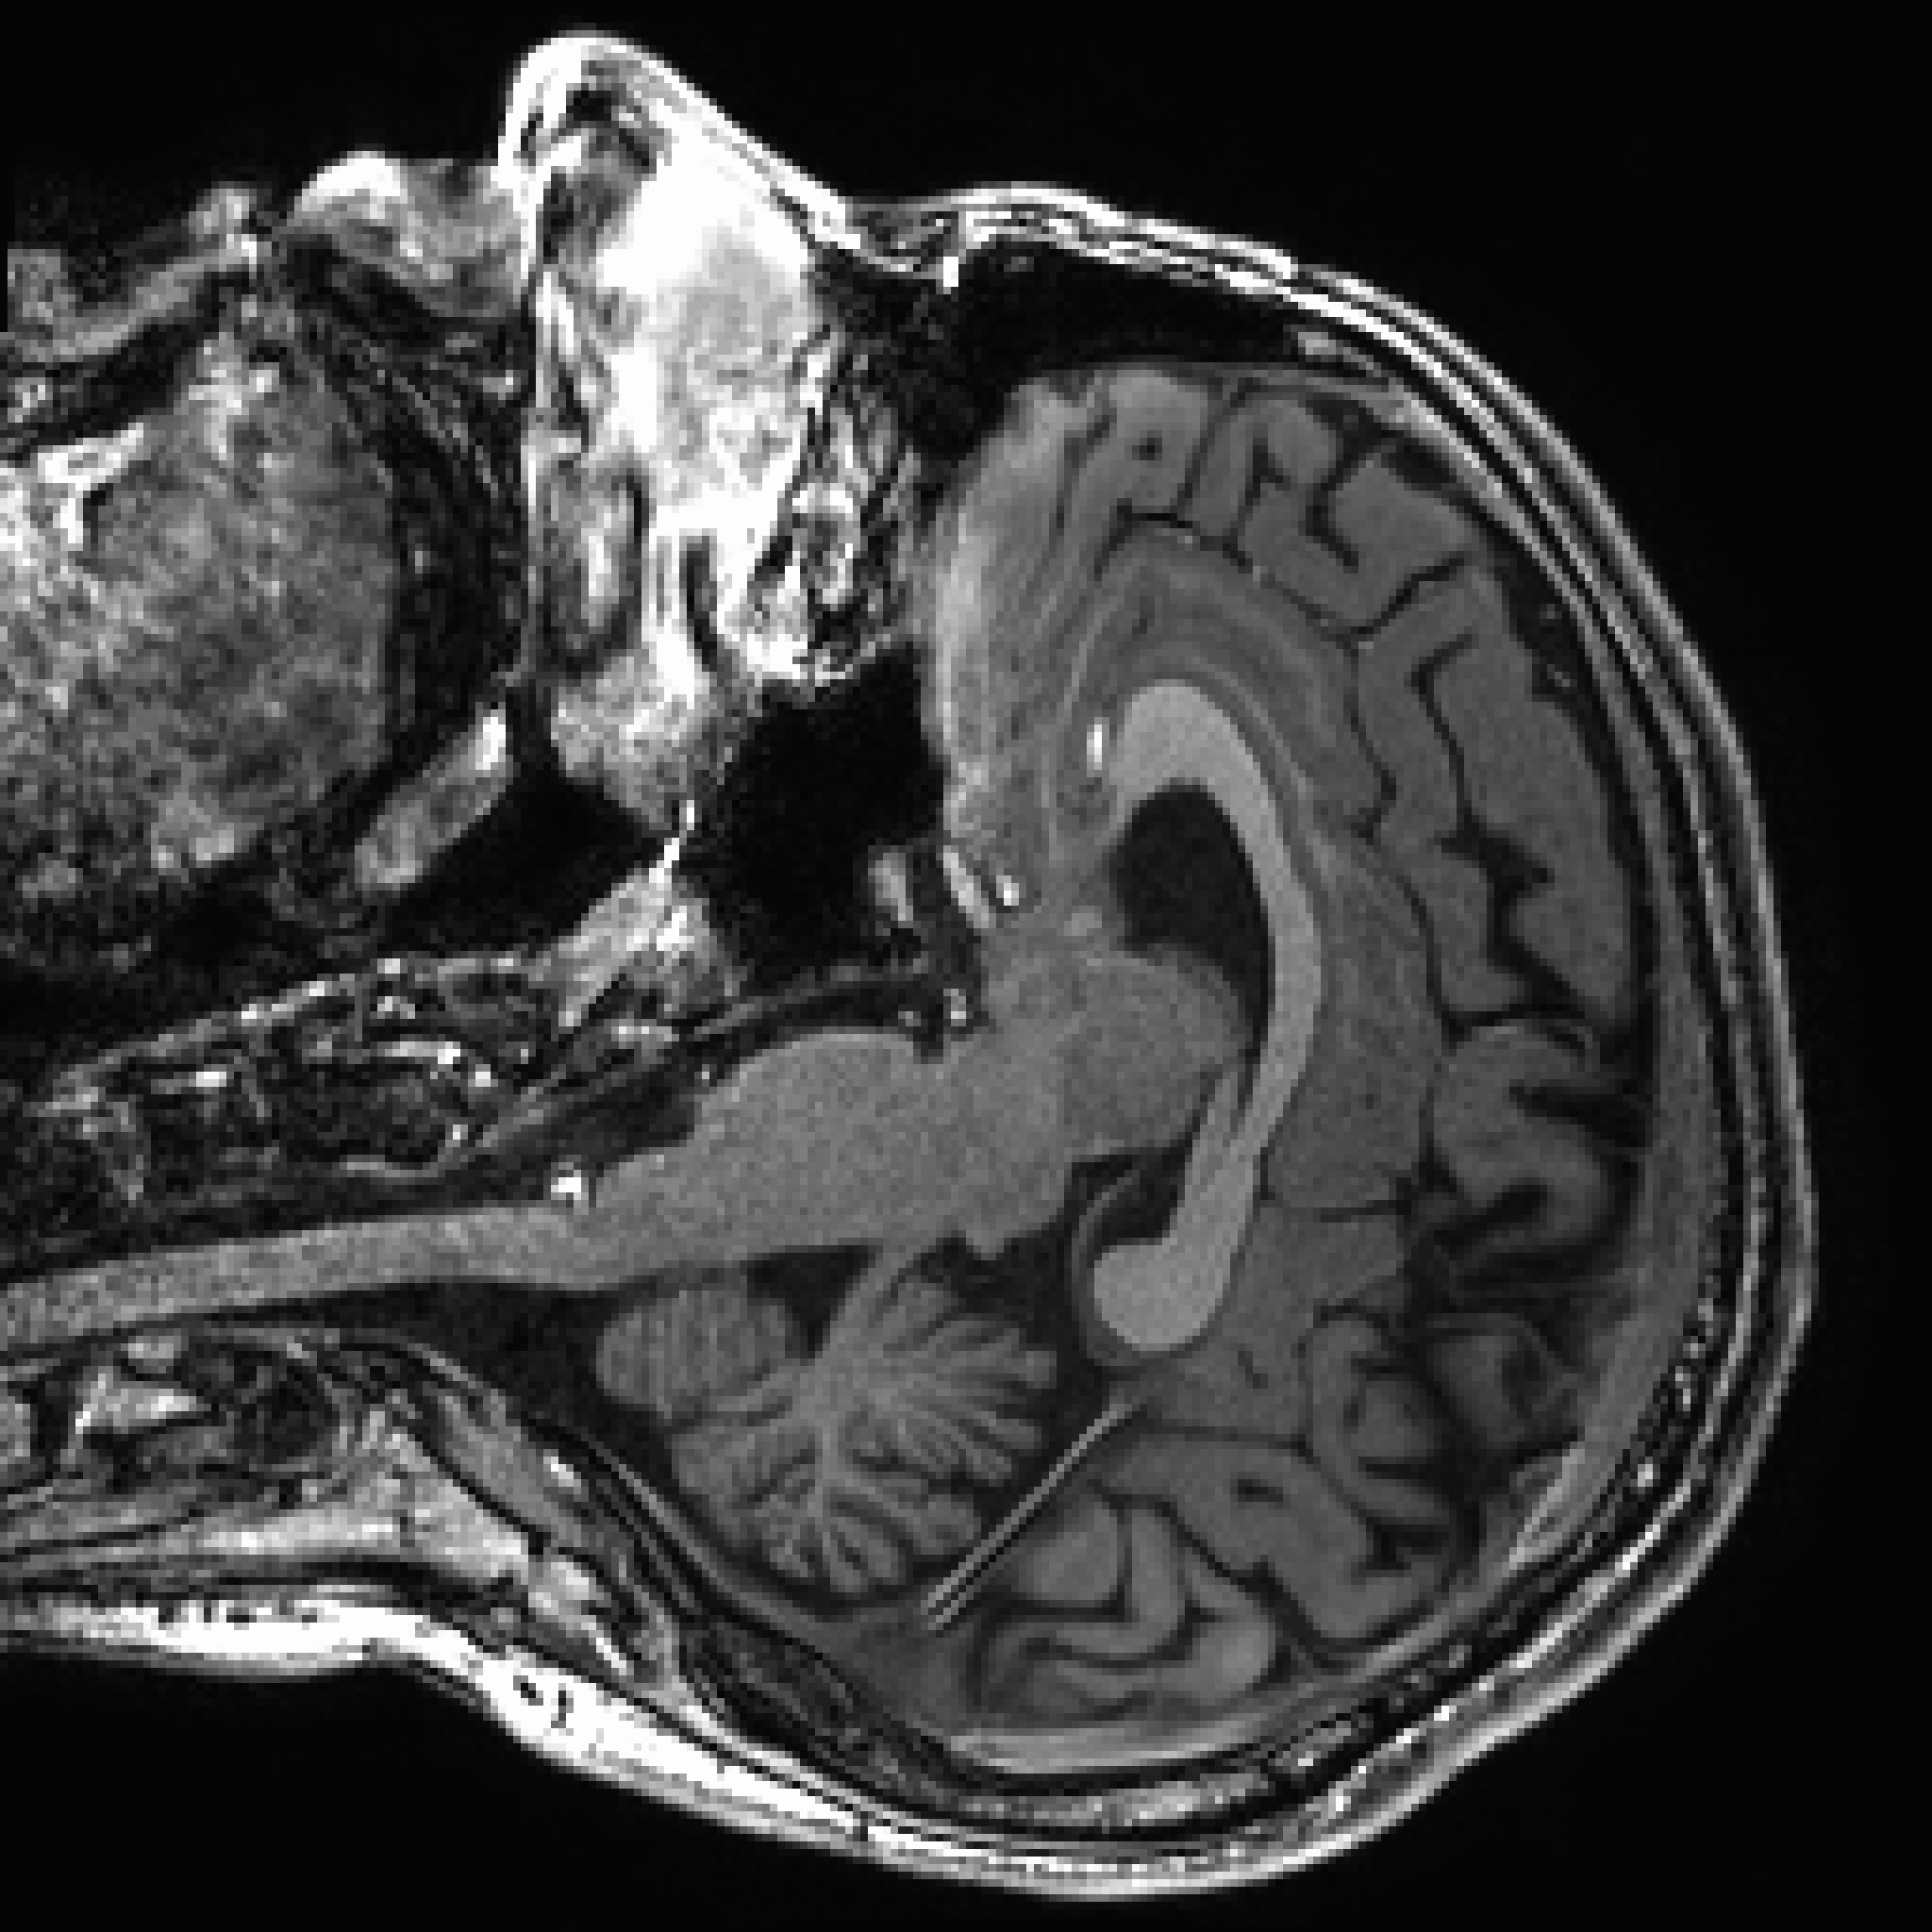
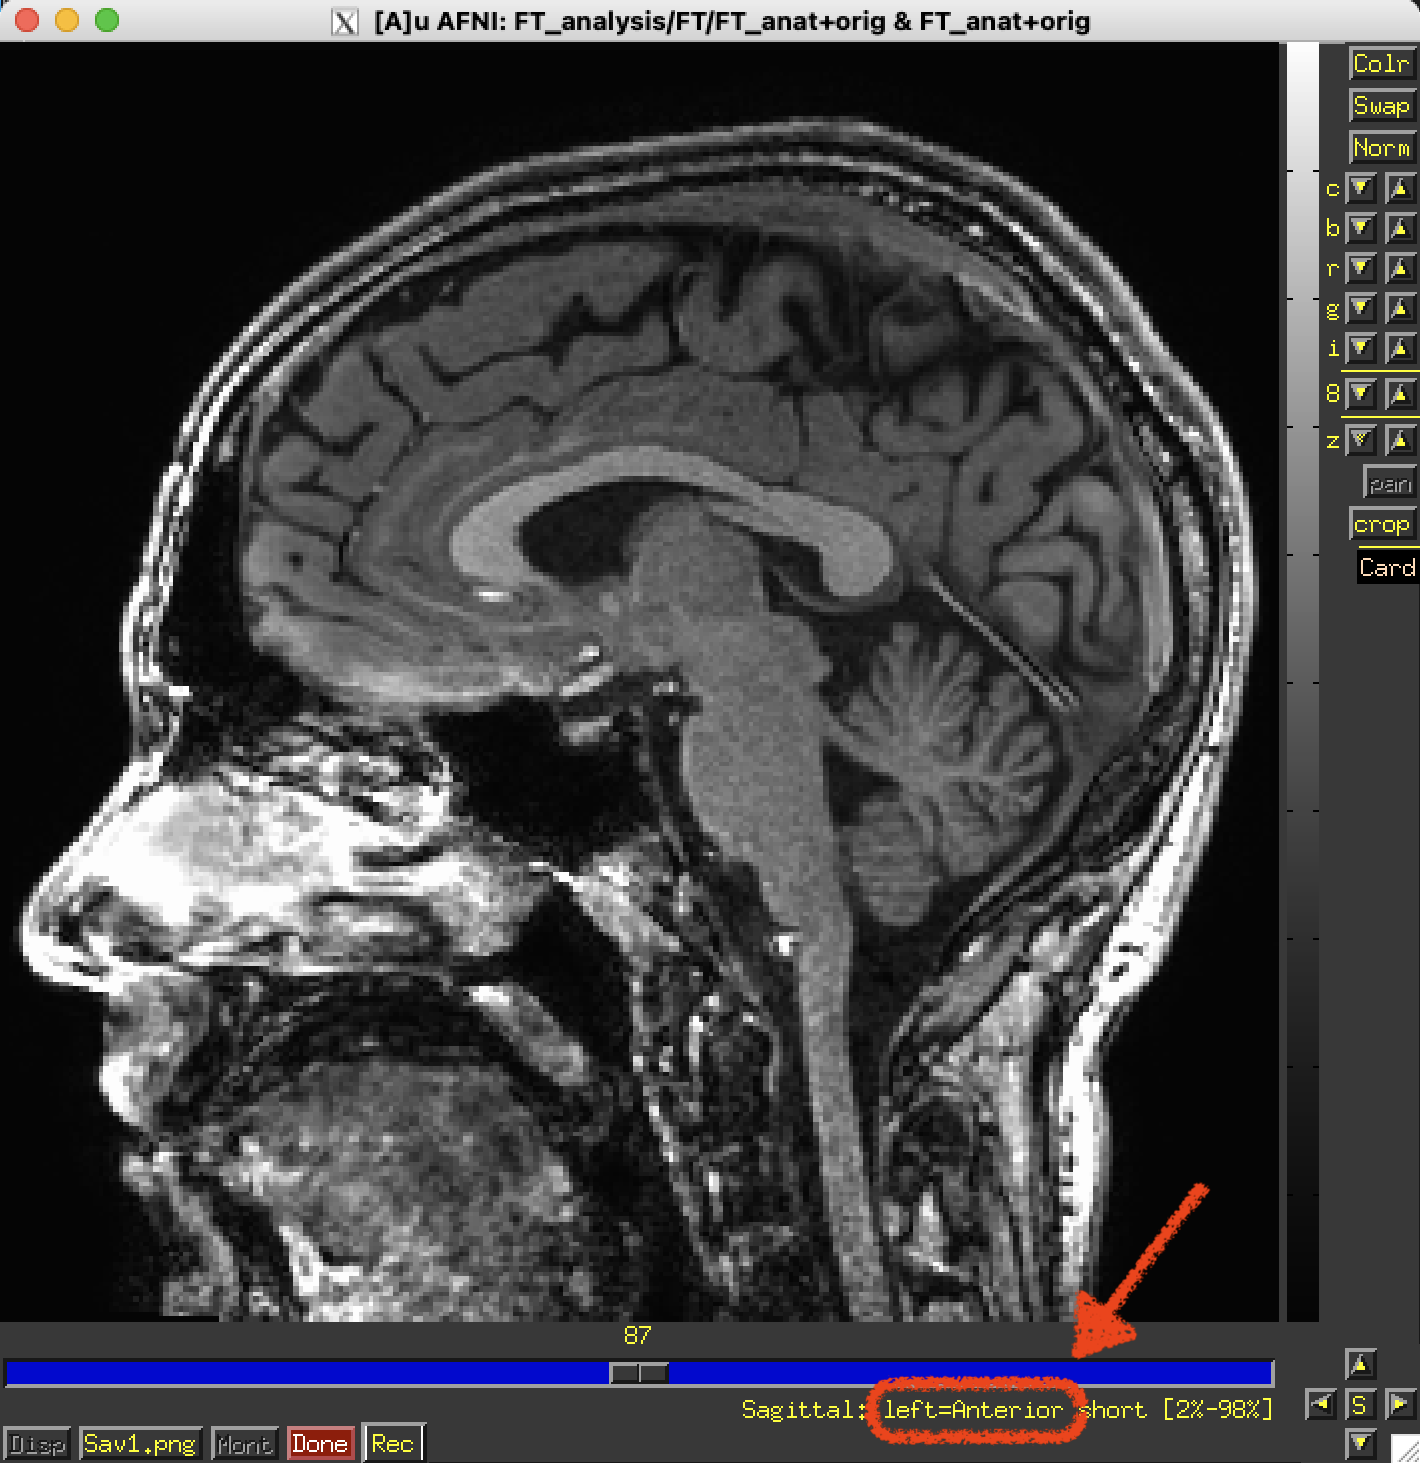
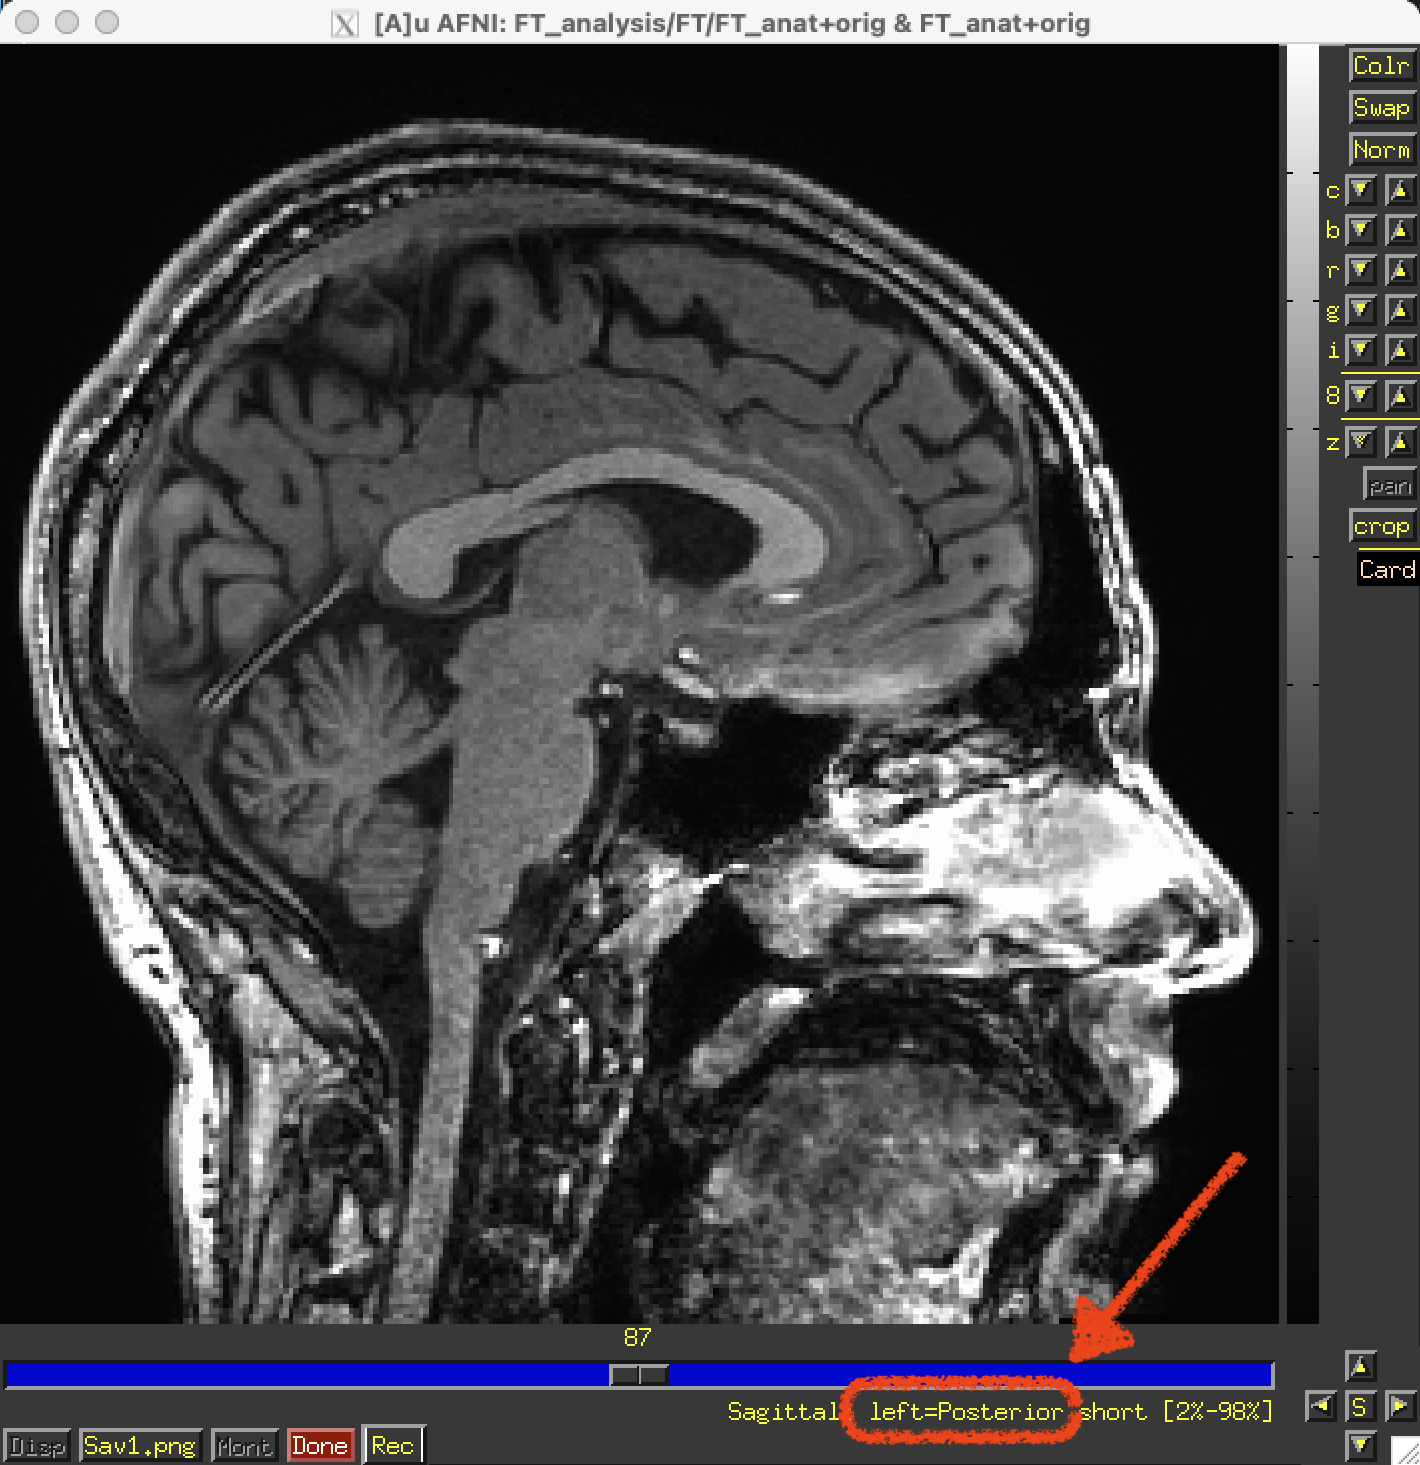
  • + LR Mirror flips the image left to right. For example, if the image was displayed left=Anterior, it will flip to left=Posterior.

    Not flipped (default).

    Left Right flipped.

    ../../_images/image_window_Disp_menu_LR_not_flipped.png ../../_images/image_window_Disp_menu_LR_flipped.png
../../_images/image_window_Disp_menu_orient.png

Overlay and Intensity

  • No Overlay lets you turn color overlays off (crosshairs, functional overlays, etc.)

  • Min-to-Max Intensity bar is data min-to-max.

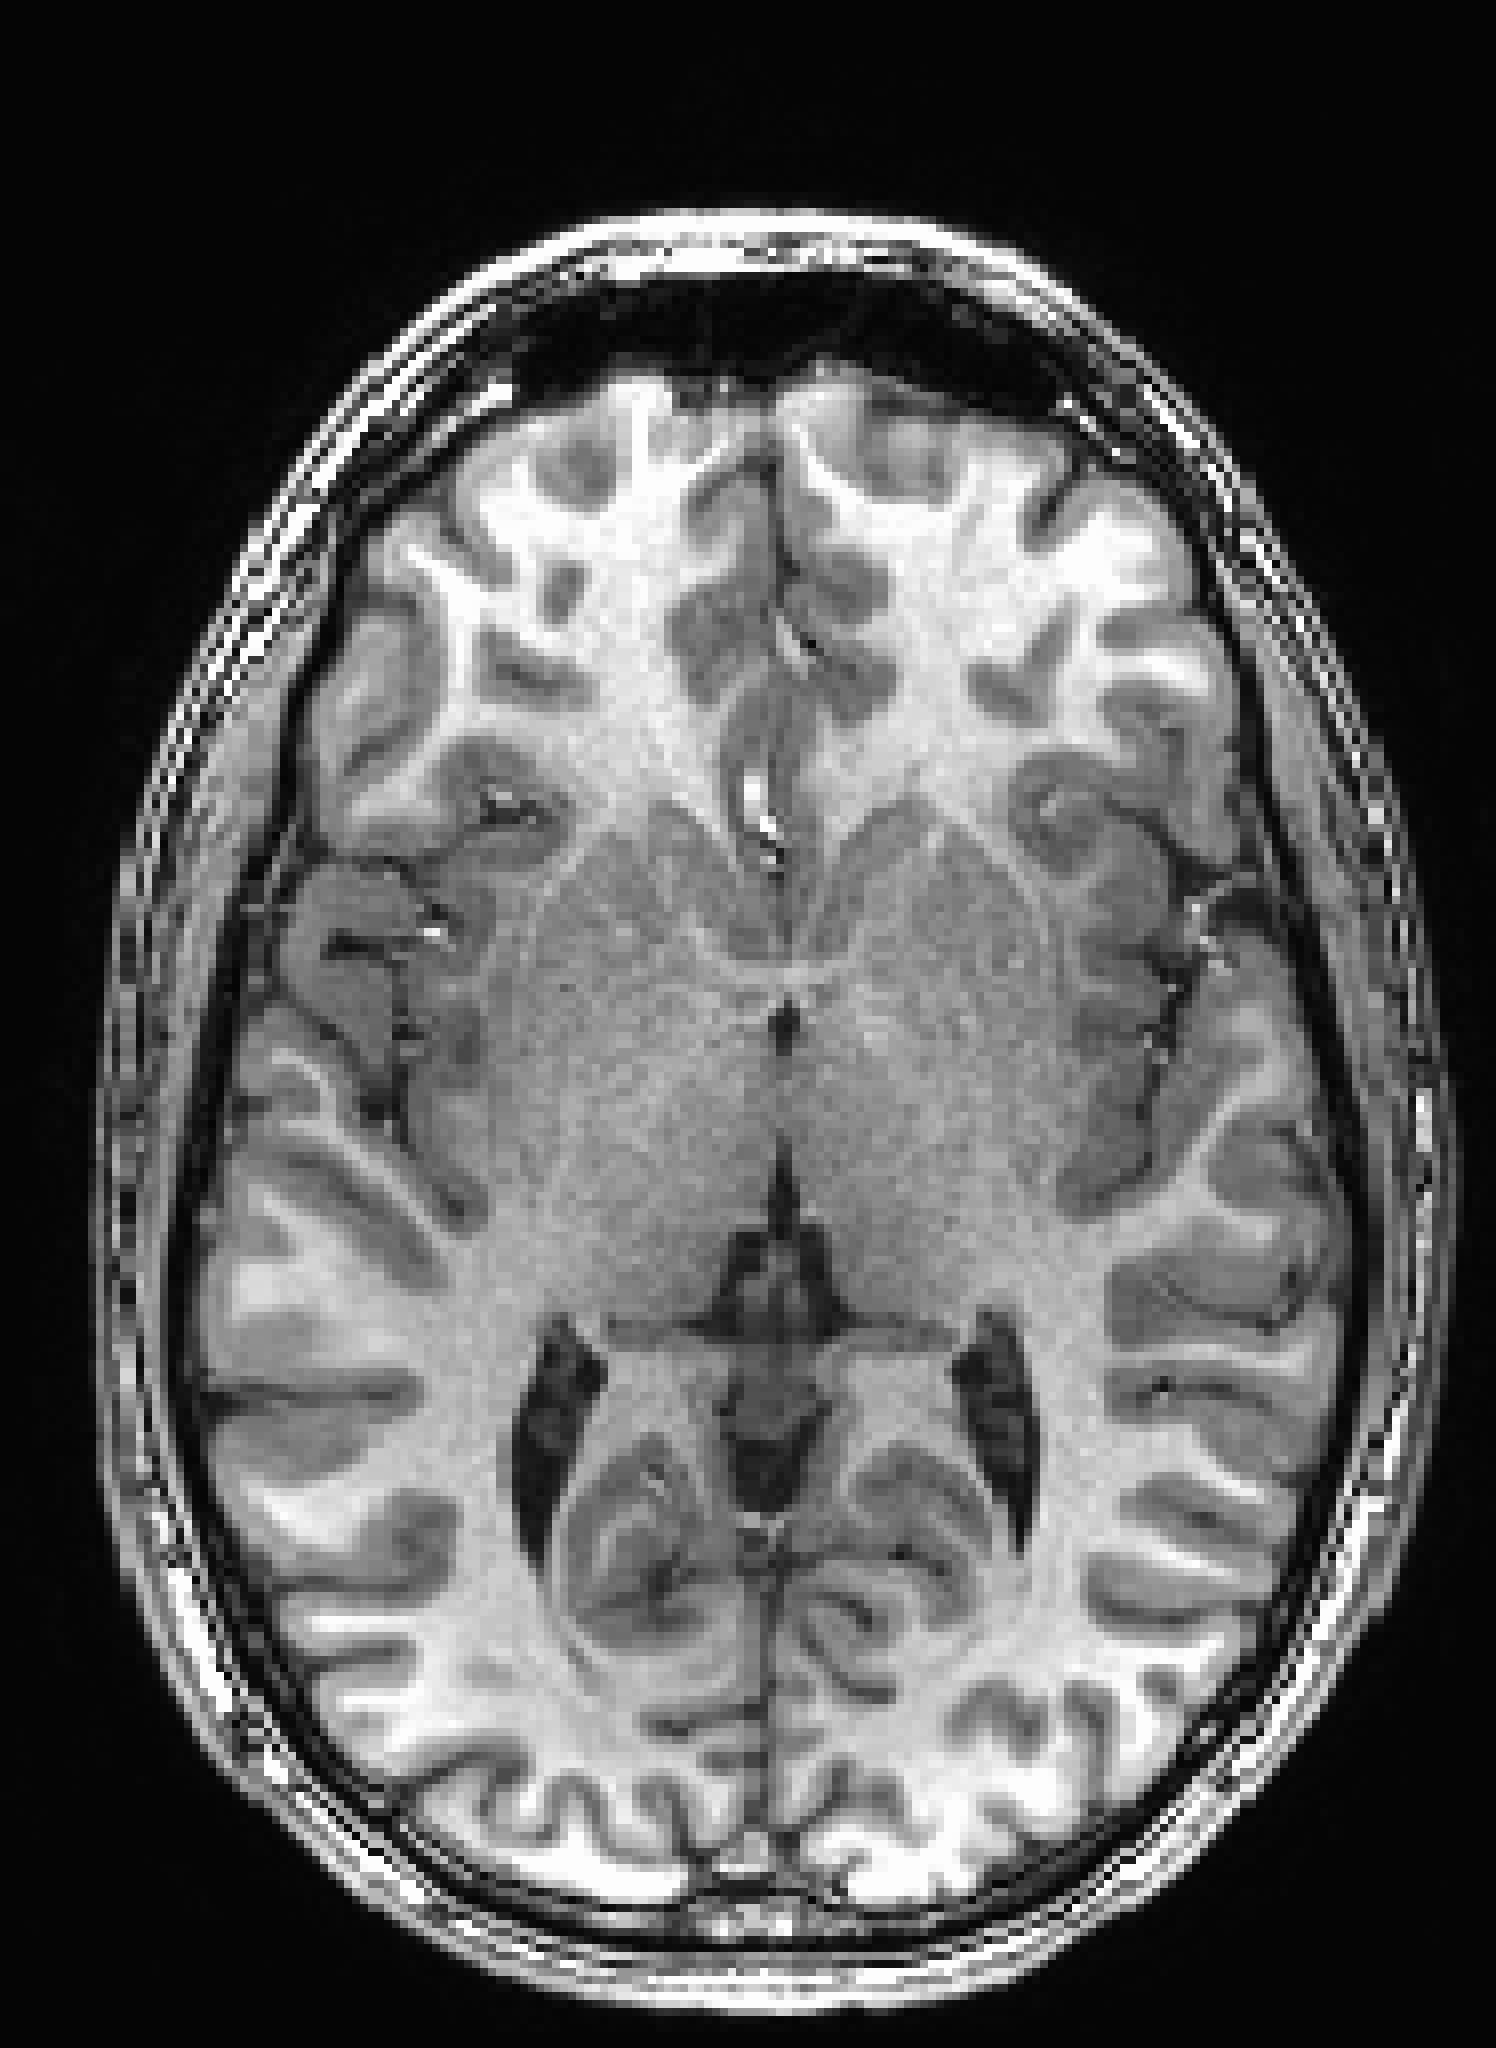
  • 2%-to-98% Intensity bar is smallest 2% of data to largest 98%. This avoids having a few very bright voxels dominate intensity scaling. This is the default setting.

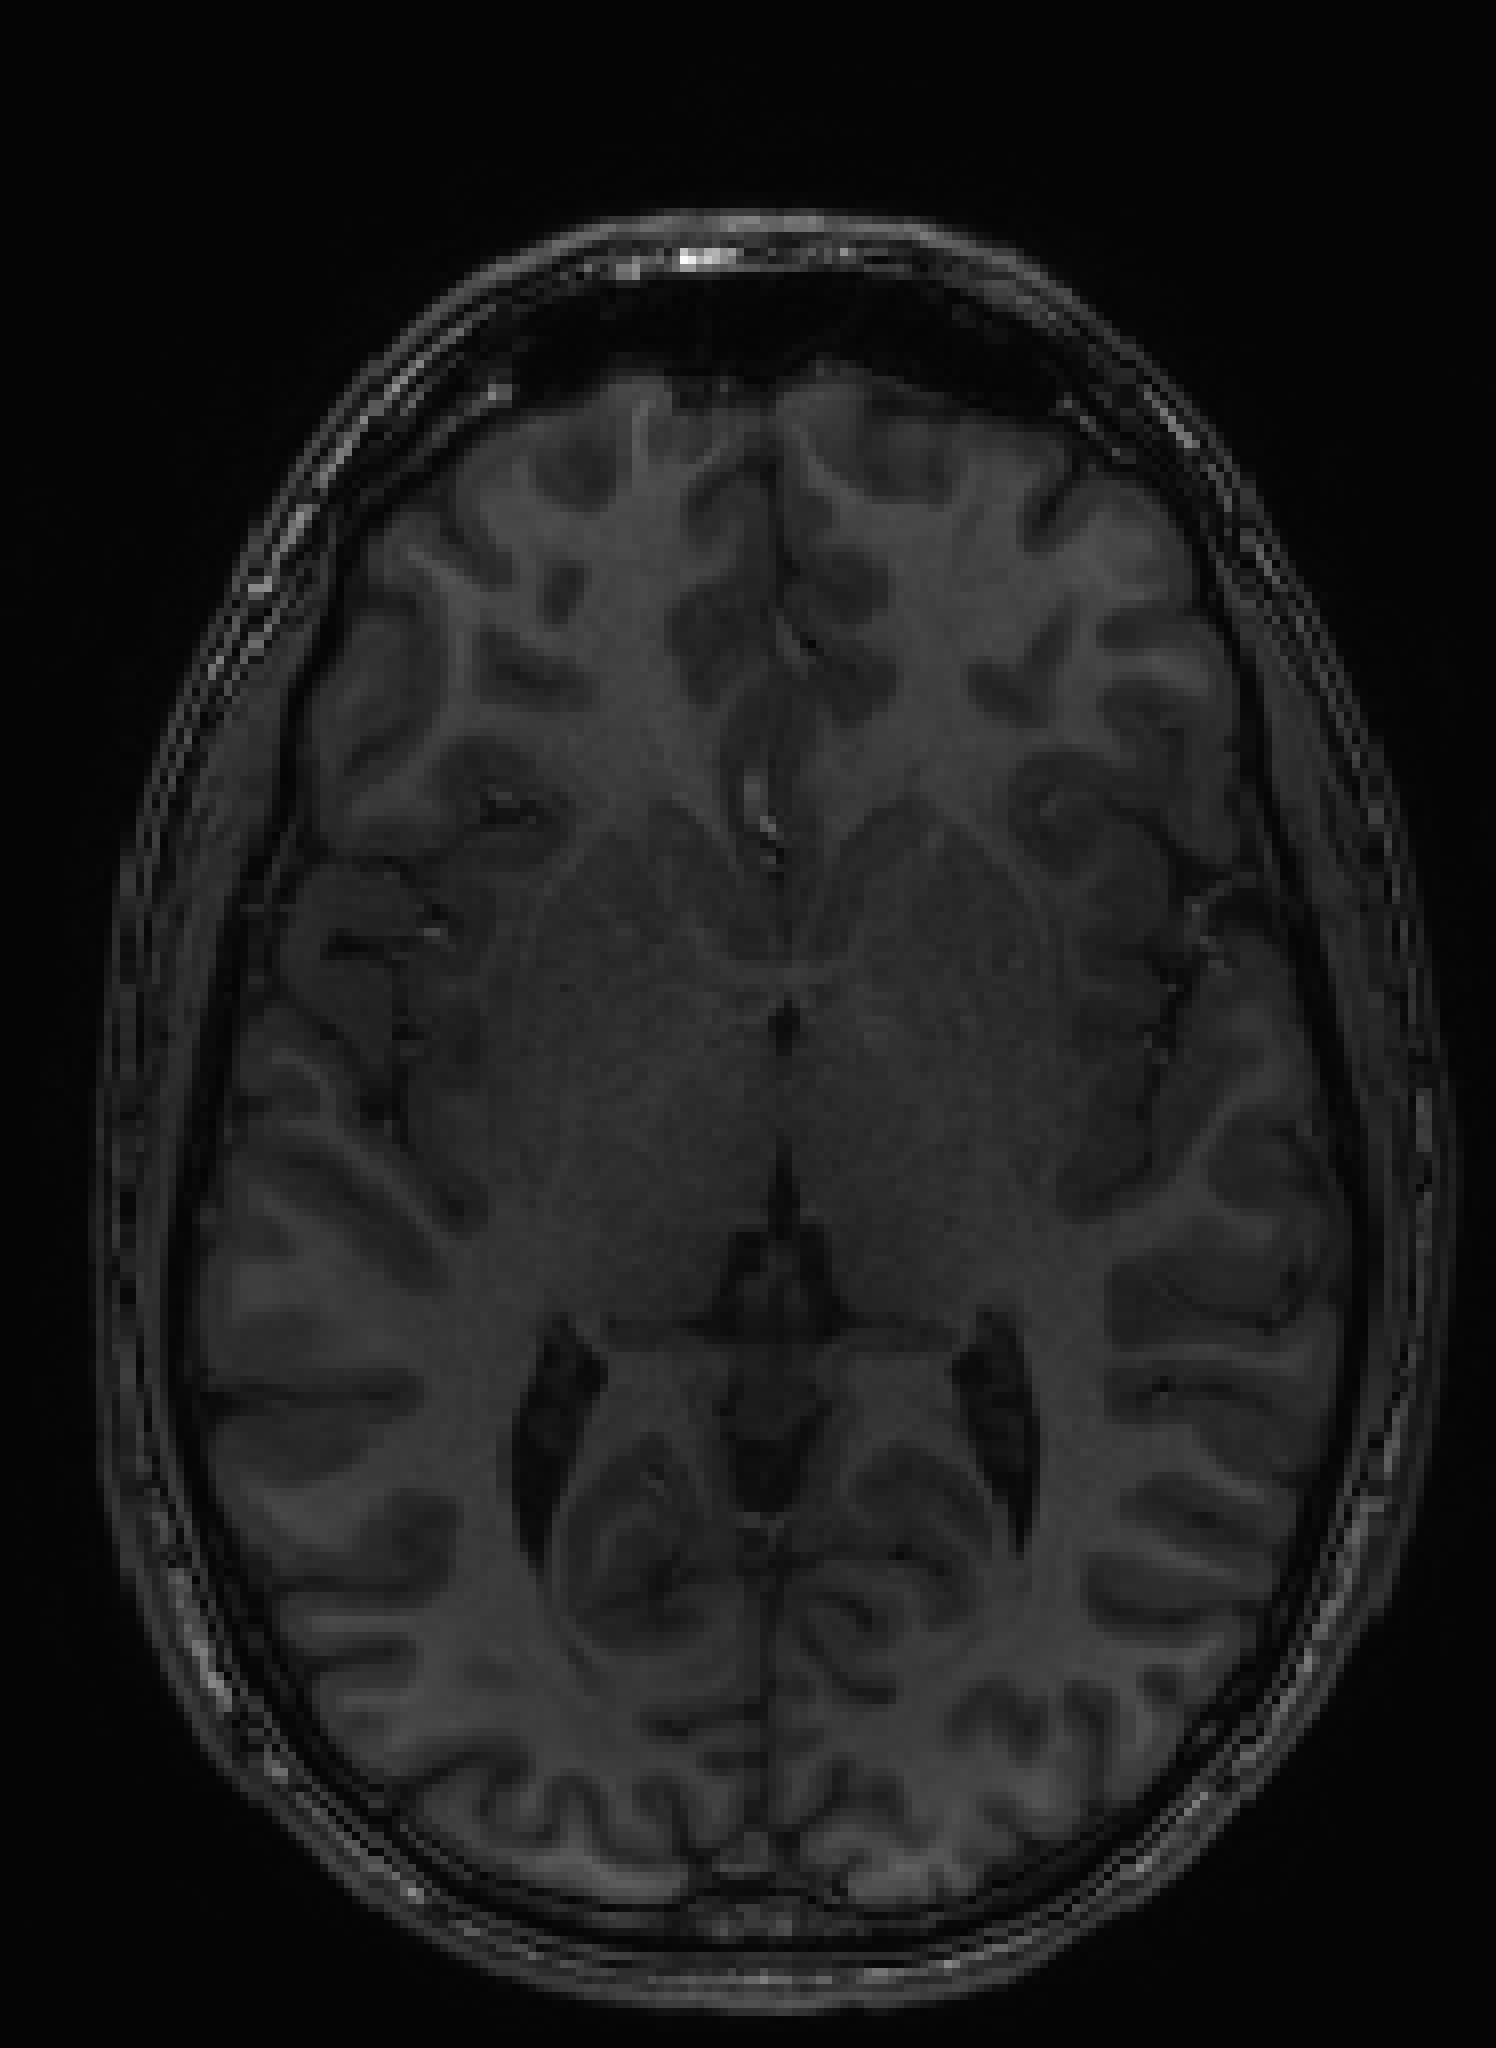
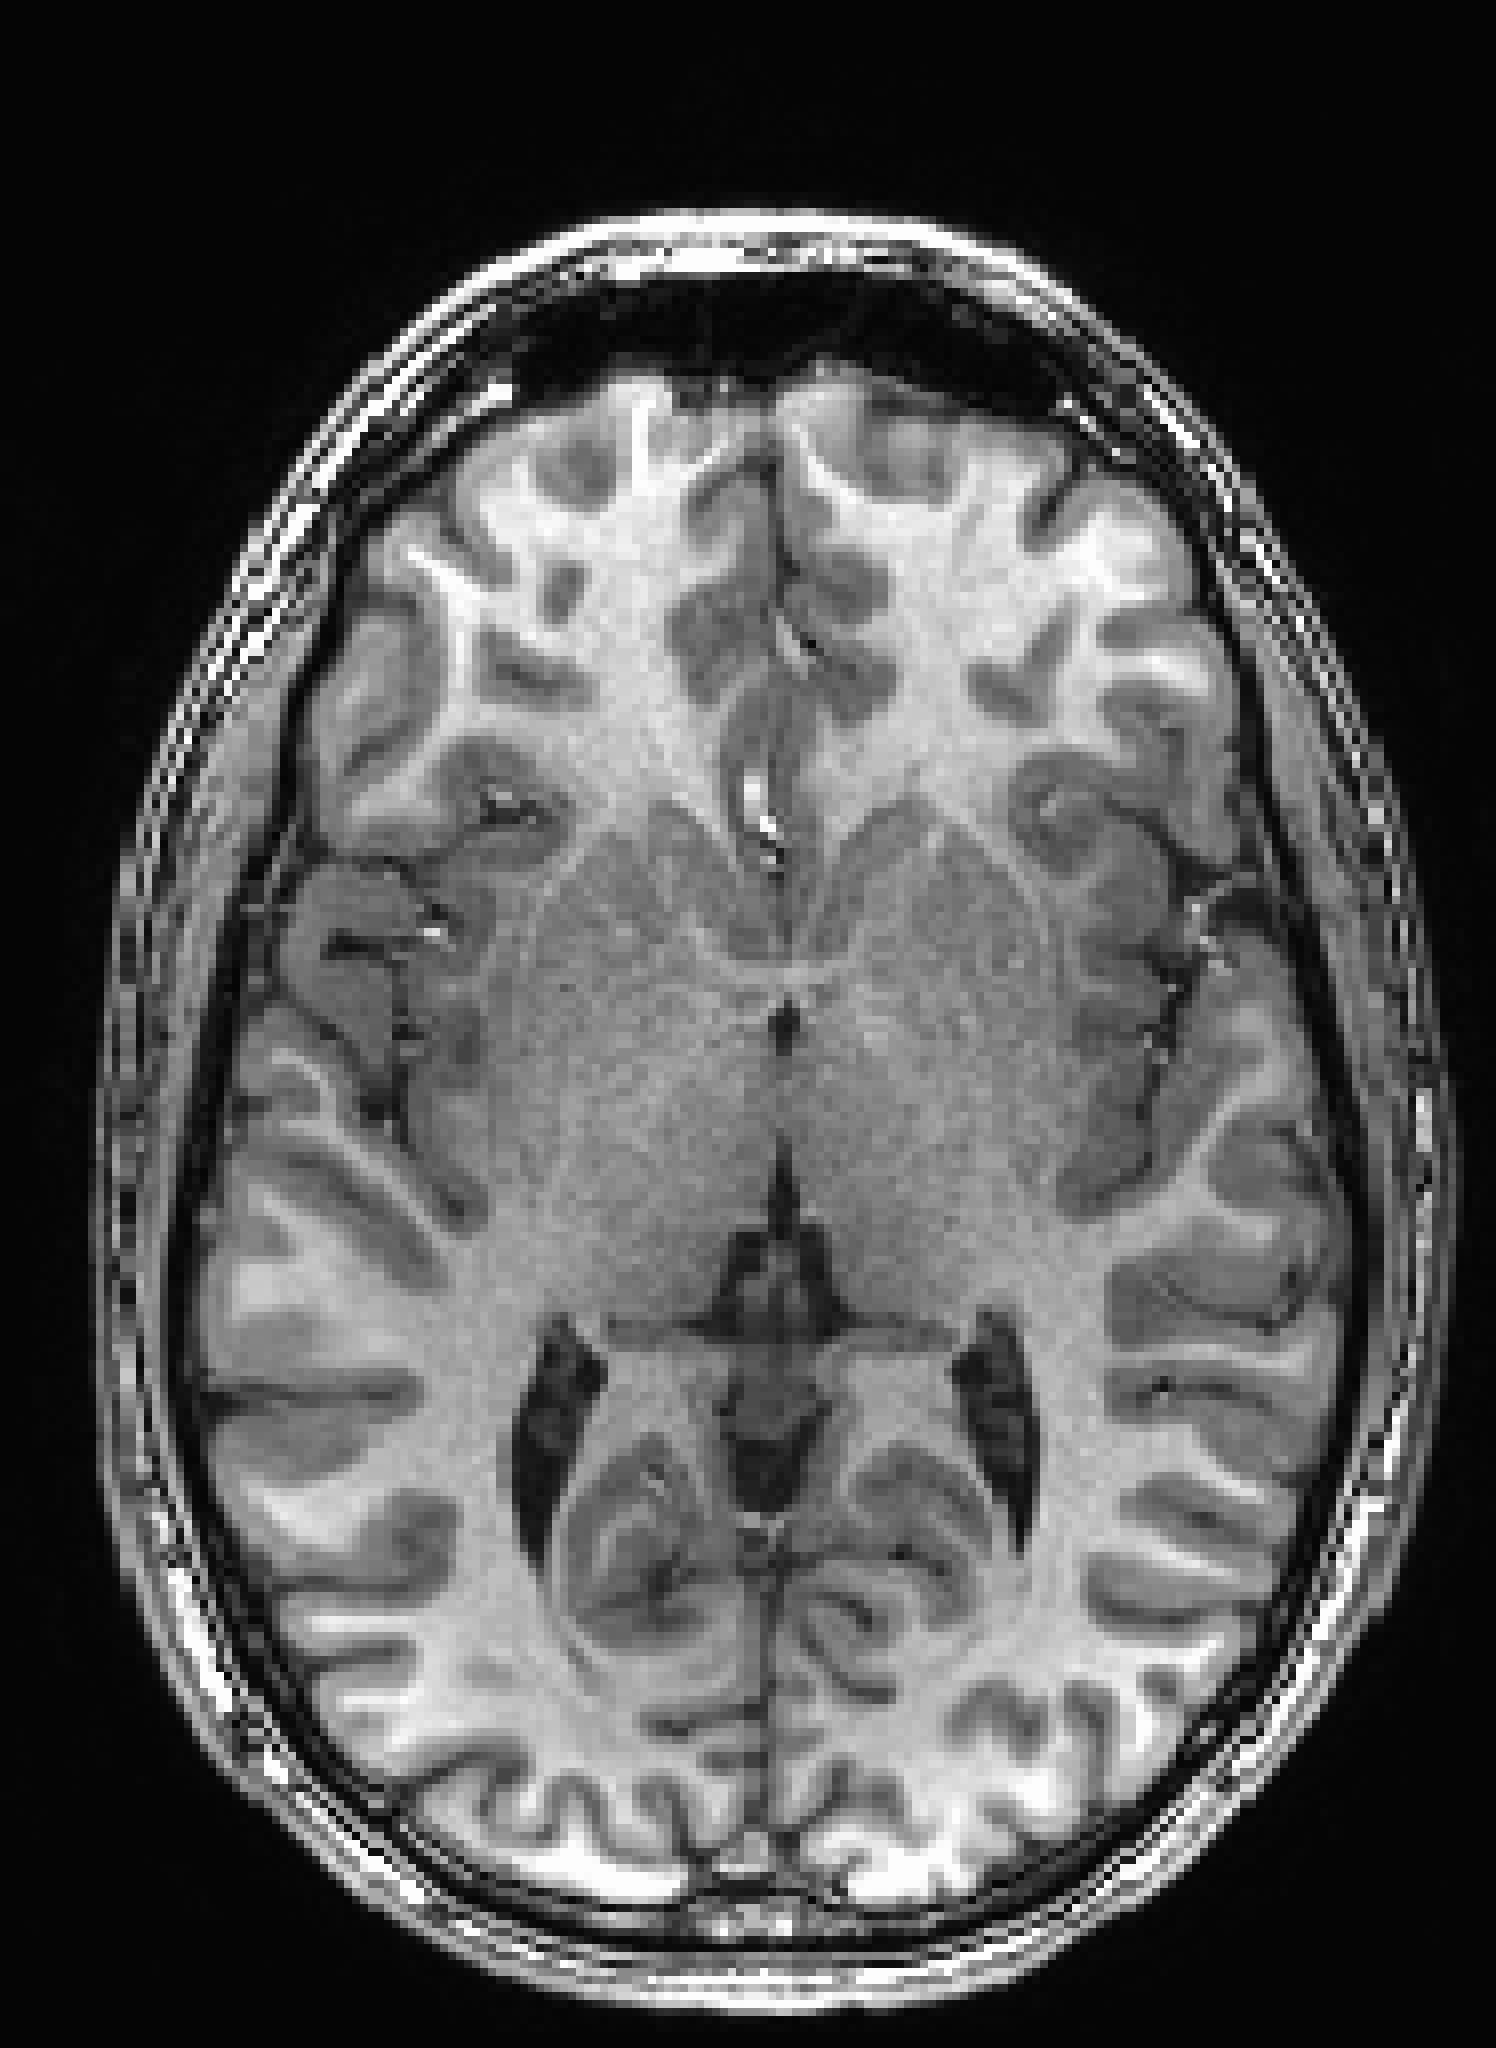
  • Clipped Intensities are mapped over an auto-clipped range of data in all images (Axial, Sagittal, and Coronal).

    Min-to-Max

    2%-to-98%

    Clipped

    ../../_images/image_window_Disp_Min2Max.jpg ../../_images/image_window_Disp_2to98.jpg ../../_images/image_window_Disp_Clipped.jpg
../../_images/image_window_Disp_menu_intensity.png

Aspect and Save

  • Free Aspect lets you distort image shape freely. Otherwise, AFNI tries to keep image shape true as you stretch/shrink window. To get the window back to normal, close and reopen it.

    Not sure why you would want to do this…

    ../../_images/image_window_Disp_menu_aspect.png
  • The save panel controls how images are saved to disk. For more details, (see here)

    • All buttons off: saved image file contains slice raw data. Saved in PNM format (portable bitmap format). These may not open in your default image viewer.

    • Nsize Save: images are saved at a power of 2 in PNM format.

    • PNM Save: images are saved in PNM format.

    • Save to .xxx(s): saves image(s) to specified format.

    • Save One: Selected is default. This will only save a snapshot of the current display. This is the ONLY way to save a montage. If it is not selected, the Save button asks for the first and last image indexes (slices) to save. Then it saves each individual image (no montage) to an individual file. By default, it saves ALL slices with the file name format of PREFIX.xxxx.
      ../../_images/image_window_Disp_menu_save_multi.png
    • Save Anim GIF and Save Anim MPG will save an animated “movie” file scrolling through the slices of the image.

      • Files will be saved in .gif or .mpg depending on the selection.

      • This takes precedence over Save One.

      • The top of the image window will display the progress of the export.

      • This first exports a file per slice, then combines them into the .gif or .mpg format. If you have a lot of slices, you will see the individual files in your current working directory before they are combined.

      • GIF animations may require gifsicle to be installed.

      • MPEG-1 animations may require ffmpeg to be installed.

      • The .gif format takes up a lot more file space than .mpg with the same number of slices.

      • The speed difference below is just from the display viewer. Both movies have the same slices.

      GIF format

      MPG format

      ../../_images/image_window_Disp_menu_animated_gif.gif ../../_images/image_window_Disp_menu_animated_mpg.mpg
../../_images/image_window_Disp_menu_aspect_save.png

Project

  • Project applies a projection function to plus-or-minus ‘Slab’ images from each pixel.

    • Minimum = smallest value in the slab.

    • Maximum = largest value in the slab.

    • Mean = average value in the slab.

    • Median = median value in the slab.

    • OSfilt = xxx.

    • Extreme = value farthest from the median.

    • MAD = Mean absolute deviation.

    • AdptMean = estimator of the mean.

  • Slab +- selects the number of slices around the current view to use for the projection. Useful for looking at blood vessels and other different images. For example, selecting 2 will project 5 slices (2 before, 2 after and the central slice). Options range from 0 to 19.

  • Below are examples of the projection functions with slab size of 5.

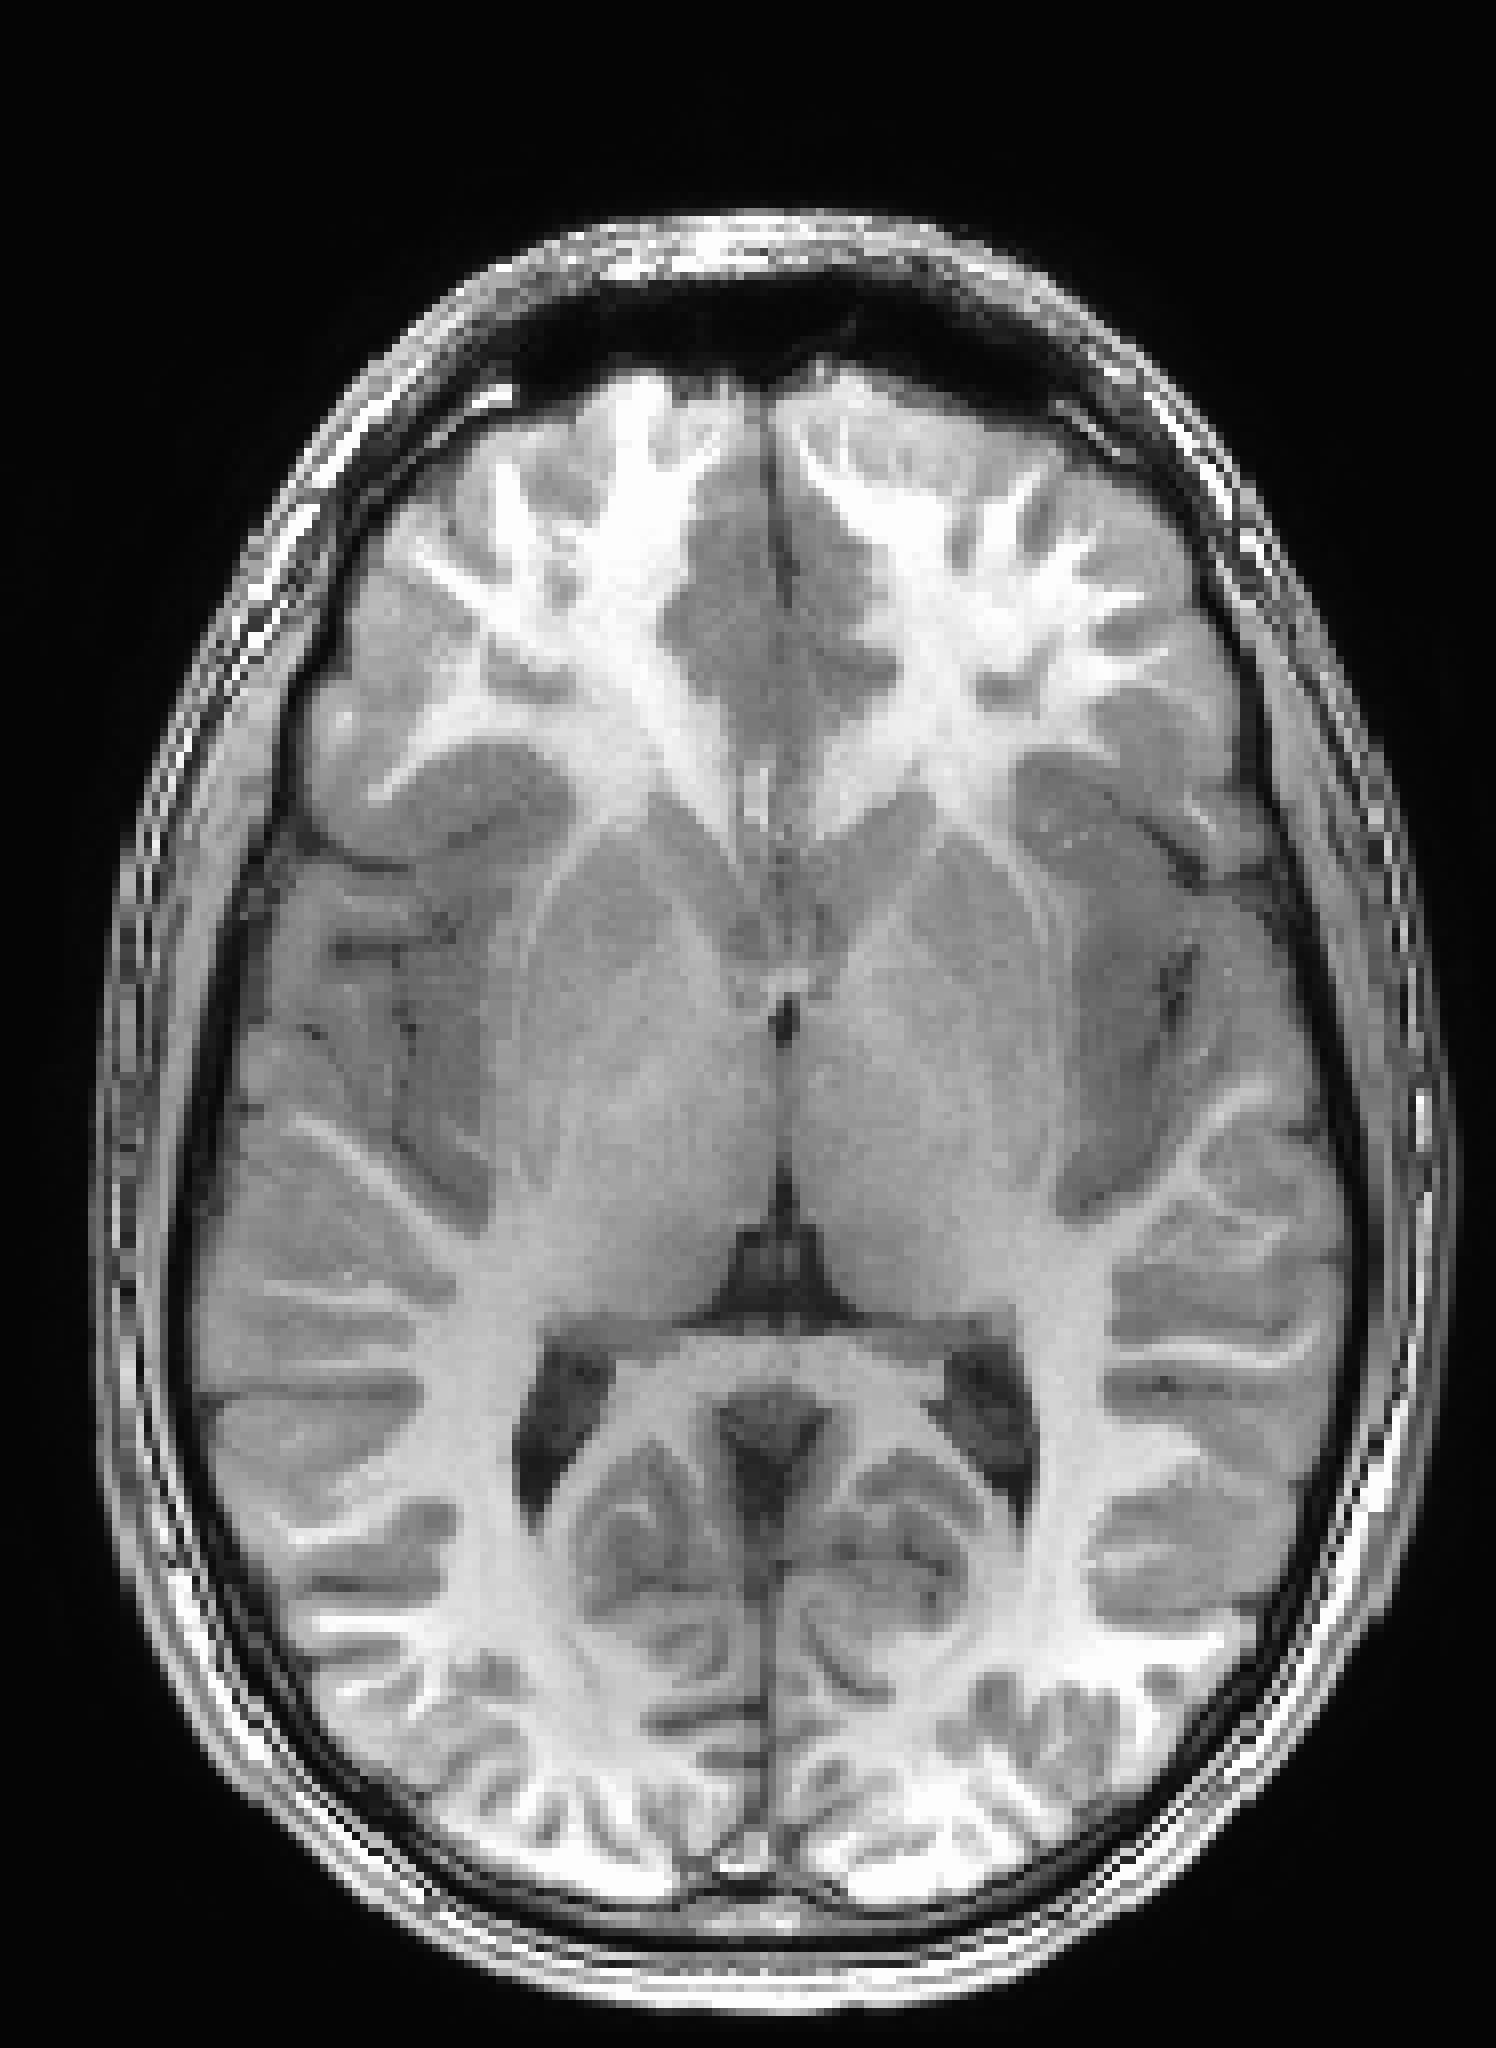
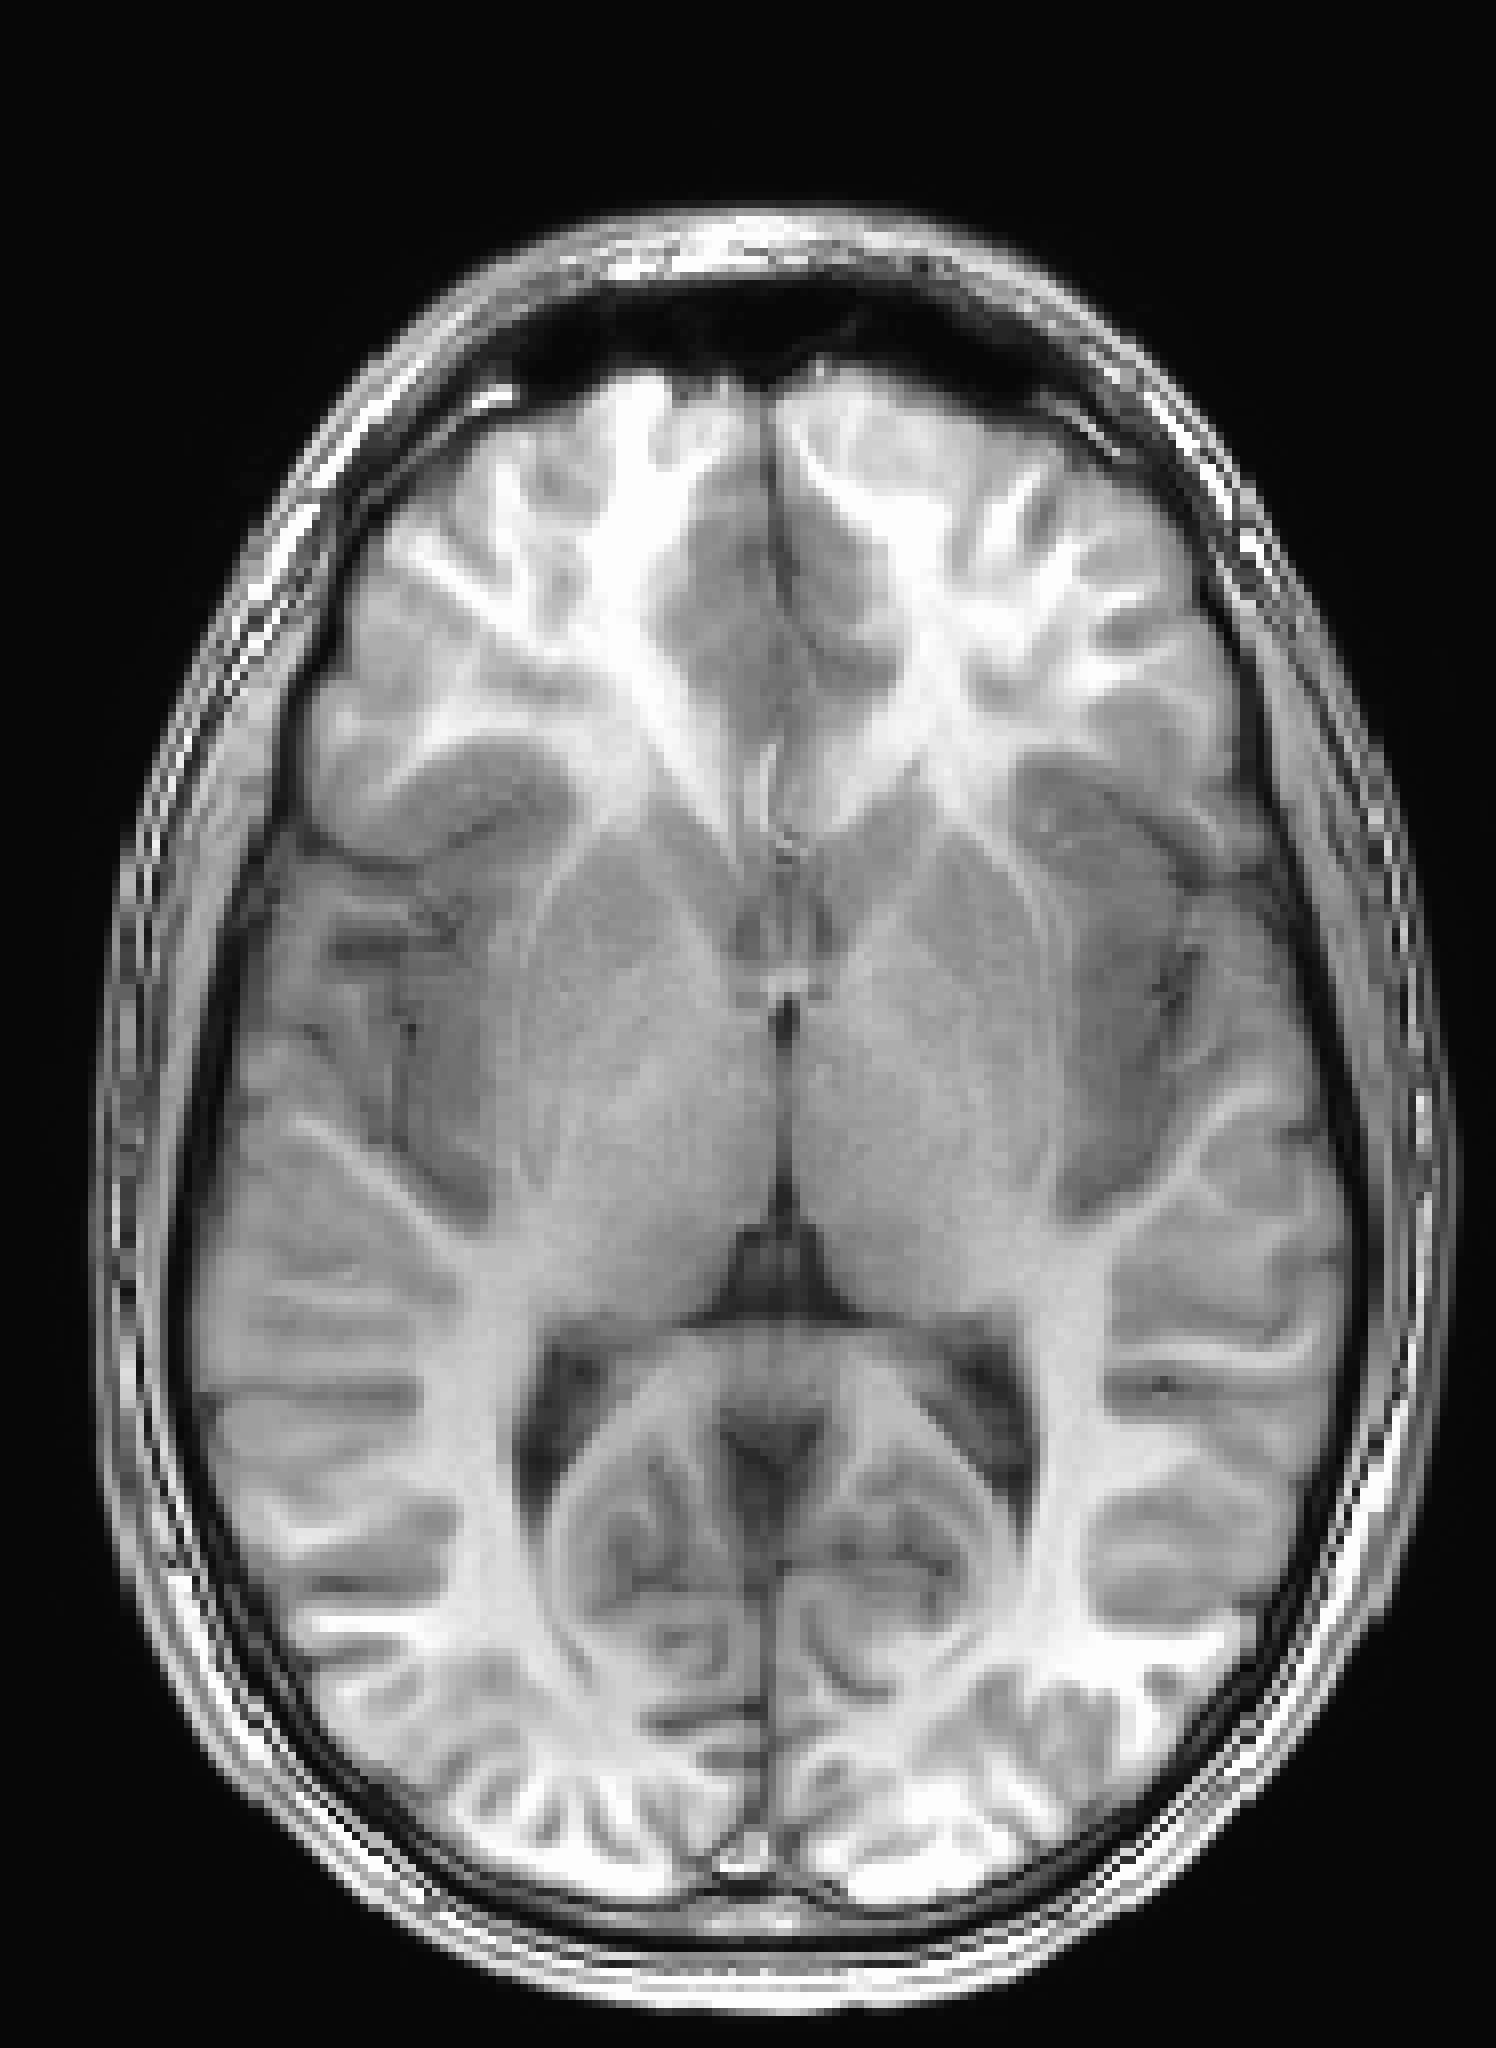
    None

    Minimum

    Maximum

    Mean

    Median

    ../../_images/image_window_Disp_menu_project_none.png ../../_images/image_window_Disp_menu_project_min.png ../../_images/image_window_Disp_menu_project_max.png ../../_images/image_window_Disp_menu_project_mean.png ../../_images/image_window_Disp_menu_project_median.png

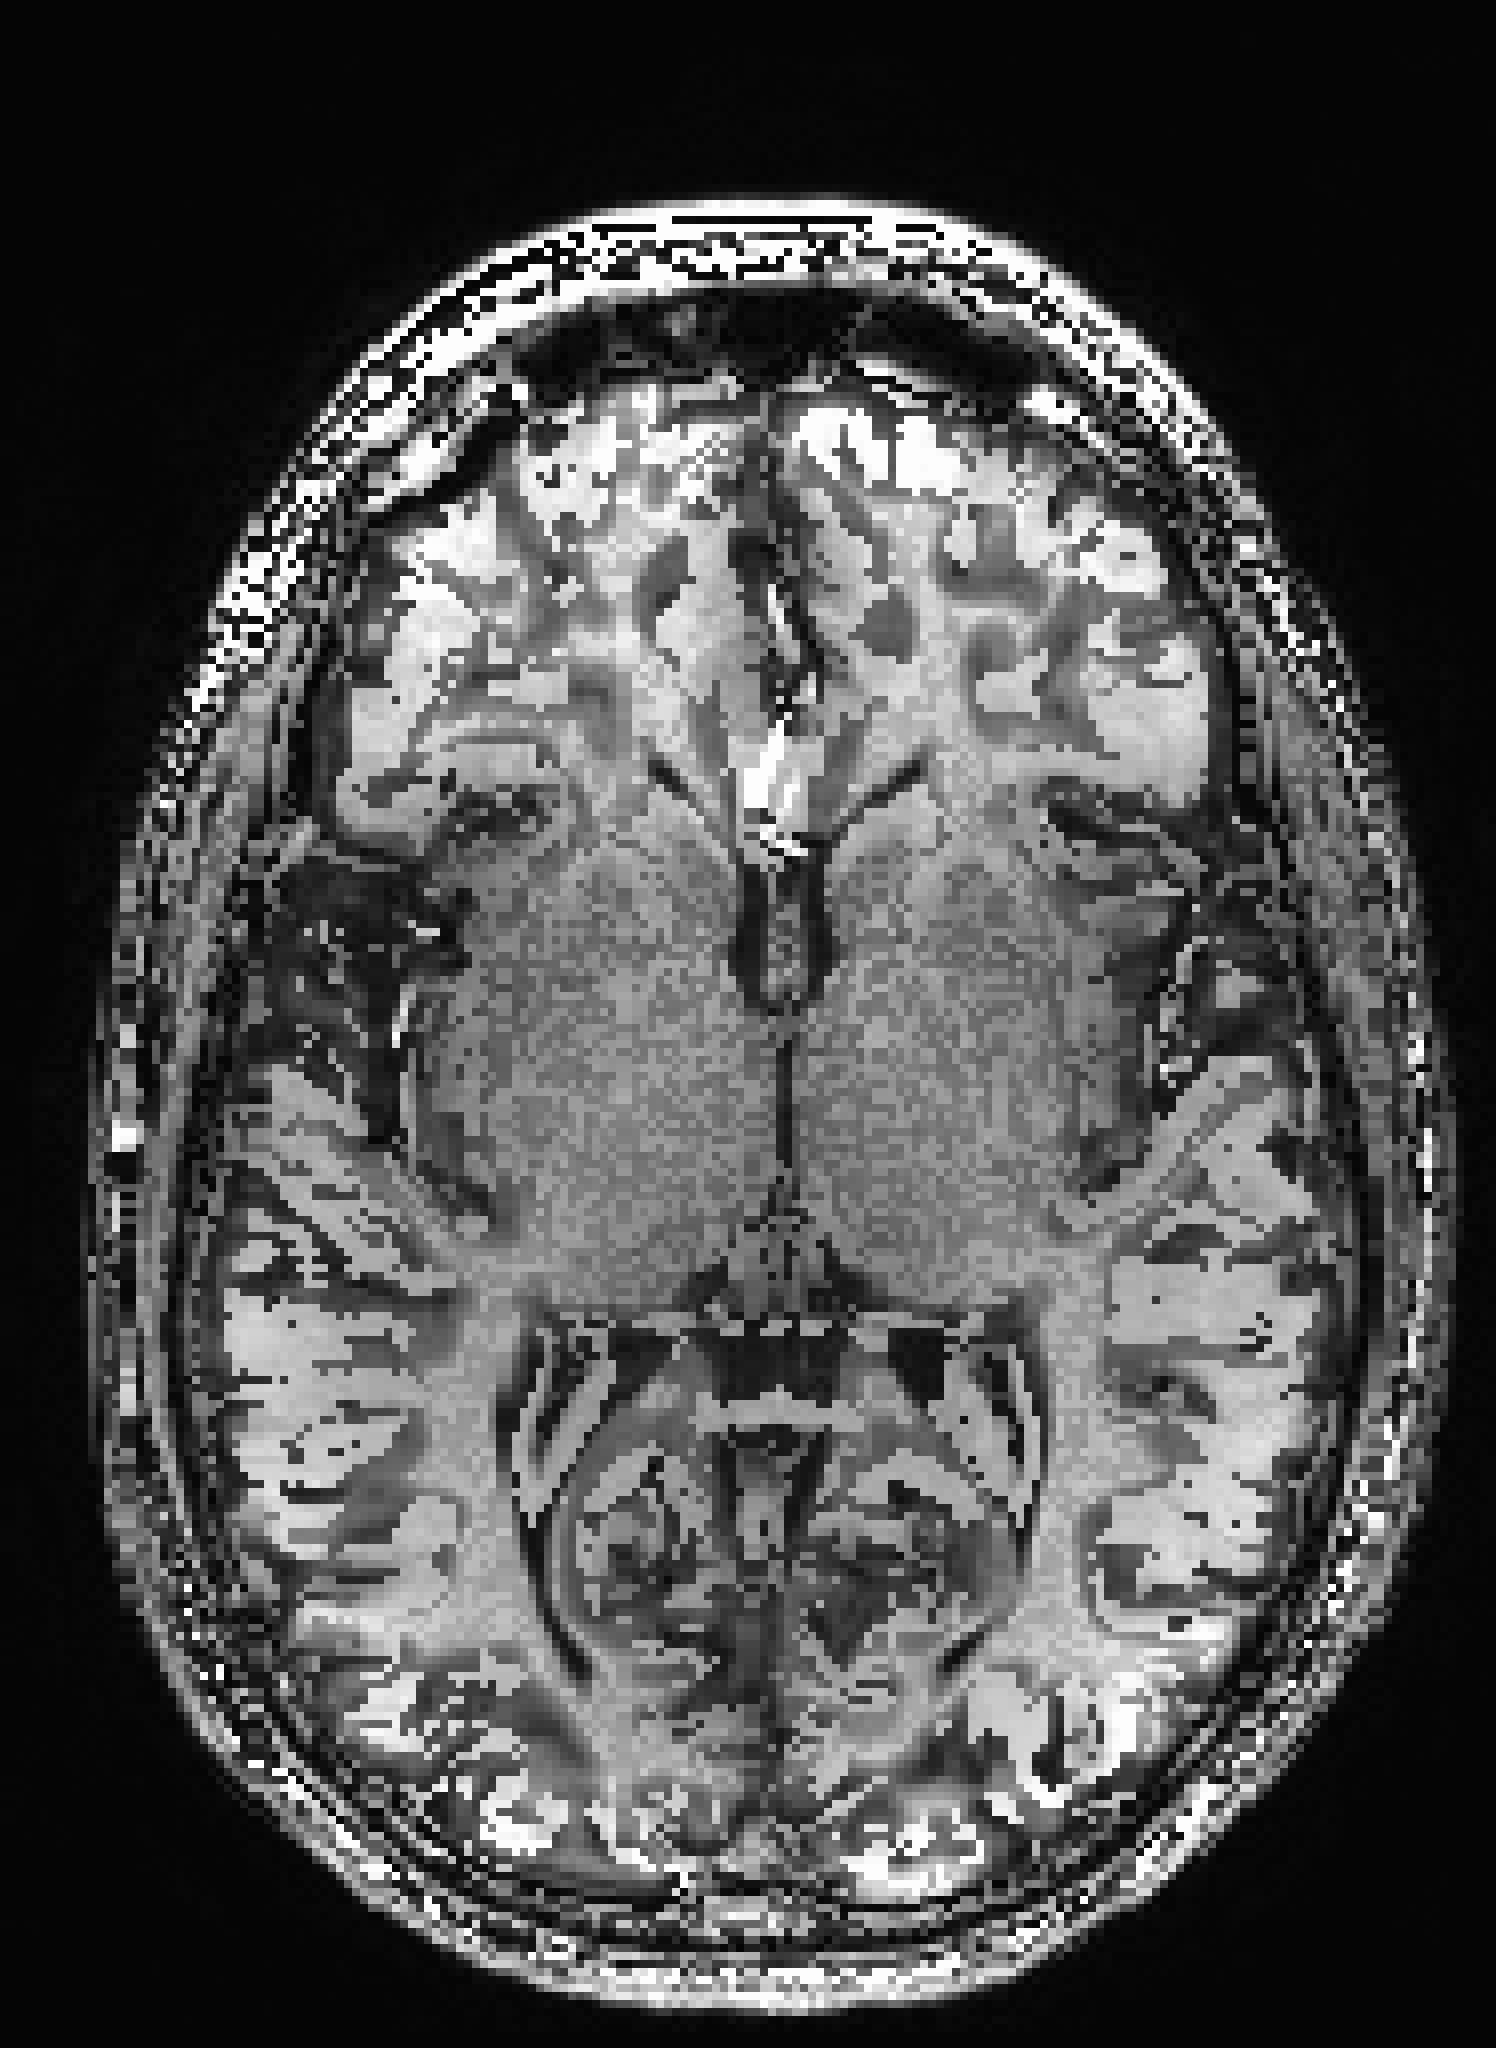
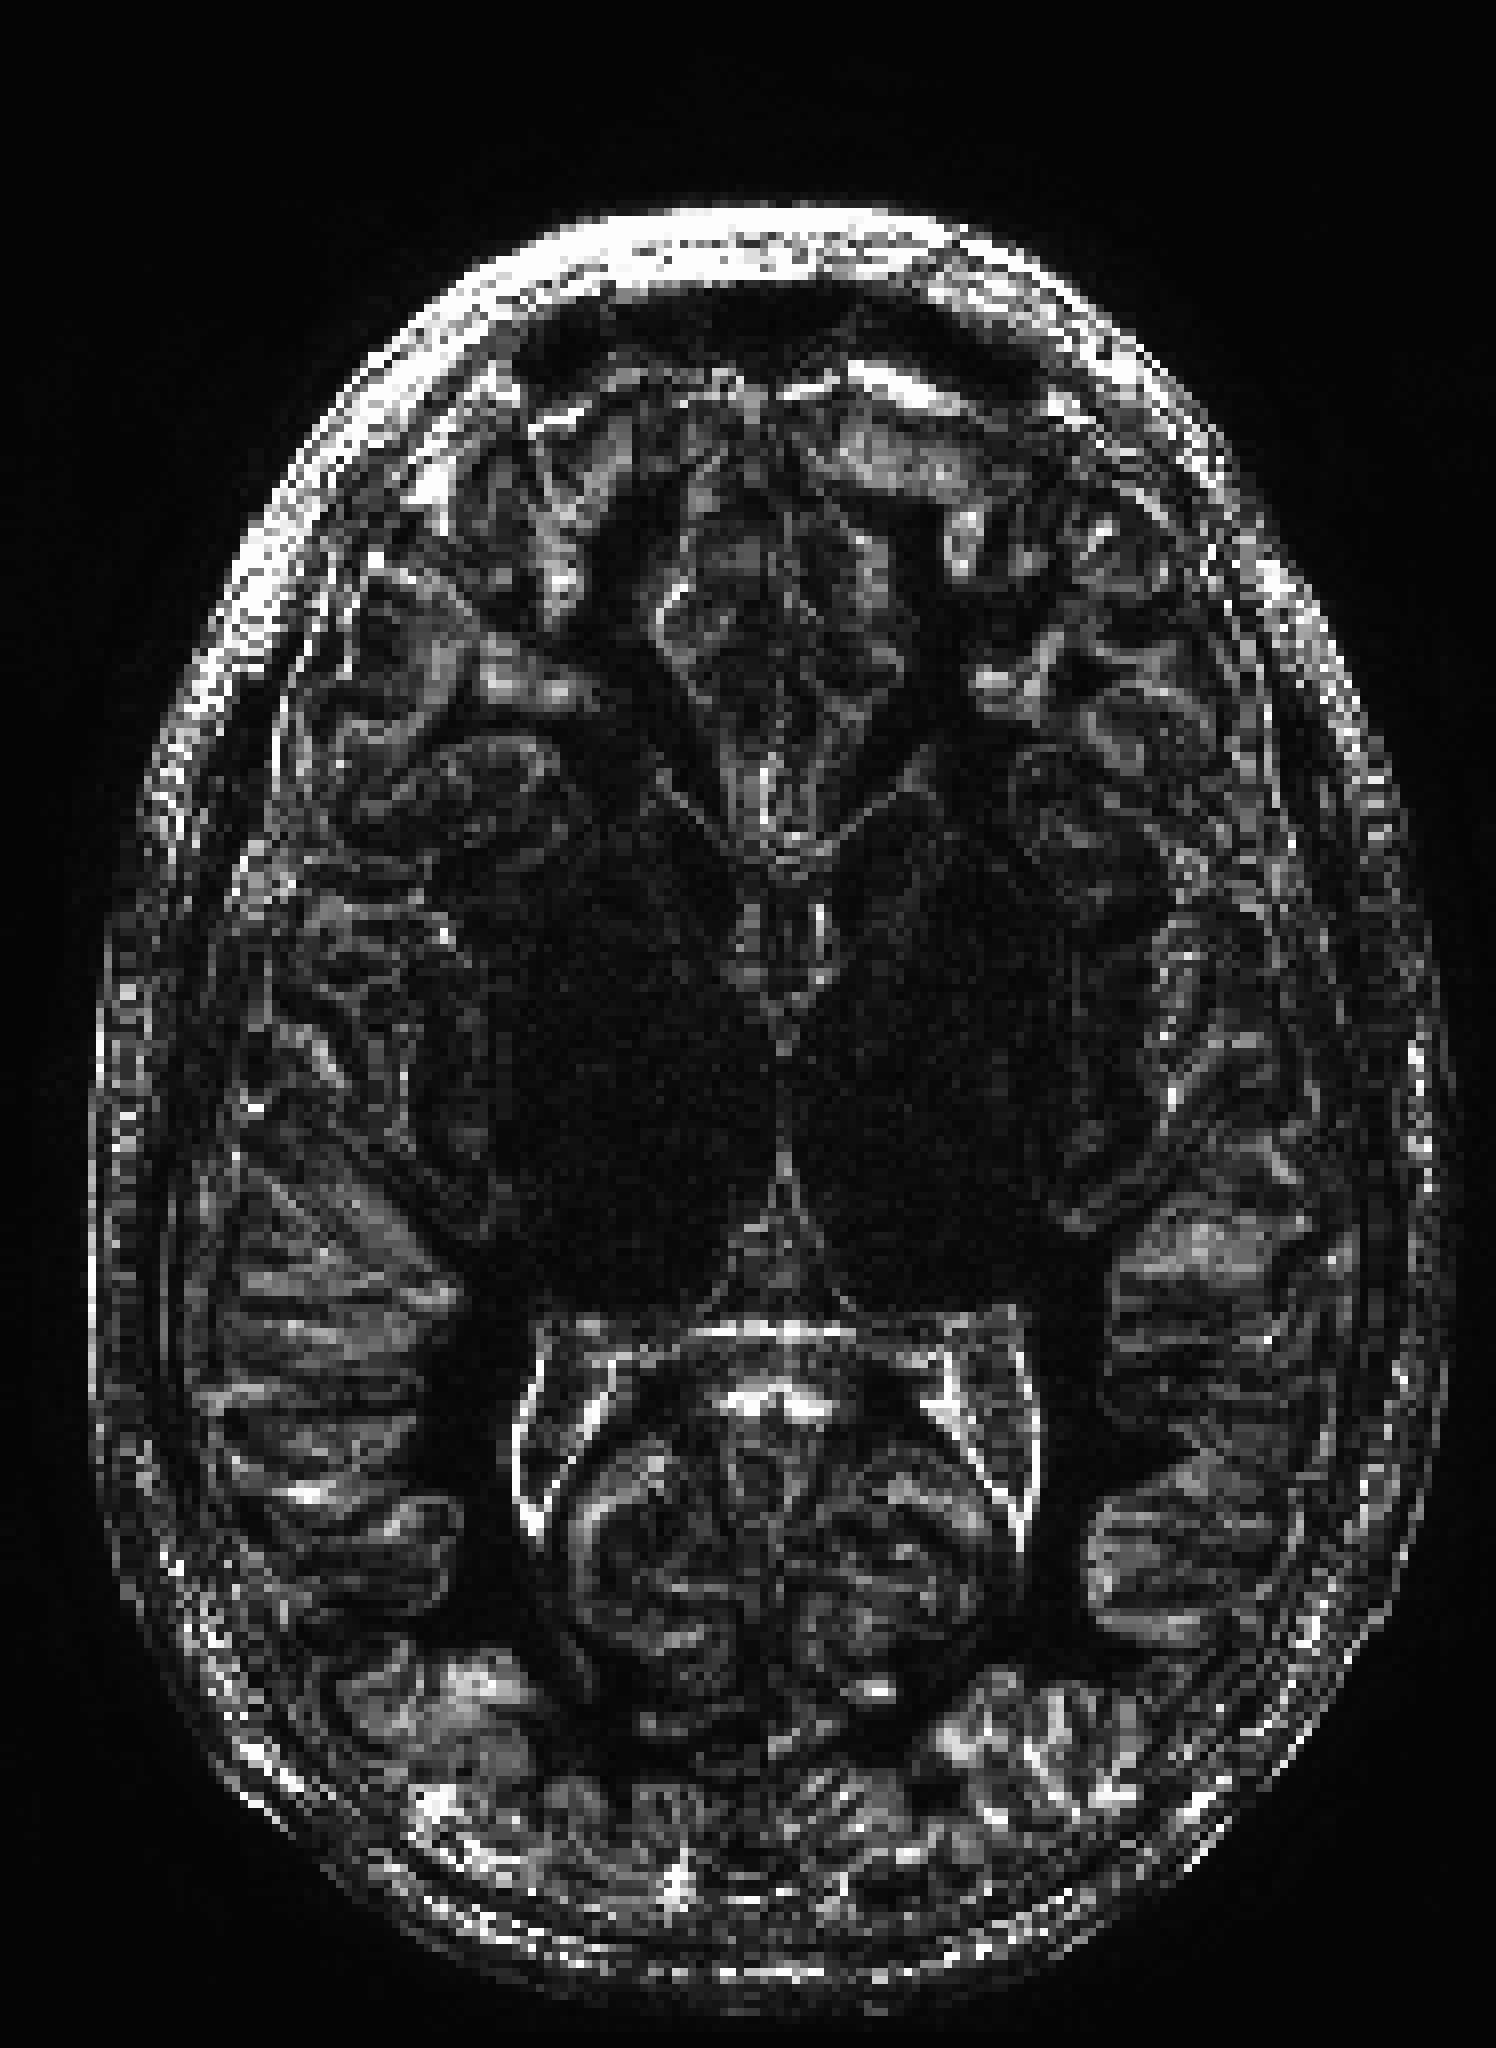
    OSfilt

    Extreme

    MAD

    AdptMean

    ../../_images/image_window_Disp_menu_project_OSfilt.png ../../_images/image_window_Disp_menu_project_extreme.png ../../_images/image_window_Disp_menu_project_MAD.png ../../_images/image_window_Disp_menu_project_AdptMean.png
../../_images/image_window_Disp_menu_project.png

The Rest

  • Tran 0D lets you transform voxel values before display. Log10 and SSqrt are useful for images with extreme values.

  • Tran 2D provides some 2D image filters for the underlay only. Median 9 smoothing can be useful for printing images.

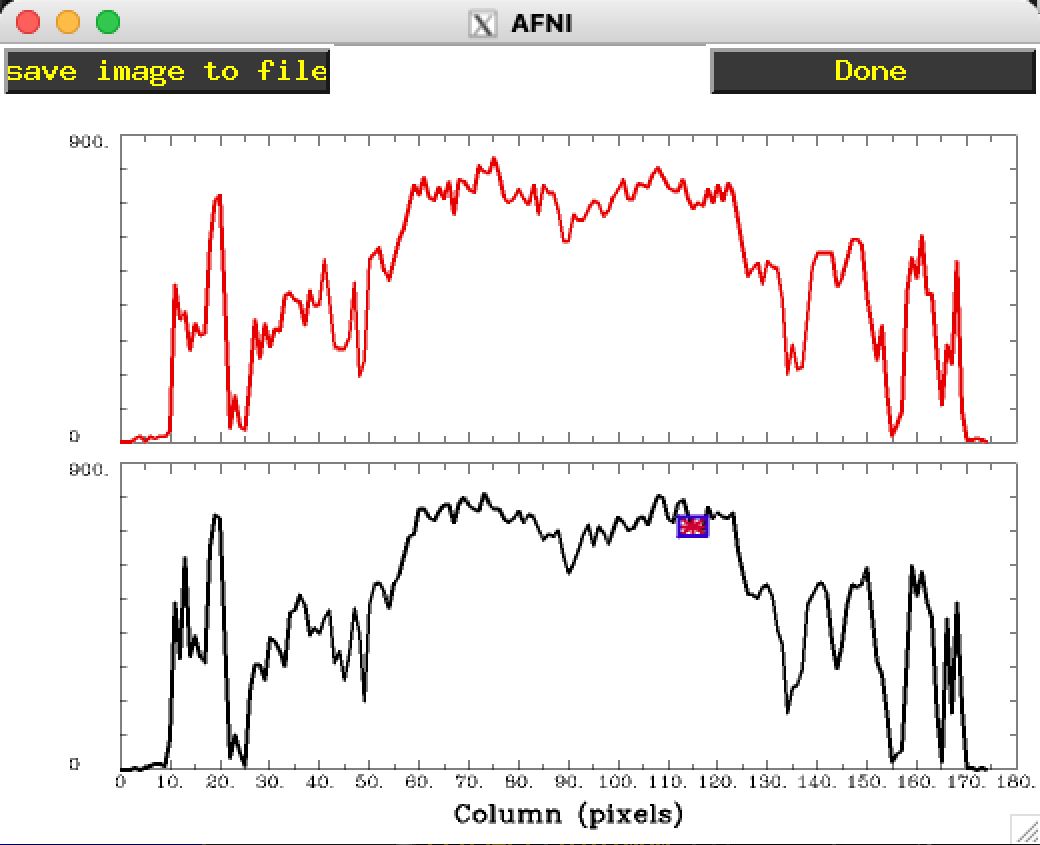
  • RowGraphs are plots of the underlay (grayscale) image intensity as x vs. y graphs.

    ../../_images/image_window_Disp_RowGraphs.png
    • Each graph is from one displayed horizontal row of the image.

    • The bottom rowgraph is from the image row under the crosshairs.

    • Upper rowgraphs are from higher image rows.

    • Image transformation functions and image rotation/flips will affect the rowgraphs as well as the image display.

    • The color marker indicates the crosshair focus point and can be hidden with the No Overlay button.

    • If you want columns, flip the image with CCW 90.

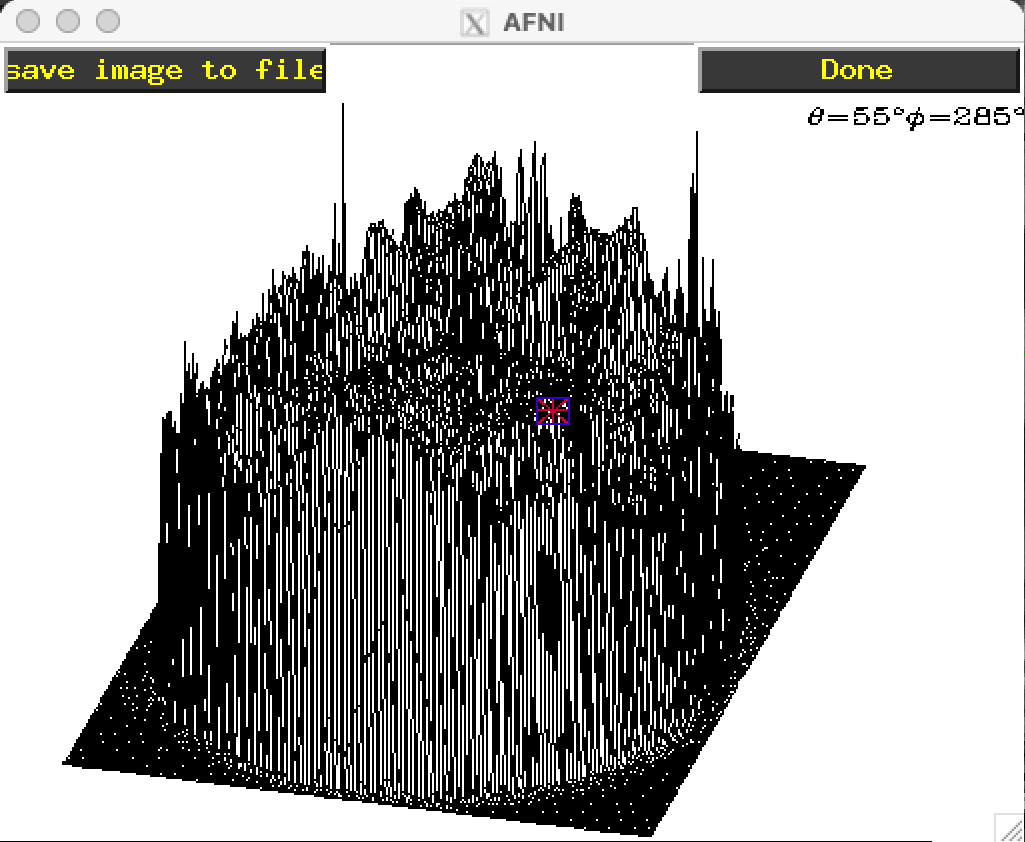
  • Surfgraph lets you graph the voxel values in a surface graph.

    ../../_images/image_window_Disp_SurfGraph.png
  • Extra imaging processing filters are provided at the bottom. These options have extra parameters adjustable in the intensity bar popup window. (see below)

    • Flatten “flattens” the histogram of the image similar effect as adjusting the brightness and contrast manually.

    • Sharpen is sometimes useful for deblurring images.

    • Edge Detect applies a Sobel edge detection filter. This is useful as the underlay for checking alignment.

    • VG paint applies a “painting” effect to the image just for fun.

../../_images/image_window_Disp_menu.png

Intensity Bar Hidden Popup

Vertical Intensity Bar Popup

../../_images/image_window_IntensityBar_Popup.png

Right click on the image window intensity bar.

These options apply to the Underlay data set exclusively and are set per image window. For example if you change an option in the sagittal image window, it will not apply to the axial or coronal image windows. The changes only appear in the image window and do not change the data set on disk.

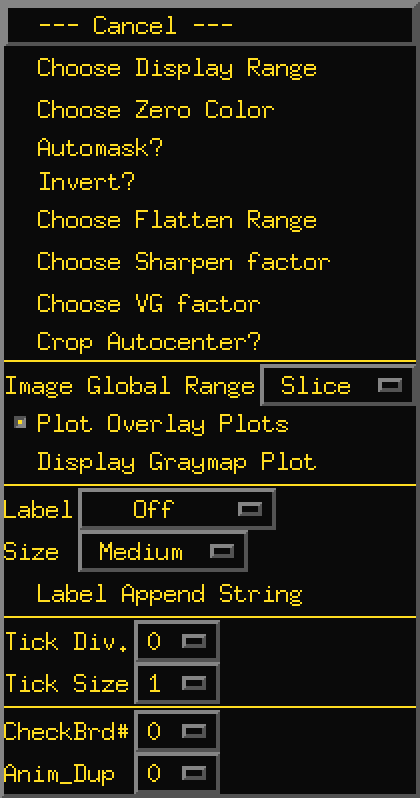
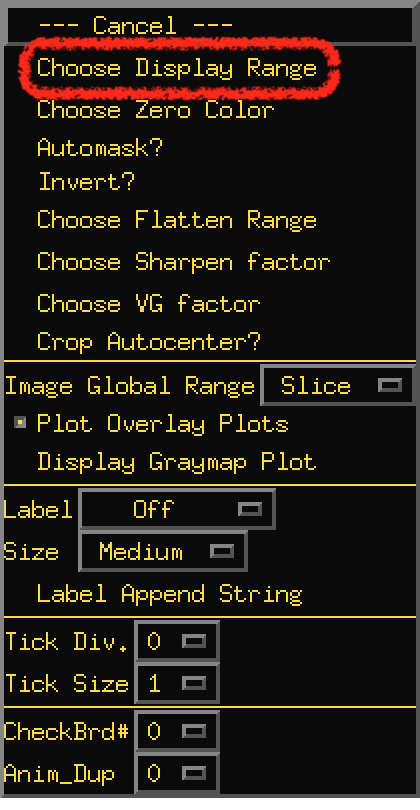
Choose Display Range

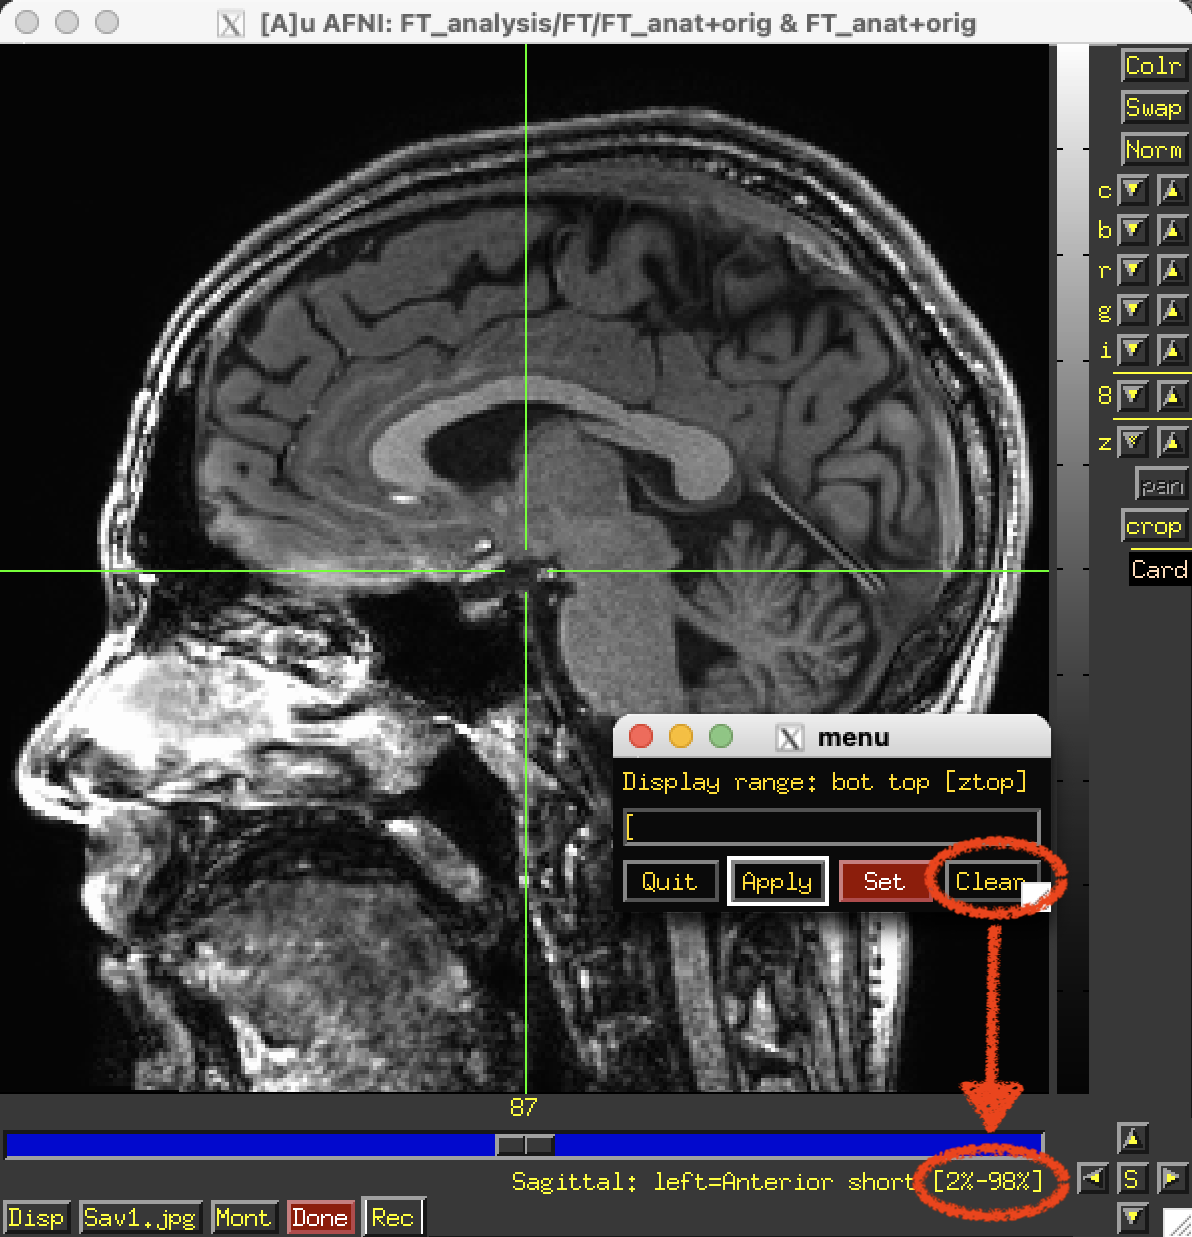
  • Choose Display Range pops up a dialog box that allows you to set the bottom and top intensity values to display in the image window.

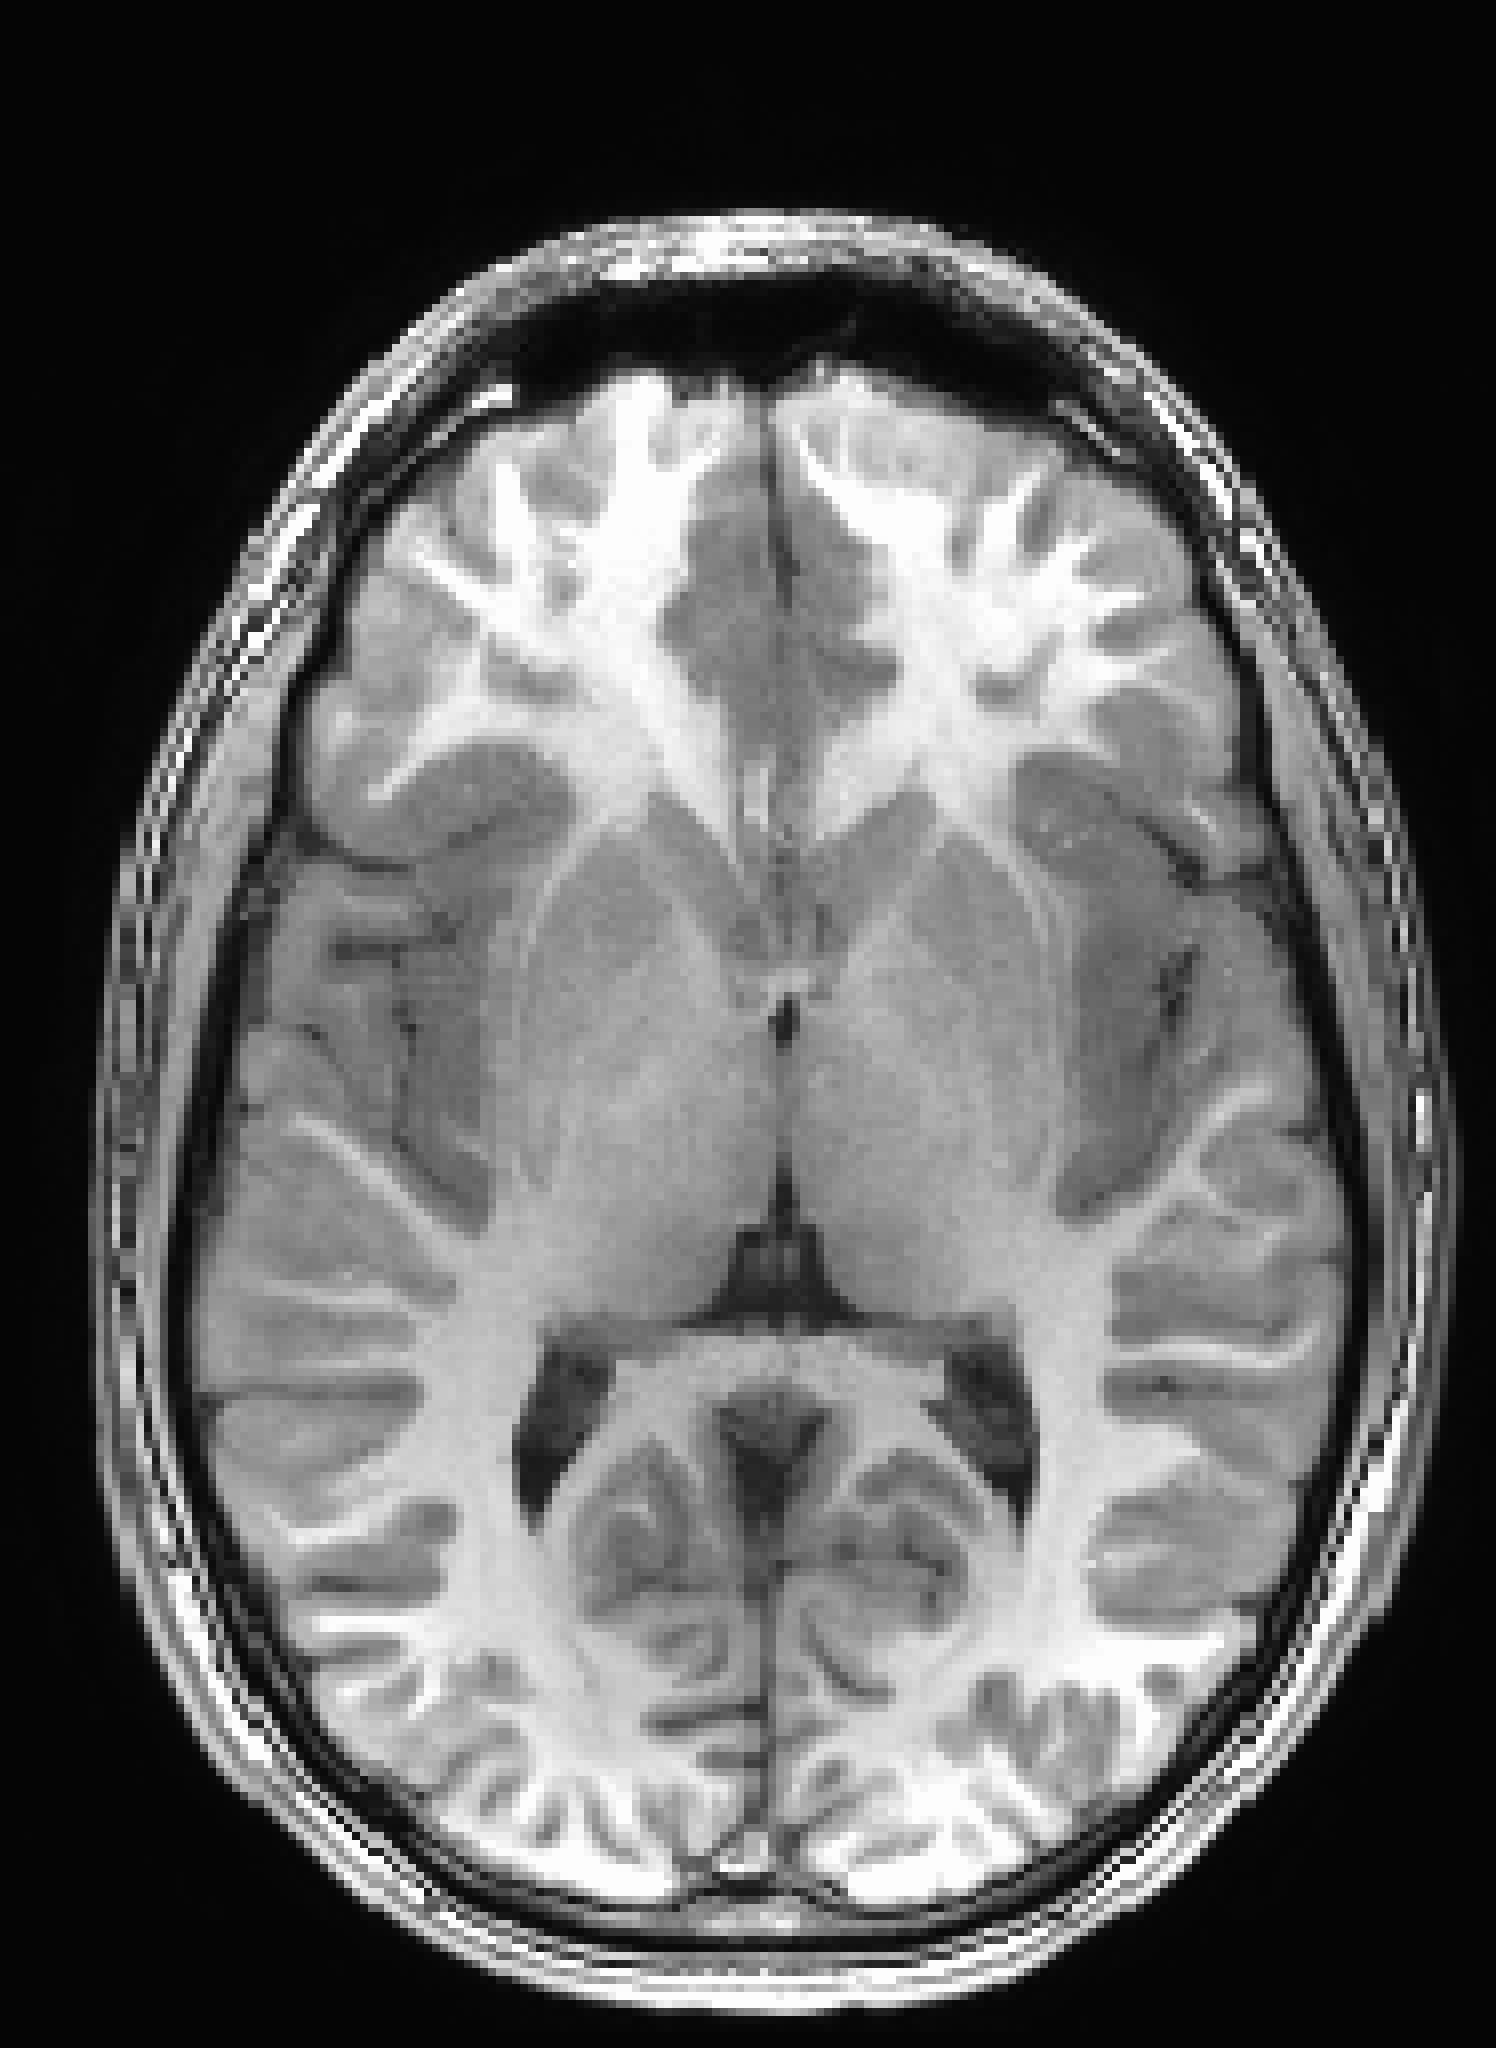
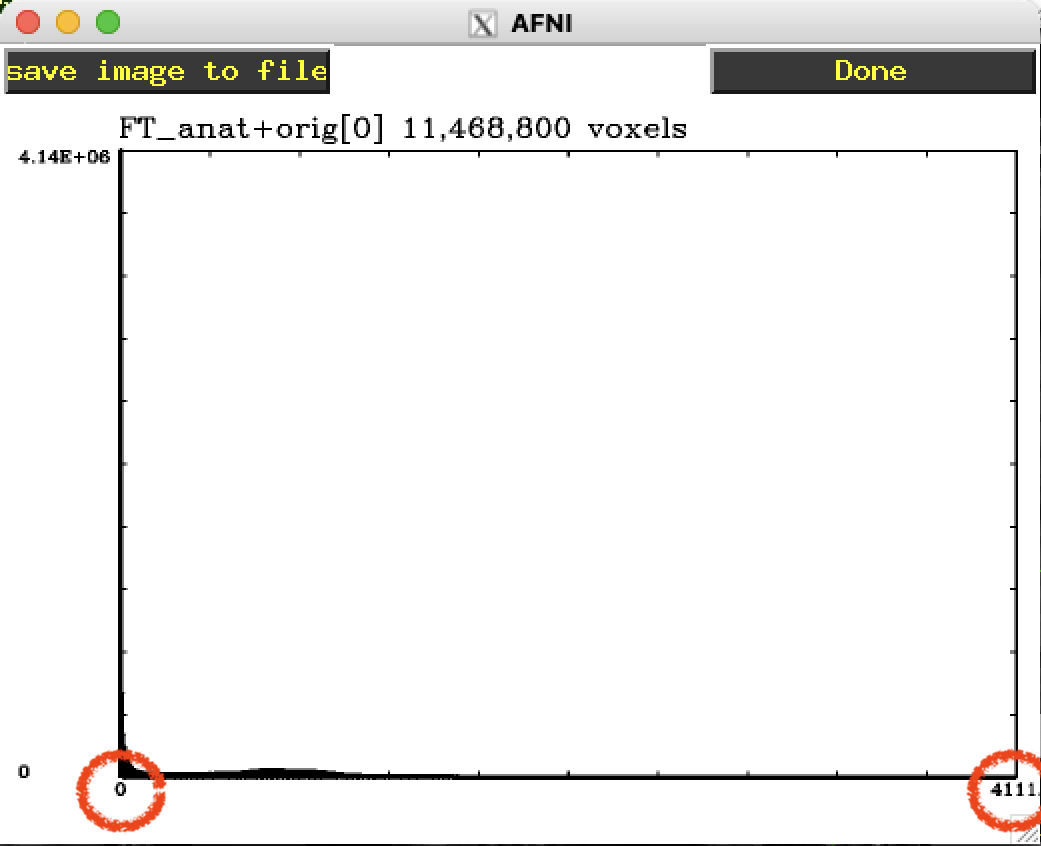
  • This anatomical image has intensity values that range from 0 to 4111. The Clean button shows that the AFNI gui is already and by default, showing a range of 2% to 98%. The histogram below shows the number of voxels at each of the intensity values. Notice the large number of voxels near zero. Those are excluded in the default view of 2% minimum. (that is a good thing)

    ../../_images/image_window_IntensityBar_Popup_disp_range_clean.png ../../_images/image_window_IntensityBar_Popup_disp_range_clean_hist.png
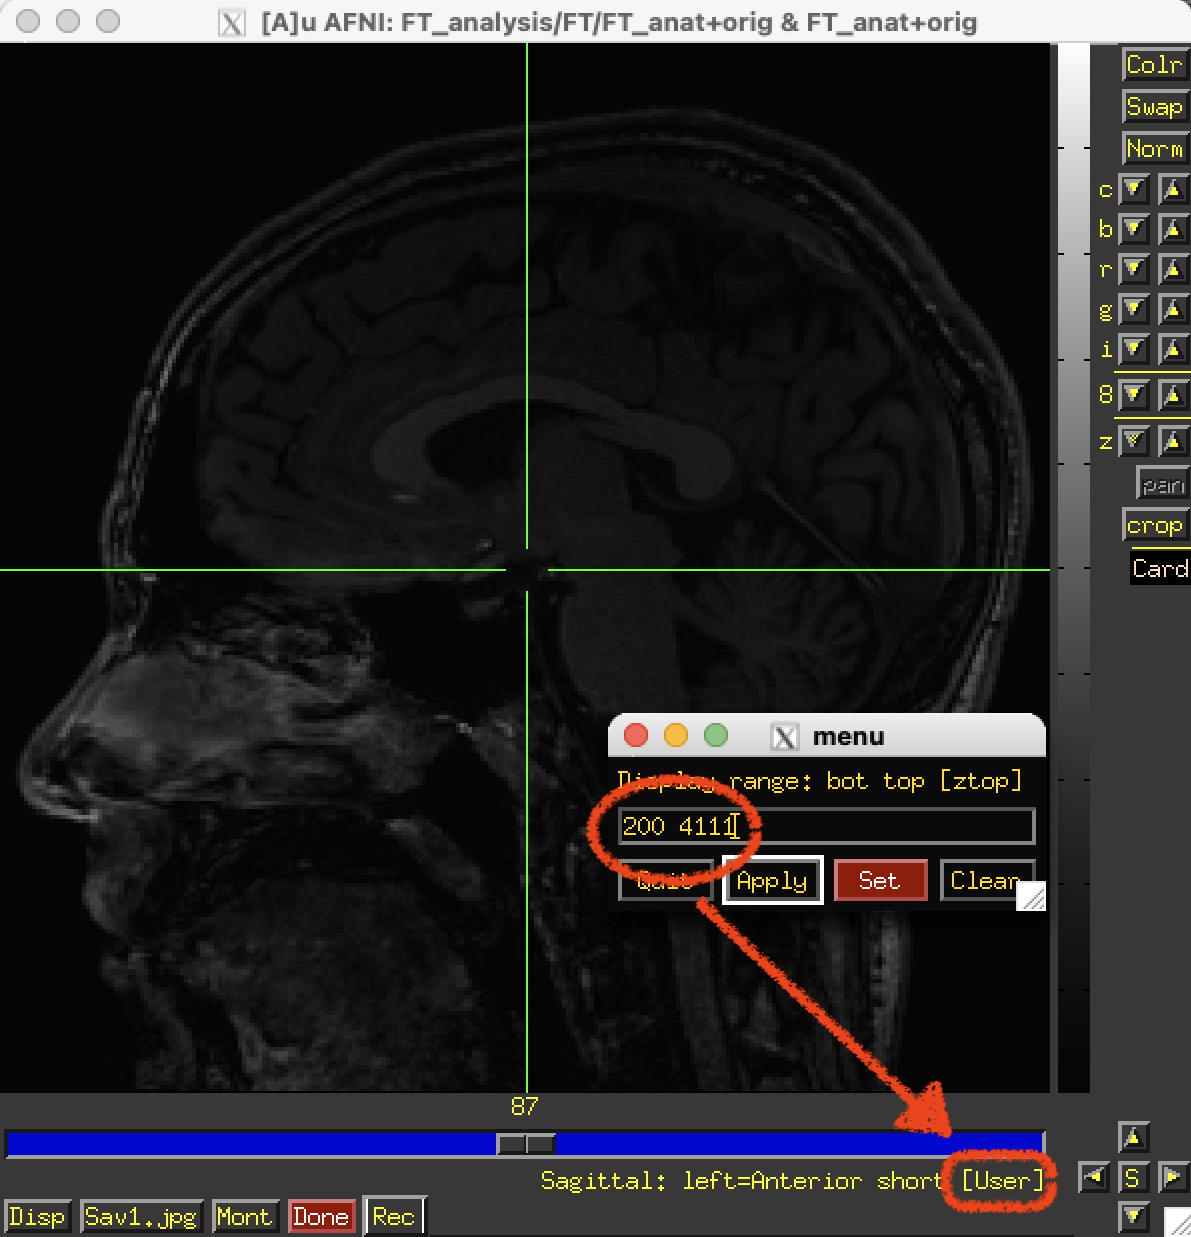
  • This is the same anatomical image but with the bottom 200 values excluded. Notice the intensity range was changed to [User]

    ../../_images/image_window_IntensityBar_Popup_disp_range_200_4111.png ../../_images/image_window_IntensityBar_Popup_disp_range_200_4111_hist.png
../../_images/image_window_IntensityBar_Popup_disp_range.png

Choose Zero Color

  • Choose Zero Color Allows you to choose a color to represent the value of zero (0). In the example on the left, the zero color is changed to white. The default option is none.

    ../../_images/image_window_IntensityBar_Popup_zero_color_cont.png ../../_images/image_window_IntensityBar_Popup_zero_color_white.png

    This is more useful for masked data so you can change the background color and save out the image for a more stylistic version for a paper.

    ../../_images/image_window_IntensityBar_Popup_zero_color_white_mni.png
../../_images/image_window_IntensityBar_Popup_zero_color.png

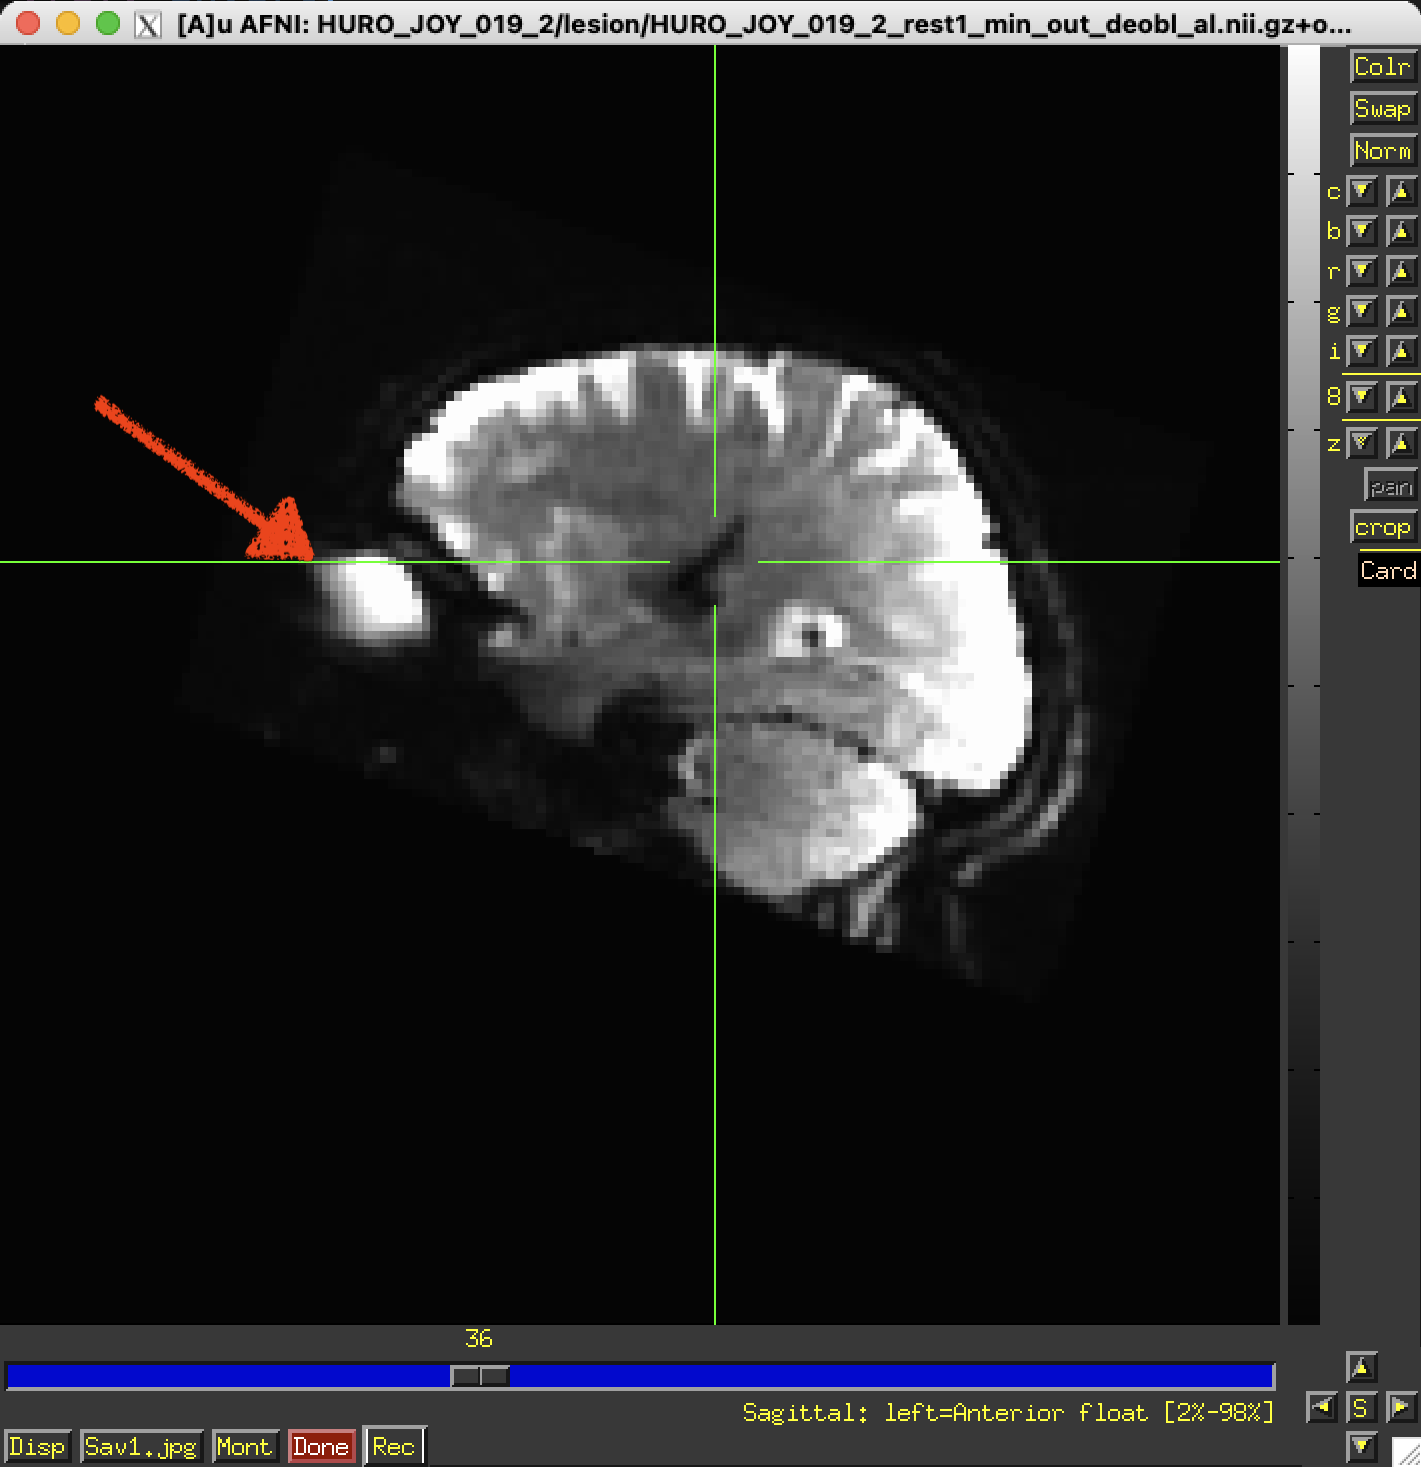
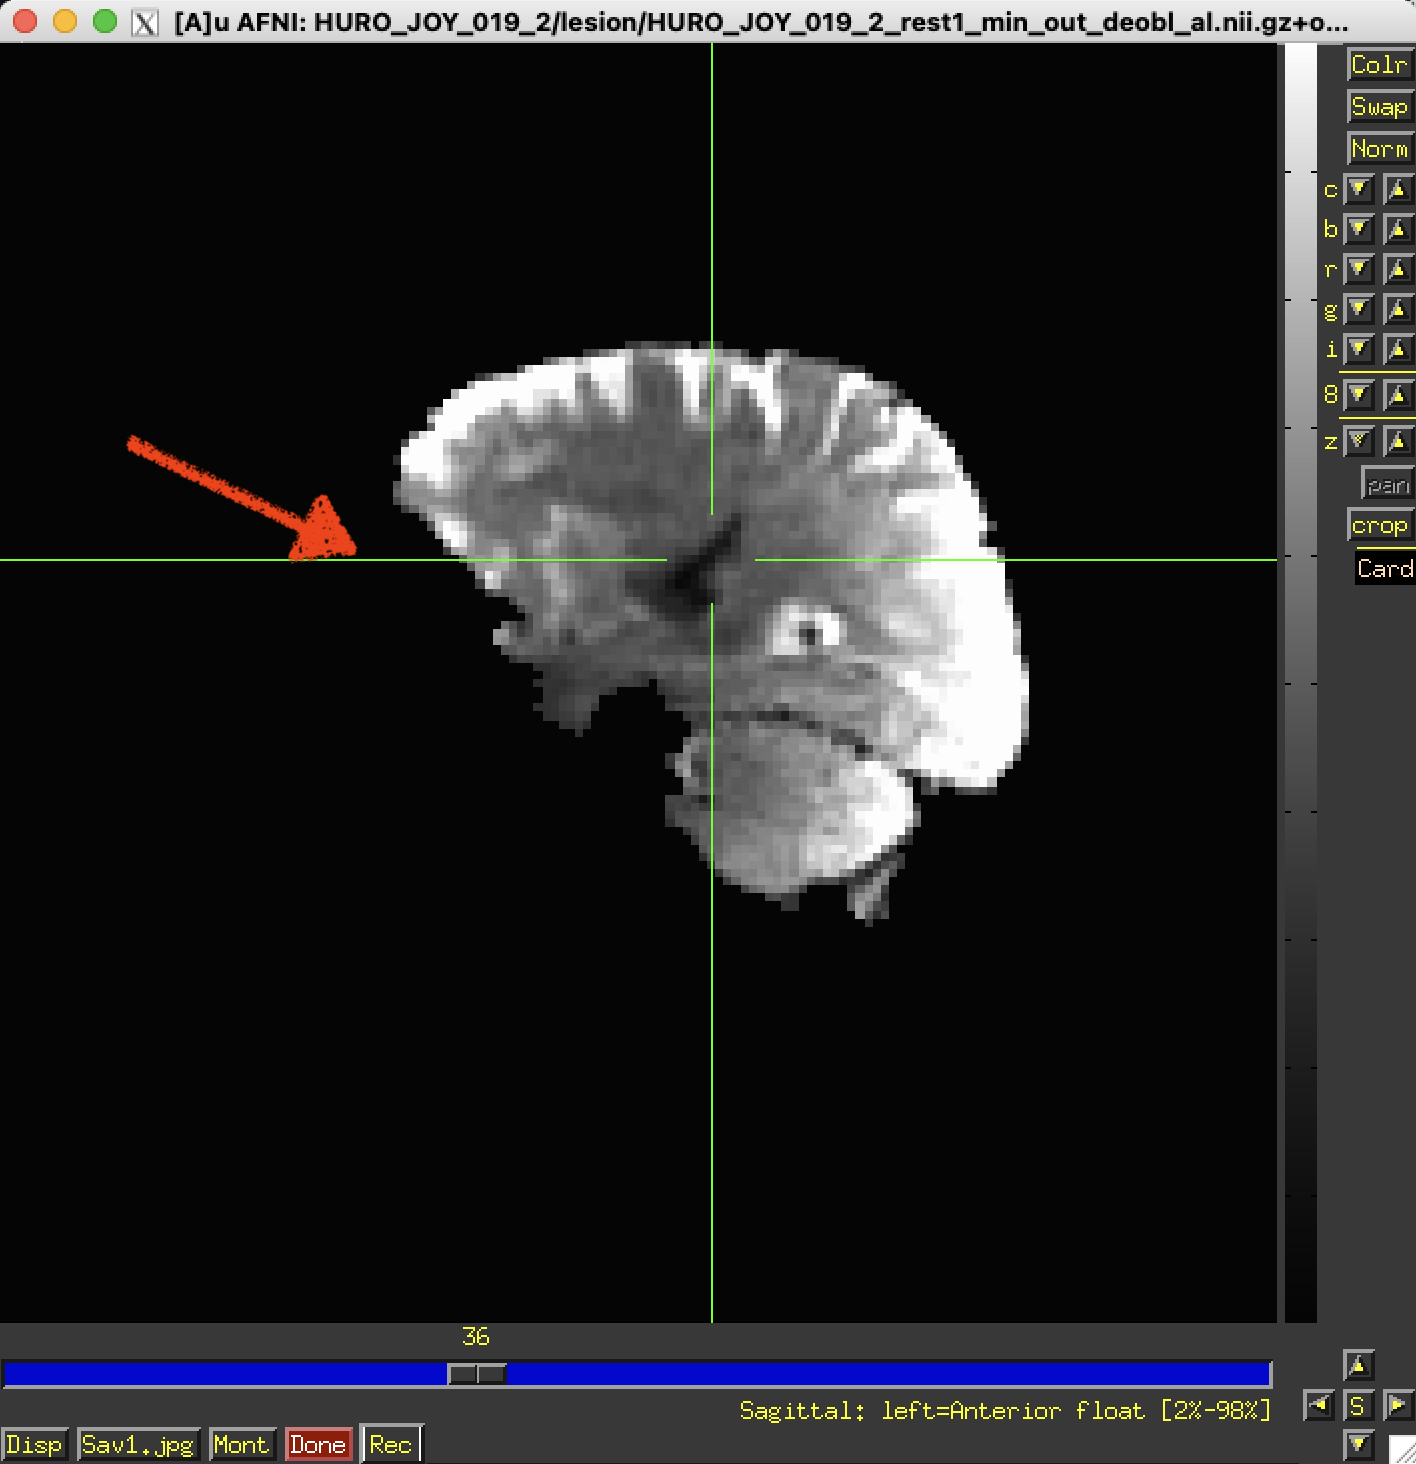
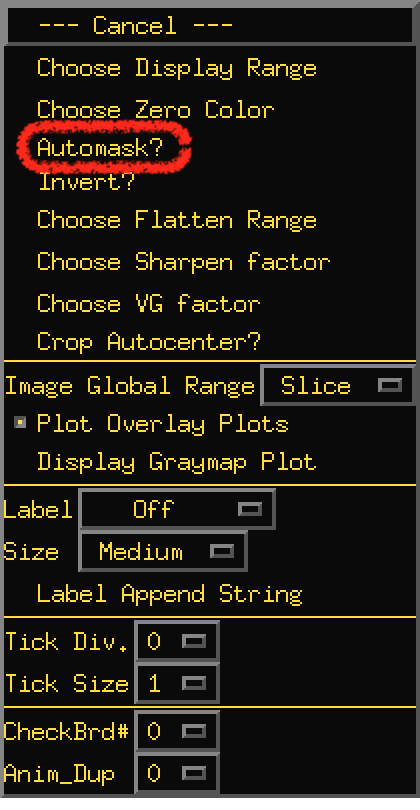
Automask?

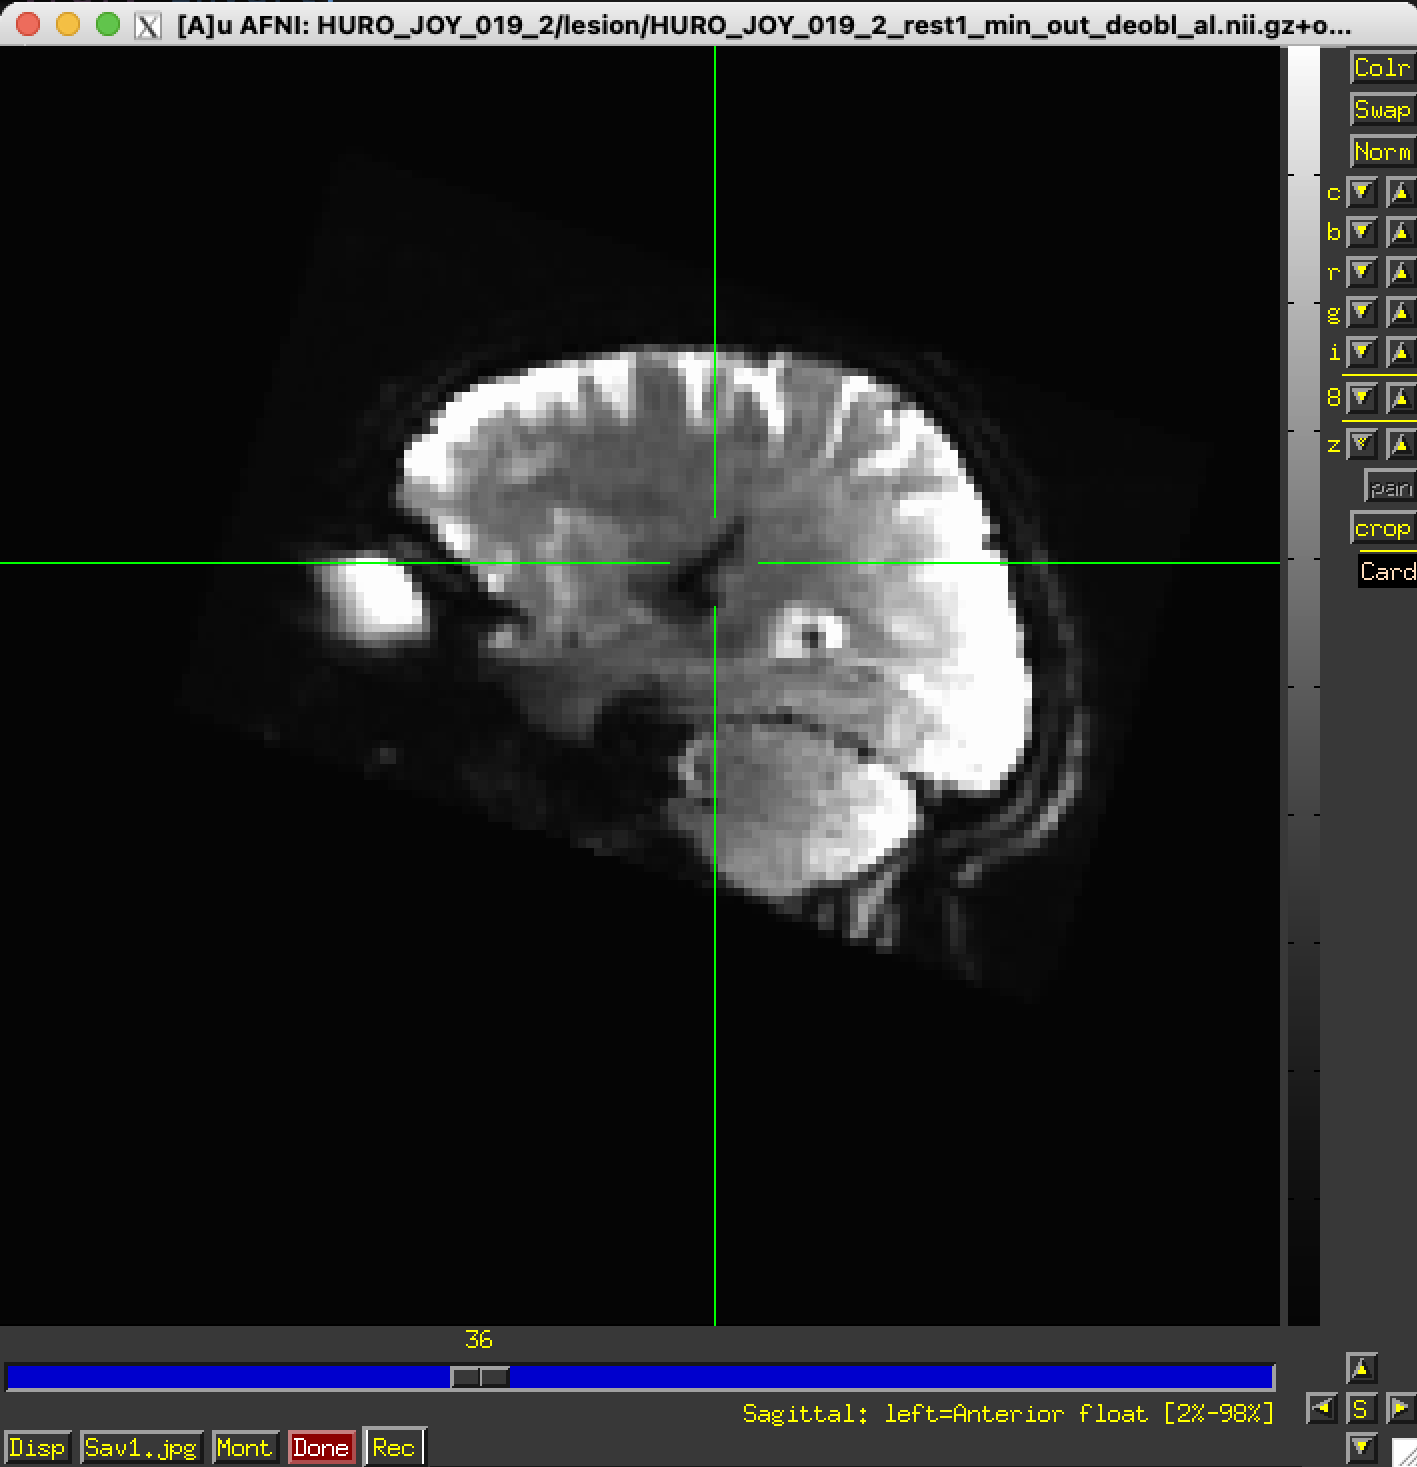
  • Automask? is a toggle option to instantly mask the image similar to 3dAutomask. The image on the right is the “masked” version of the left image. You can quickly toggle this on or off from that popup option and this does not change the image data on disk.

  • Use this on EPI or previously skull stripped anatomical data sets. This does not do “skull-stripping”!

  • It is also useful in combination with the Choose Zero Color option for images in papers.

    ../../_images/image_window_IntensityBar_Popup_Automask_epi.png ../../_images/image_window_IntensityBar_Popup_Automask_epi_masked.png
../../_images/image_window_IntensityBar_Popup_Automask.png

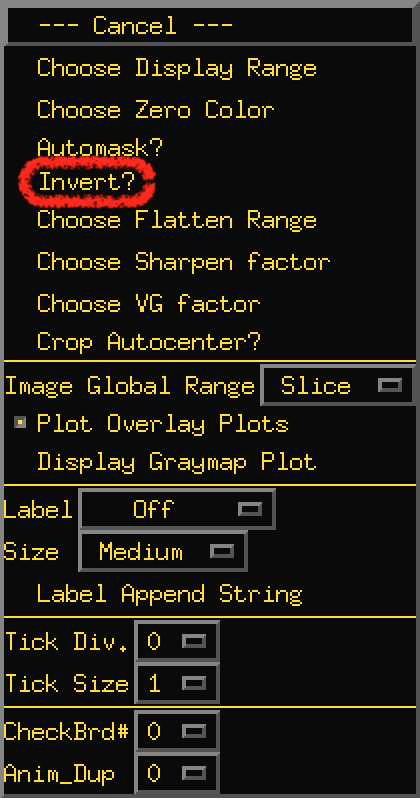
Invert?

  • Invert? is a toggle option to compute a “negative” version of the underlay data set.

  • The image is first automasked then grey scale map is inverted.

  • The functionality is similar to what is described in the old message board post here.

  • This function is the same as the Swap button except that the image is automasked and the background is not inverted. (see above).

  • The program fat_proc_imit2w_from_t1w does something similar but saves an output data set.

  • This is sometimes useful with FLAIR data to highlight abnormalities like stroke lesions or tumors.

  • The image on the right is the “inverted” version of the left image.

    ../../_images/image_window_IntensityBar_Popup_Invert_epi.png ../../_images/image_window_IntensityBar_Popup_Invert_epi_inverted.png
../../_images/image_window_IntensityBar_Popup_Invert.png

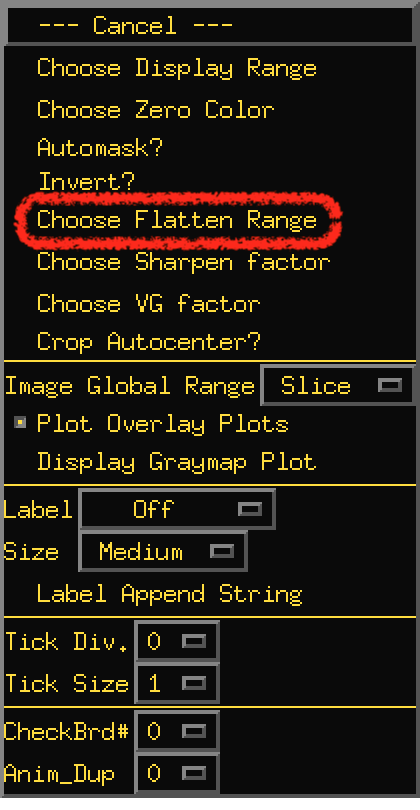
Choose Flatten Range

  • Choose Flatten Range

../../_images/image_window_IntensityBar_Popup_flatten.png

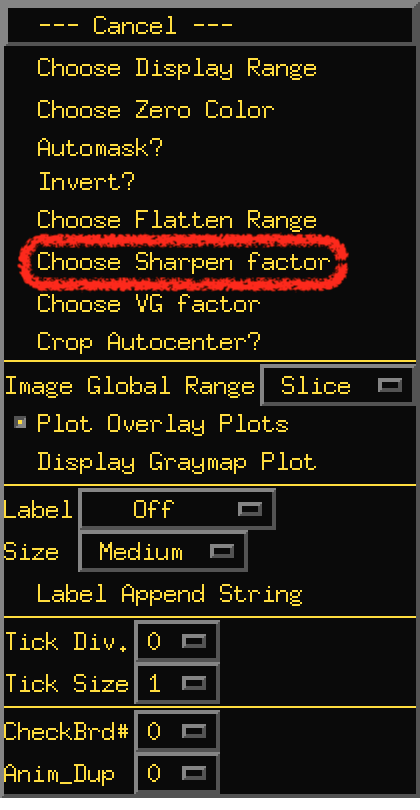
Choose Sharpen factor

  • Choose Sharpen factor

../../_images/image_window_IntensityBar_Popup_sharpen.png

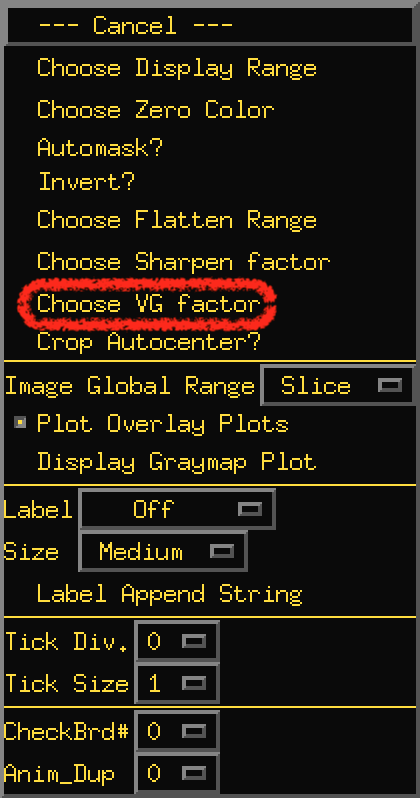
Choose VG factor

  • VG_factor

../../_images/image_window_IntensityBar_Popup_VG_factor.png

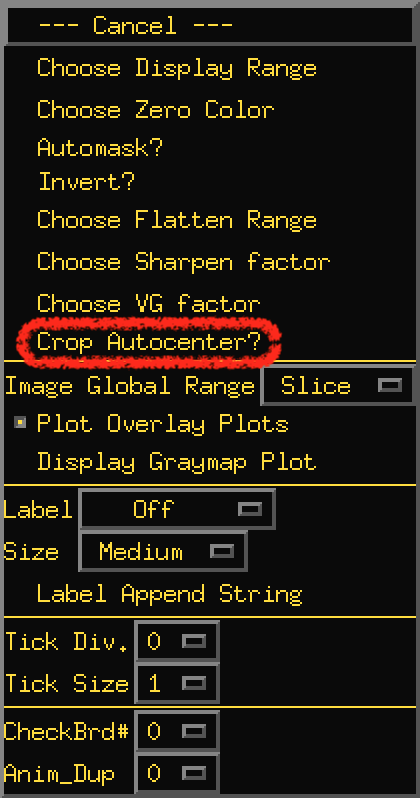
Crop Autocenter?

  • crop_autocenter

../../_images/image_window_IntensityBar_Popup_crop_autocenter.png

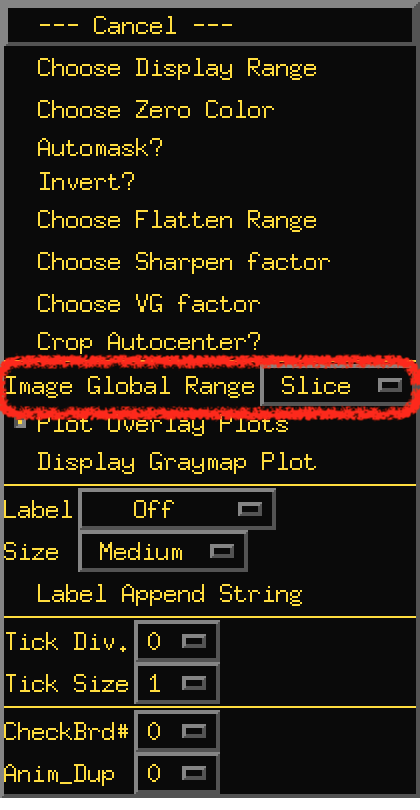
Image Global Range

  • global_range

../../_images/image_window_IntensityBar_Popup_global_range.png

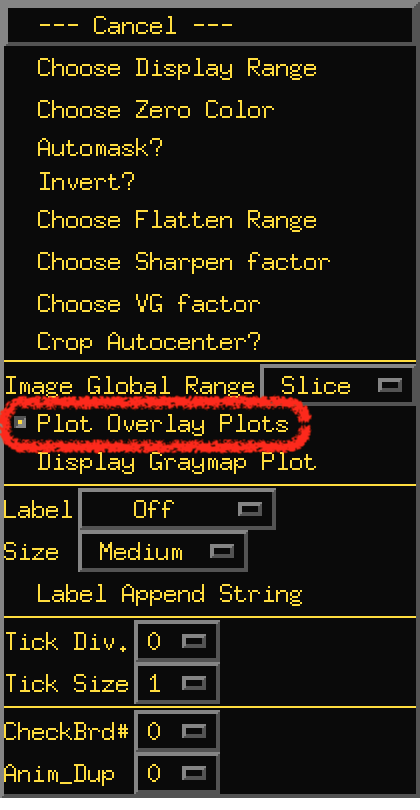
Plot Overlay Plots

  • plot_overlay

../../_images/image_window_IntensityBar_Popup_plot_overlay.png

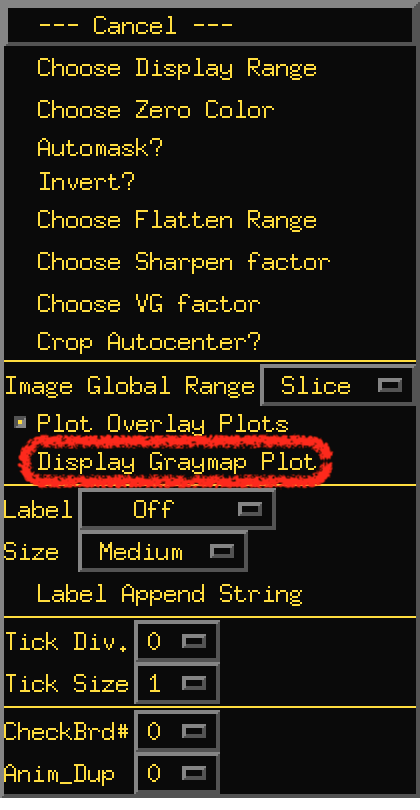
Display Graymap Plot

  • display_graymap

../../_images/image_window_IntensityBar_Popup_display_graymap.png

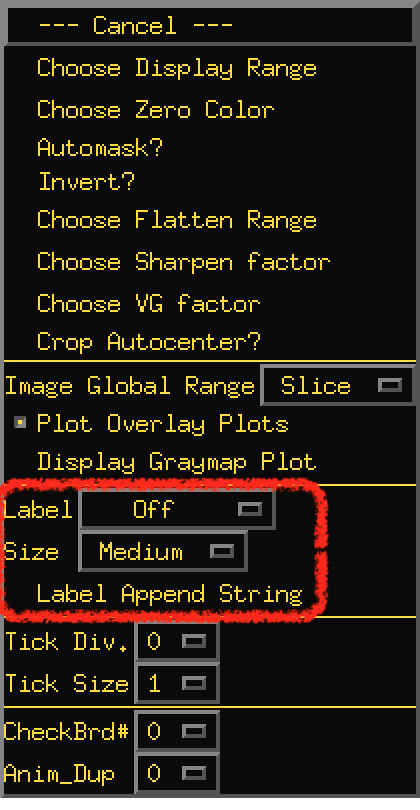
Label, Size, Label Append String

  • Label

  • Size

  • Label Append String

../../_images/image_window_IntensityBar_Popup_label.png

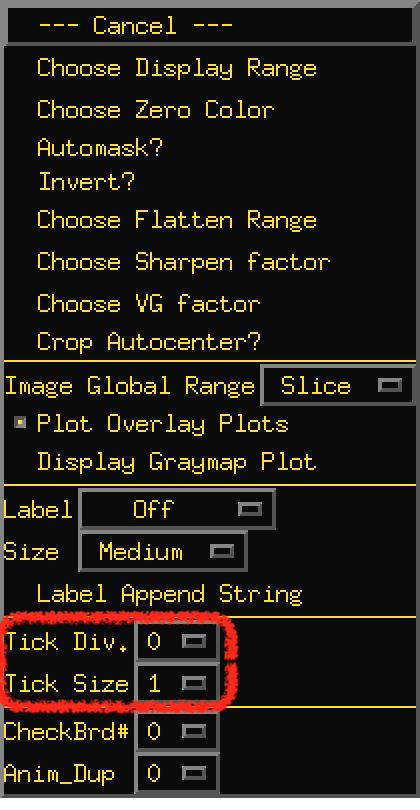
Tick Div., Tick Size

  • Tick Div.

  • Tick Size

../../_images/image_window_IntensityBar_Popup_tick.png

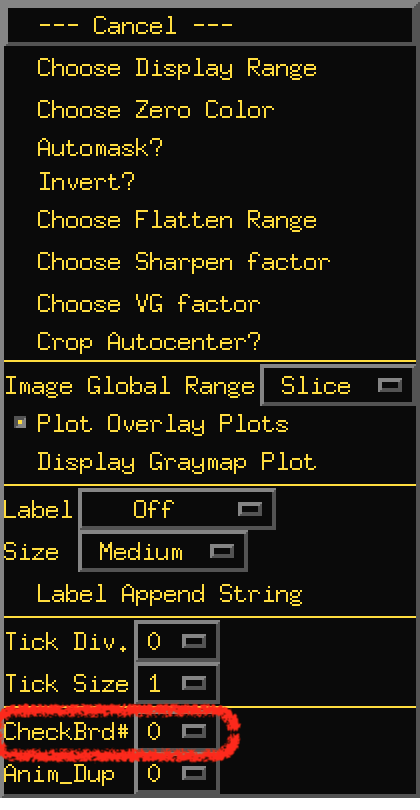
CheckBrd#

  • CheckBrd

../../_images/image_window_IntensityBar_Popup_CheckBrd.png

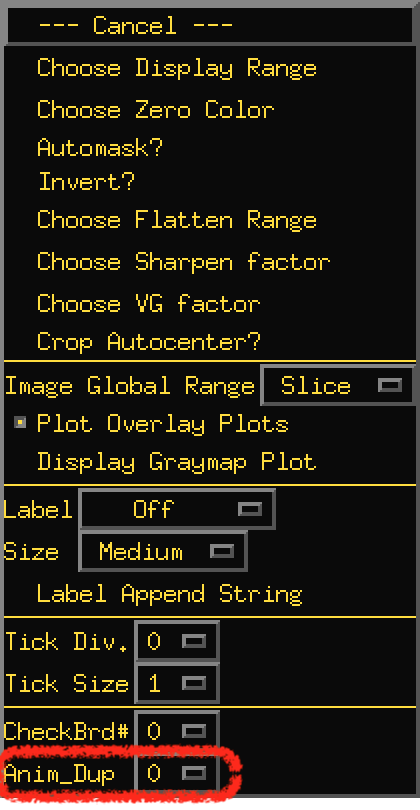
Anim_Dup

  • Anim_Dup

../../_images/image_window_IntensityBar_Popup_Anim_Dup.png

Jump within GUI Guide

Starting

Main controller

Image window

Graph window

Overlay panel

Datamode panel

Chooser menu

Maps